3rd Party VMS/uVMS/Initial Setup
Contents
uVMS Initial Setup
Description
These instructions will show you how to install uVMS, configure IIS, and add a Dahua recorder or IP camera to uVMS.
Prerequisites
- Windows Server 2008 / 2012 R2 / 2016
- IIS (Internet Information Services)
- A Working RTSP URL-Instructions Here
- Microsoft SQL Server (free or commercial)
Video Instructions
Step by Step Instructions
SQL Server Setup
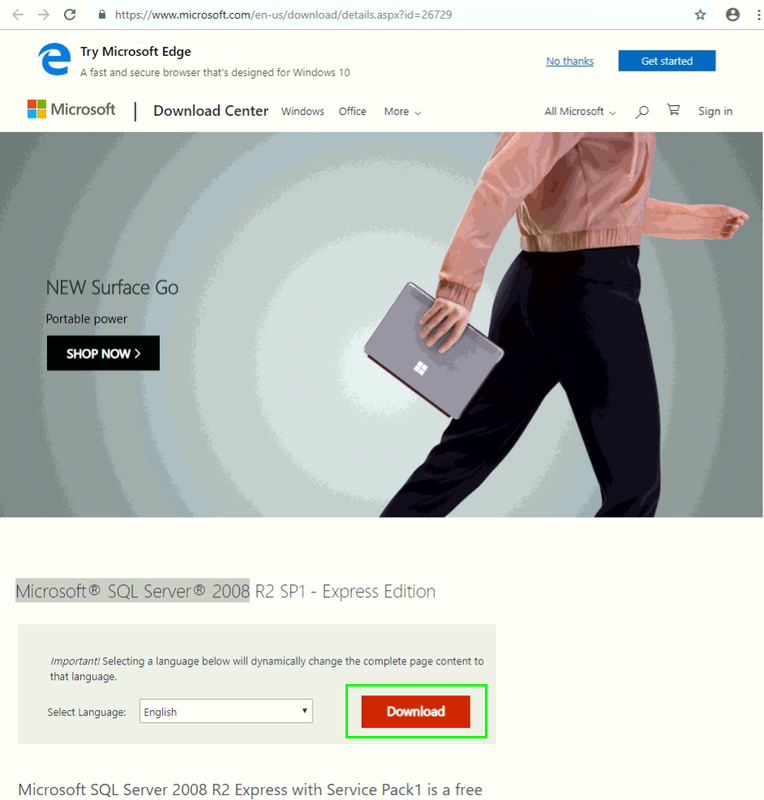
1. Download and install Microsoft® SQL Server® 2008 from this link.
IIS Setup Part 1
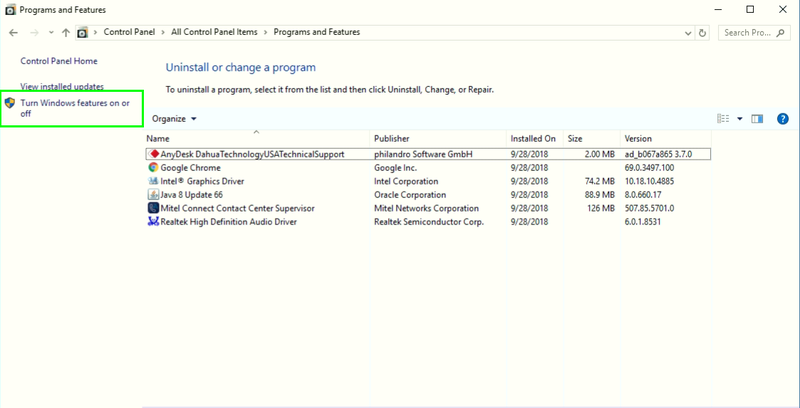
1. Go to Control Panel -> Programs and Features -> Turn Windows features on or off
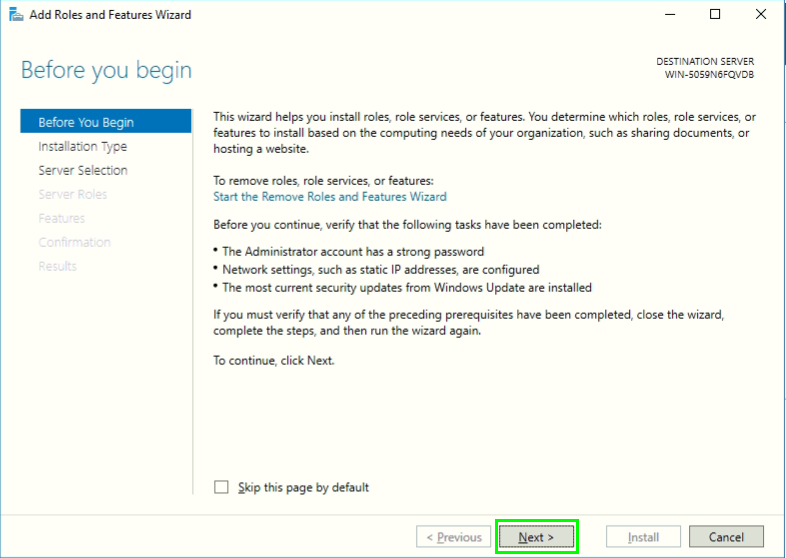
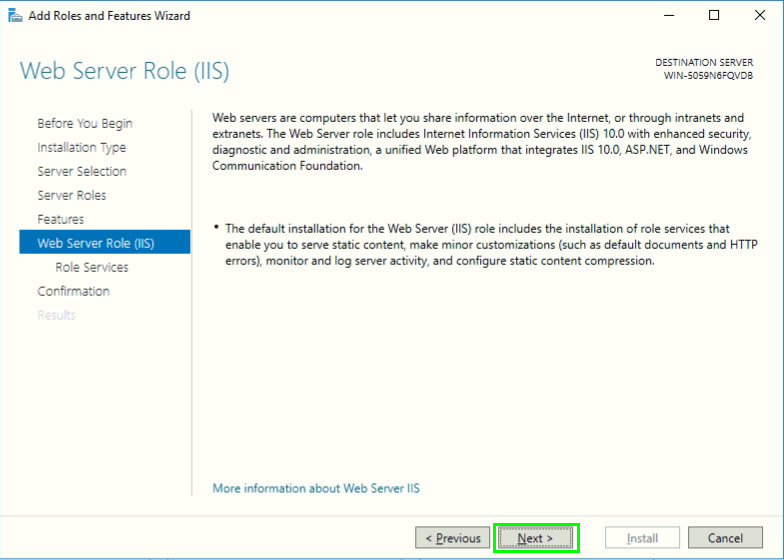
2. Click, "Next"
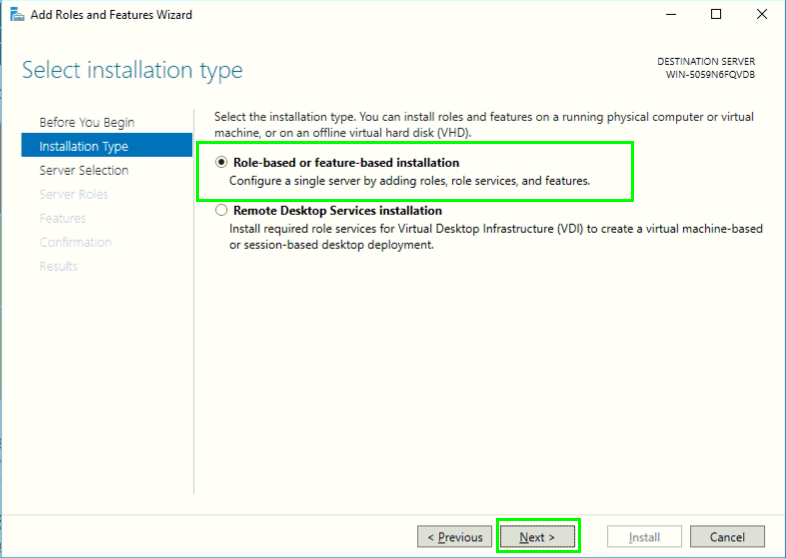
3. Select, "Role-based or feature-based installation" and then, "Next"
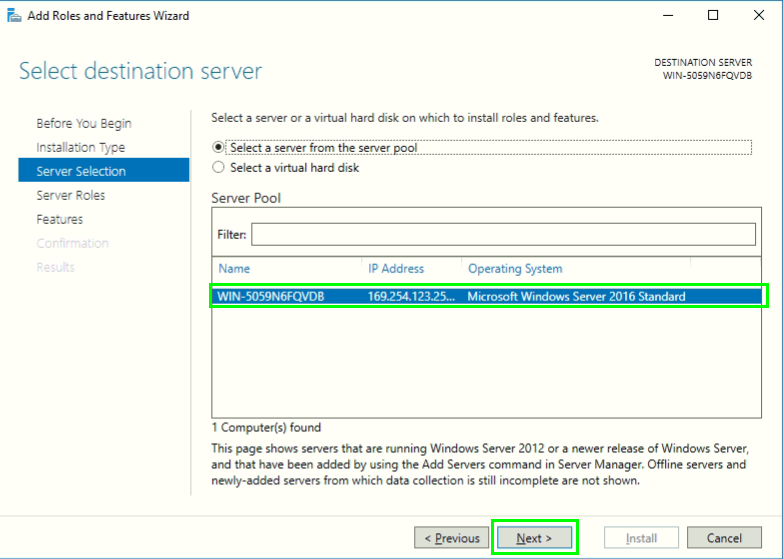
4. Select your server, and click, "Next"
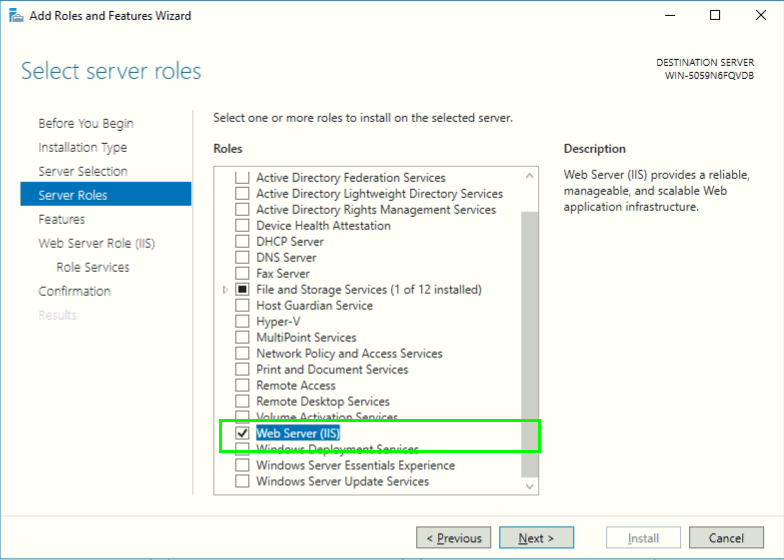
5. Click the box to the left of, "Web Server (IIS)" and then, "Add Features"
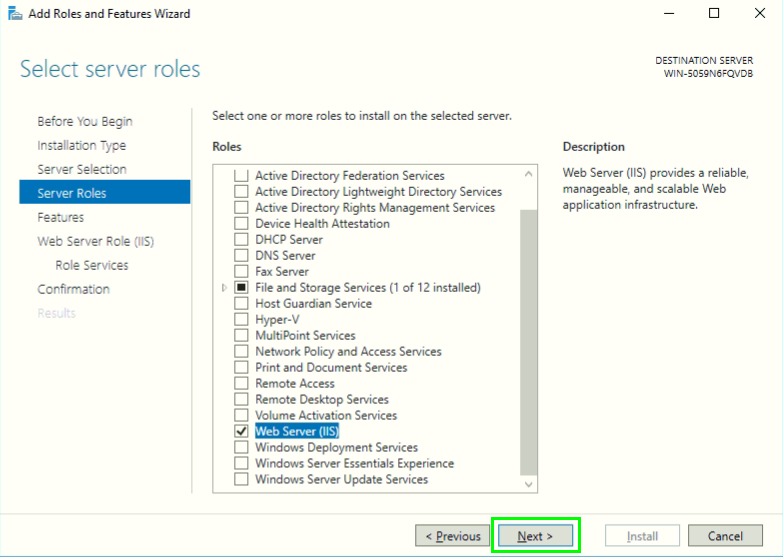
6. Ensure that the following are checked, and click, "Next"
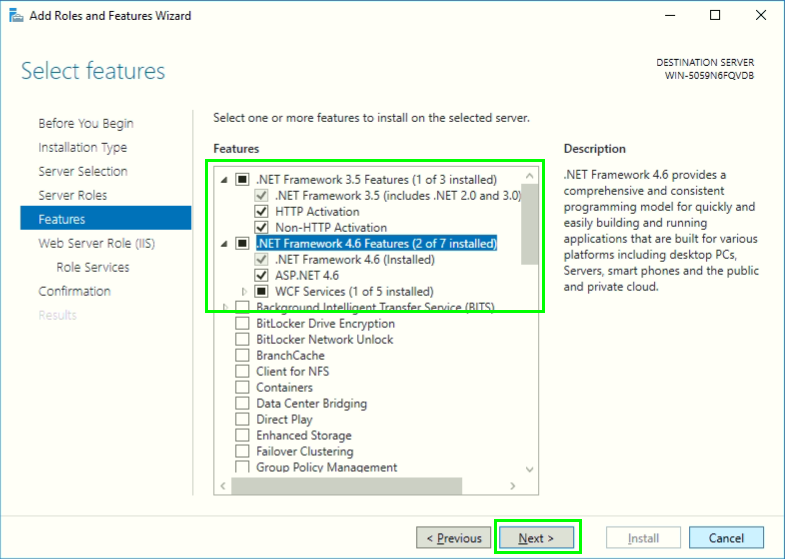
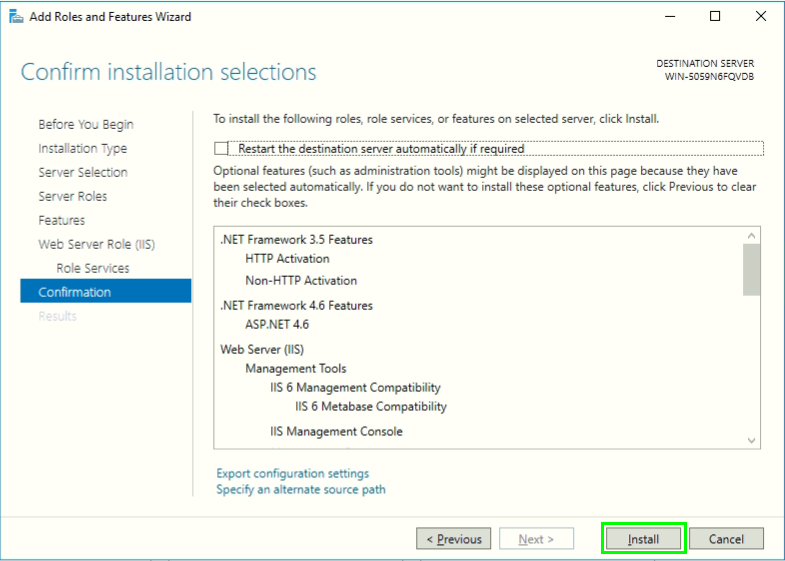
7. Ensure that the following are checked, and click, "Next"
8. Click, "Install"
9. Reboot the server.
uVMS Install
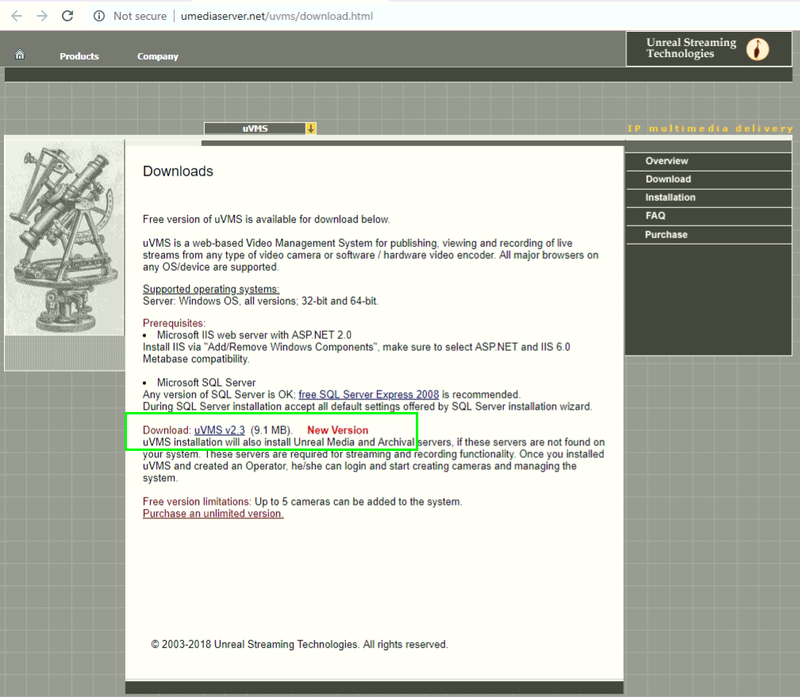
1. Click This Link or navigate your web browser to this page, and click, "uVMS v2.3"
2. Create a folder on the desktop called, "uVMS" and extract the contents of, "uVMS.zip" to that folder.
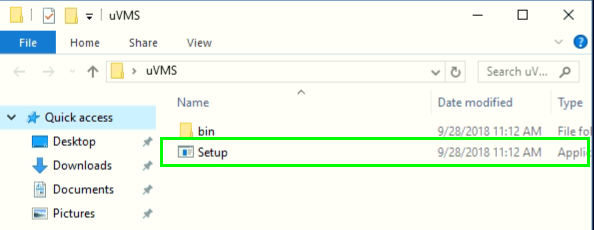
3. Double click, "Setup" to begin installing uVMS.
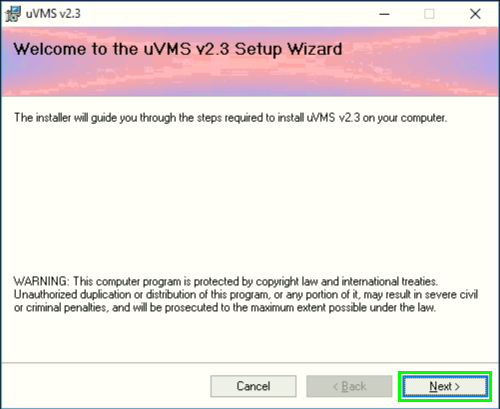
4. Click, "Install" and then, "Next"
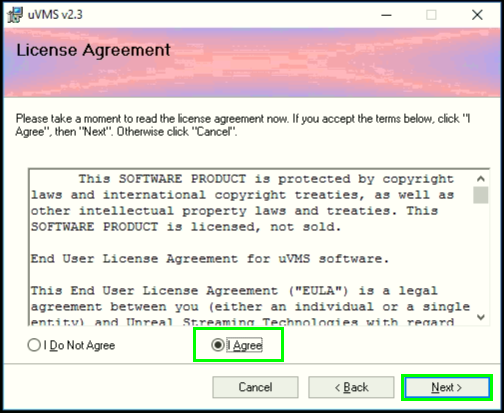
5. Click, "I agree" and then, "Next"
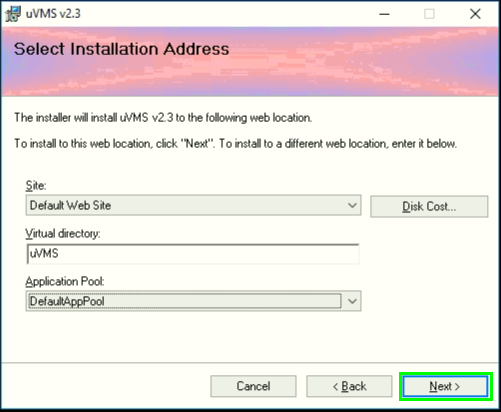
6. Select your Site, Virtual Directory, and Application Pool. Then click, "Next"
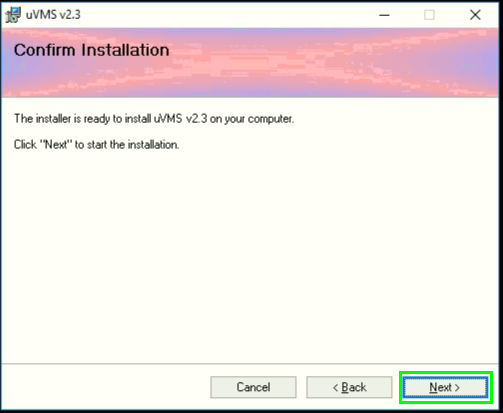
7. Click, "Next"
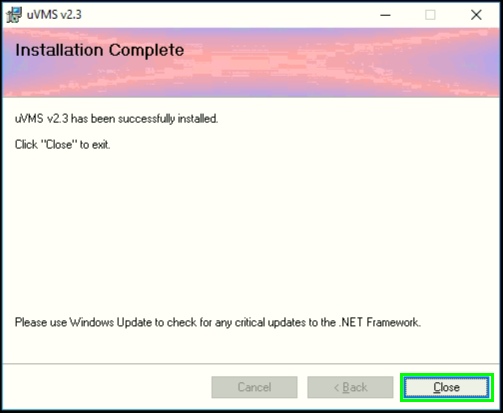
8. Once complete, click, "Close"
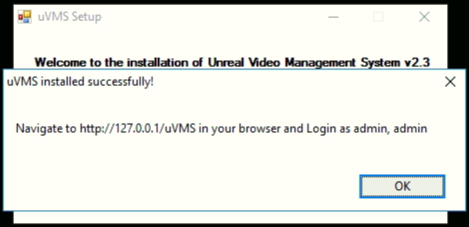
9. You should see this message when complete:
uVMS Modify: HTTP Response Headers
1. Locate your webfolder for uVMS. Example: C:\inetpub\wwwroot\uVMS\
NOTE: This is not usually located under "Program Files" or "Program Files x86"
2. Open the folder titled, "HLS" inside that folder should be a file named, "web.config"
3. Open, "web.config" with Notepad.
4. Remove either the 5th or 6th line, save the notepad document, and close notepad.
Example 1:
<?xml version="1.0" encoding="UTF-8"?>
<configuration>
   <system.webServer>
       <staticContent>
           <mimeMap fileExtension=".ts" mimeType="video/MP2T" />
       </staticContent>
   </system.webServer>
</configuration>
Example 2:
<?xml version="1.0" encoding="UTF-8"?>
<configuration>
   <system.webServer>
       <staticContent>
           <mimeMap fileExtension=".m3u8" mimeType="application/x-mpegURL" />
       </staticContent>
   </system.webServer>
</configuration>
Windows Firewall Setup
1. Go to Control Panel -> Windows Firewall
2. Select, "Advanced settings"
3. Click, "Inbound Rule"
4. Click, "New Rule"
5. Select, "Port" and click, "Next"
6. Select, "TCP" and, "Specific local ports" then input the following: 5119, 5130, 5135, 443, 80, 5120
7. Click, "Next"
8. Select, "Allow the connection" and click, "Next"
9. Ensure all 3 boxes are checked, and click, "Next"
10. Input a name for the Firewall Rule, and click, "Finish"
IIS Setup Part 2
1. Go to Control Panel -> Administrative Tools -> Internet Information Services (IIS) Manager
2. Click on, "Application Pools" and then double click, "DefaultAppPool"
3. Ensure, ".NET CLR version" is set to, ".NET CLR Version v2.0.50727" and click, "OK"
4. Next, go to, "uVMS" under, "Sites"
5.
