Difference between revisions of "Fisheye/On Board Dewarping"
(→Prerequisites) |
(→Prerequisites) |
||
| (6 intermediate revisions by one other user not shown) | |||
| Line 6: | Line 6: | ||
*Windows PC or Laptop | *Windows PC or Laptop | ||
* [[Troubleshoot/Delete_Web_Rec|Clear WebRec files]] | * [[Troubleshoot/Delete_Web_Rec|Clear WebRec files]] | ||
| − | *DH-IPC-EBW812A0N | + | *DH-IPC-EBW812A0N or DH-IPC-EBW86A0N |
| + | <gallery> | ||
| + | File:DHIPCEBW812A0N.jpg|link=USA/IPCamera/Ultra/DH_IPC_EBW812A0N|[[USA/IPCamera/Ultra/DH_IPC_EBW812A0N|DH-IPC-EBW812A0N]] | ||
| + | File:EBW86A0N.jpg|link=USA/IPCamera/Super/DH_IPC_EBW86A0N|[[USA/IPCamera/Super/DH_IPC_EBW86A0N|DH-IPC-EBW86A0N]] | ||
| + | </gallery> | ||
===Video Instructions=== | ===Video Instructions=== | ||
| Line 14: | Line 18: | ||
1. Log into the camera and install the new WebRec plugin for this device. | 1. Log into the camera and install the new WebRec plugin for this device. | ||
| − | [[File: | + | [[File:onboarddewarp007.jpg|500x500px]] |
2. Navigate to Setup->Image->Encode menu select the orientation of your mount under installation mode (Ceiling, Wall, Ground). | 2. Navigate to Setup->Image->Encode menu select the orientation of your mount under installation mode (Ceiling, Wall, Ground). | ||
| Line 57: | Line 61: | ||
[[File:onboarddewarp009.jpg|500x500px]] | [[File:onboarddewarp009.jpg|500x500px]] | ||
| + | [[Category:3rd Party VMS]] | ||
| + | [[Category:Camera]] | ||
| + | [[Category:Fisheye]] | ||
| + | [[Category:Firmware Update]] | ||
| + | [[Category:Firmware]] | ||
Latest revision as of 23:07, 23 June 2020
Contents
How To Dewarp Fisheye On Board
Description
A newer revision of firmware will enable your fisheye to dewarp onboard and then send the video stream to any device without post processing. This can be useful in video management environments that cannot dewarp these devices. Follow these instructions to find out how this function works.
Prerequisites
- Windows PC or Laptop
- Clear WebRec files
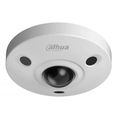
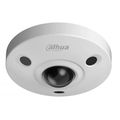
- DH-IPC-EBW812A0N or DH-IPC-EBW86A0N
Video Instructions
Step by Step Instructions
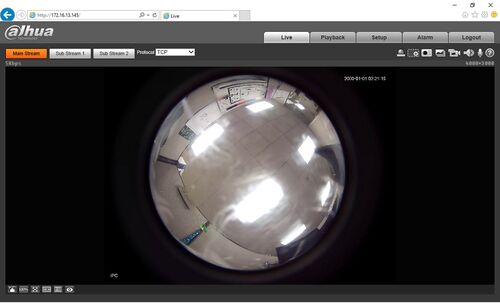
1. Log into the camera and install the new WebRec plugin for this device.
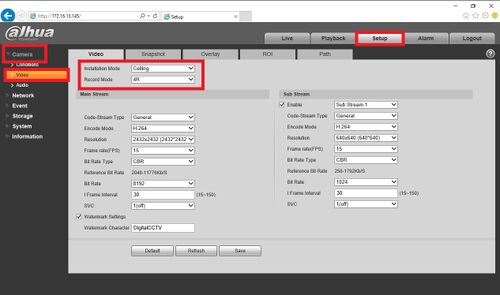
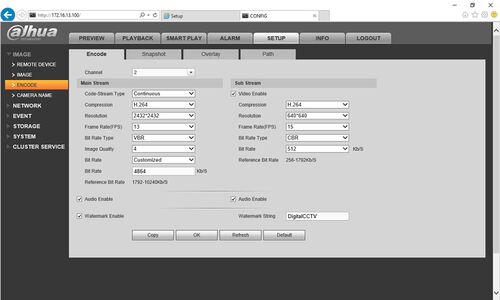
2. Navigate to Setup->Image->Encode menu select the orientation of your mount under installation mode (Ceiling, Wall, Ground).
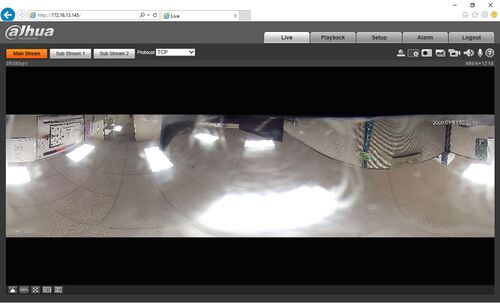
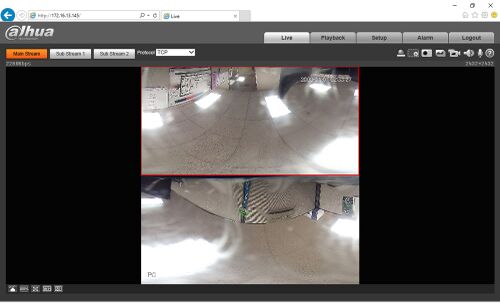
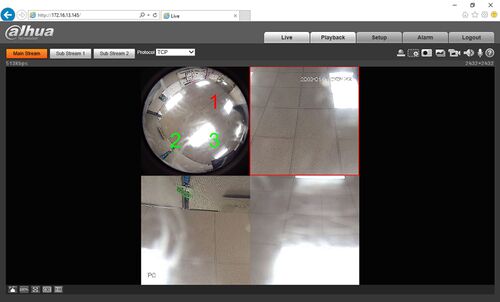
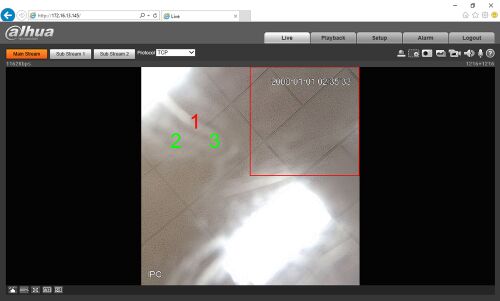
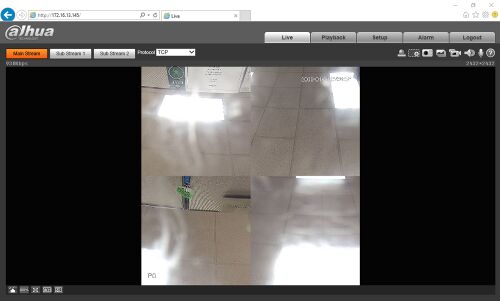
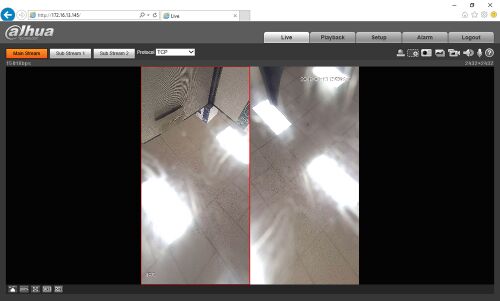
3. Below are screenshots of how the record modes look:
- 1O
- 1P
- 2P
- 1O+3R
- 1R
- 4R
- 2R
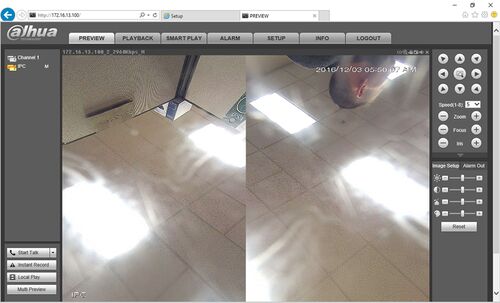
4. Now add the camera like a normal IP camera to your NVR, and notice that you can change every setting in the encode menu except the dewarp mode. The onboard dewarp setting must be configured directly through the camera's webGUI.
5. Here is an example of this feature being used on an NVR.
