Difference between revisions of "NKB1000 Network Setup"
| (One intermediate revision by one other user not shown) | |||
| Line 19: | Line 19: | ||
[[file:NKB1000NetworkSetup2.png|379px]] [[file:NKB1000NetworkSetupBoard2.png|500px]] | [[file:NKB1000NetworkSetup2.png|379px]] [[file:NKB1000NetworkSetupBoard2.png|500px]] | ||
| − | Note: The default NKB1000 credentials are as follows: | + | Note: The default NKB1000 credentials are as follows:<br /> |
| − | User Name: admin | + | User Name: admin <br /> |
| − | Password: 888888 | + | Password: 888888 <br /> |
| + | NKB1000 with firmware 03/02/2020 will need to be initialized with an 8-alphanumerical password. Enter the password under '''PW:''' and confirm it under '''OK:''' | ||
4. Using the joystick, navigate to "Menu Settings" and press, "Enter" | 4. Using the joystick, navigate to "Menu Settings" and press, "Enter" | ||
| Line 115: | Line 116: | ||
[[Category:How To]] | [[Category:How To]] | ||
[[Category:Setup]] | [[Category:Setup]] | ||
| + | |||
| + | <div style="float: right;"> [[#top|[Return To Top]]]</div> | ||
Latest revision as of 22:50, 19 January 2024
Contents
How to Setup NKB1000 over Network
Prerequisites
- NKB1000
- NVR, DVR, or SD ptz camera on the network
- IP address of the NVR, DVR, or SD
Step by Step Setup Instructions
1. Connect a network, and power cable to your NKB1000. The screen should look like the below image once booted.
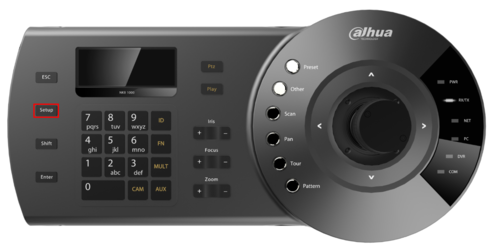
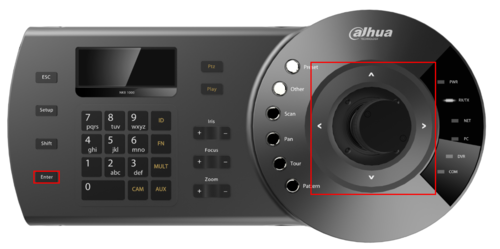
2. Hit Setup on the NKB1000.
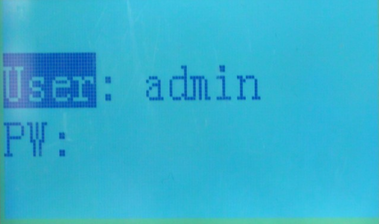
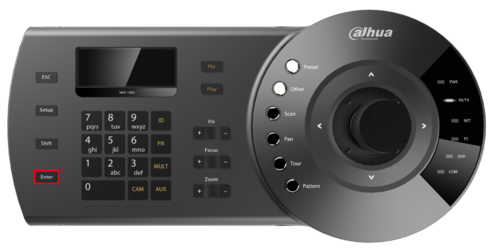
3. Input your NKB1000's password, and hit Enter.
Note: The default NKB1000 credentials are as follows:
User Name: admin
Password: 888888
NKB1000 with firmware 03/02/2020 will need to be initialized with an 8-alphanumerical password. Enter the password under PW: and confirm it under OK:
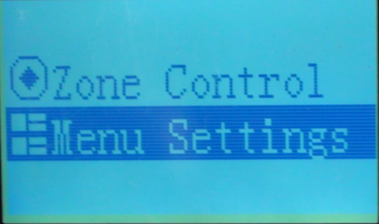
4. Using the joystick, navigate to "Menu Settings" and press, "Enter"
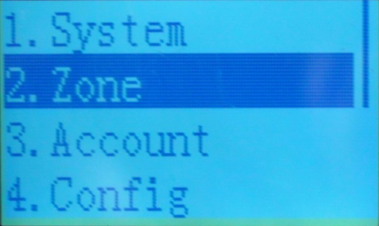
5. Select, "Zone" and press, "Enter"
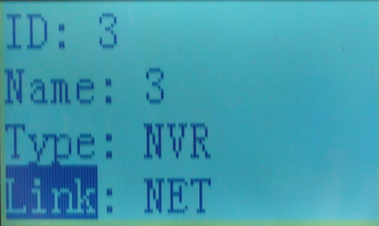
6. Input the following:
ID: (Any Number)
Name: (Any Number)
Type: SD(PTZ), DVR, or NVR
Link: Net
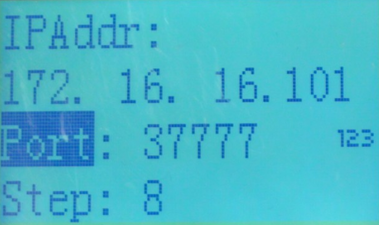
IP Address: (Your SD, NVR, or DVR's local IP address)
Port: 37777
Step: (Leave as defaults)
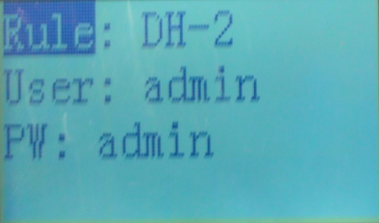
Rule: DH-2
User: admin (or your NVR's user name)
Password: admin (or your NVR's password)
7. Press, "Enter" You should get a message saying, "Successful"
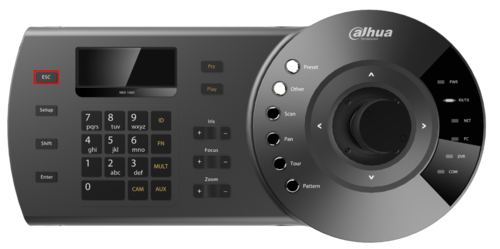
8. Press, "ESC" until you are at the Main Menu.
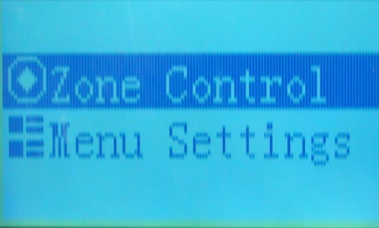
9. Select, "Zone Control" and press, "Enter"
10. Input the ID that you created earlier, and press, "Enter"
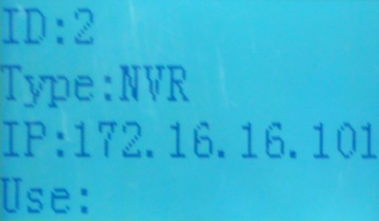
11. You will see a dialogue box that says, "Connecting" Once complete your screen should look like the image below.
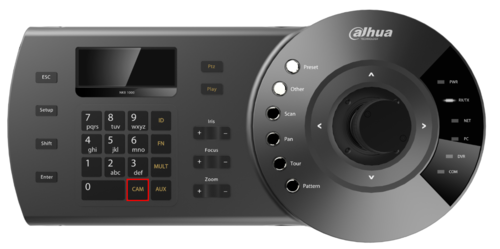
12. Press, "Cam"
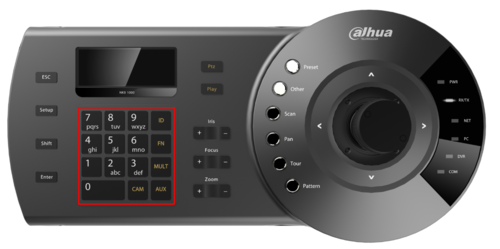
13. Input the channel you wish to control on the number pad of your NKB1000.
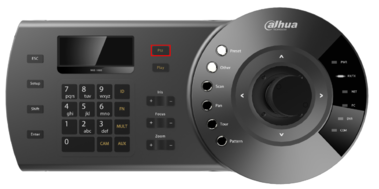
14. Press, "PTZ" and then, "Enter"
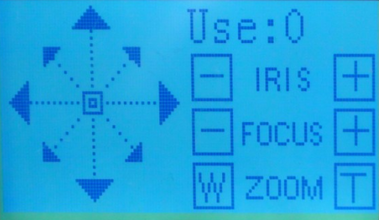
15. If successful, your NKB1000's screen should look like the below image. You can now control your PTZ using the NKB1000.
Adding PTZ Camera Directly to NBK1000
1. If the added device is a standalone PTZ camera, the type needs to be set as "SD".
2. Select, "Zone Control" and press, "Enter"
3. Input the ID that you created earlier, and press, "Enter"
4. You can move the stick to control the PTZ and no additional buttons need to be pressed on the keyboard.
5. If the stick is moved and the PTZ is not moving, try rebooting the PTZ camera and try again.
