Difference between revisions of "SmartPSS/How To Playback Local Record"
(→How To Playback Local Record In SmartPSS) |
|||
| Line 53: | Line 53: | ||
[[File:How_To_Playback_Local_Record_-_7.jpg|600px]] | [[File:How_To_Playback_Local_Record_-_7.jpg|600px]] | ||
| + | |||
| + | |||
| + | [[Category:UI/SmartPSS_2.0]] | ||
| + | [[Category:SmartPSS_2.0]] | ||
| + | |||
| + | |||
| + | [[Category:Playback]] | ||
Revision as of 21:24, 8 August 2019
Contents
[hide | ◄ ► ]How To Playback Local Record In SmartPSS
Description
This article will show you how to use the local record feature in SmartPSS 2.0, which allows the user to directly record and playback live video from an added device
Prerequisites
- SmartPSS
- Video Device added to SmartPSS Device List - How To Add Device to SmartPSS
Video Instructions
Step by Step Instructions
Local Recording
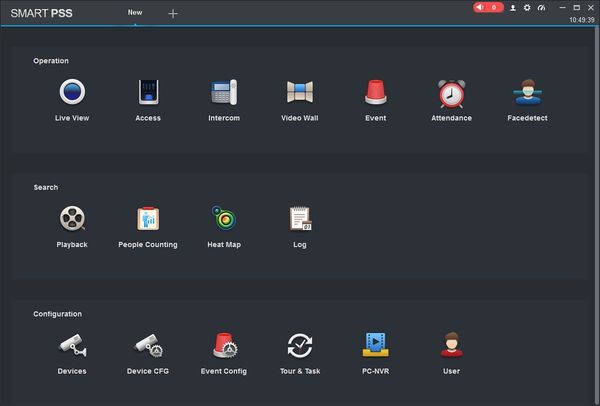
1. Launch SmartPSS.
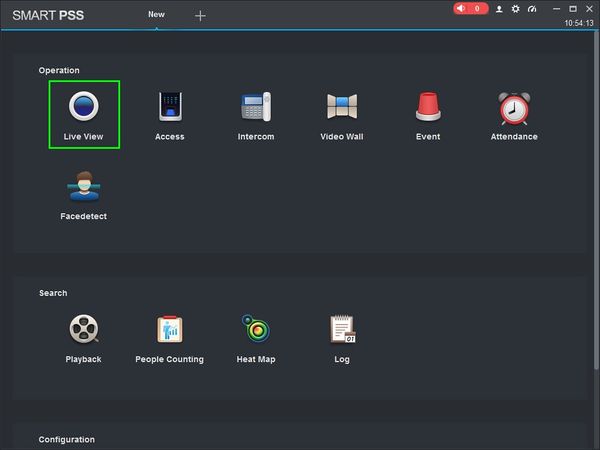
2. Click 'Live View'
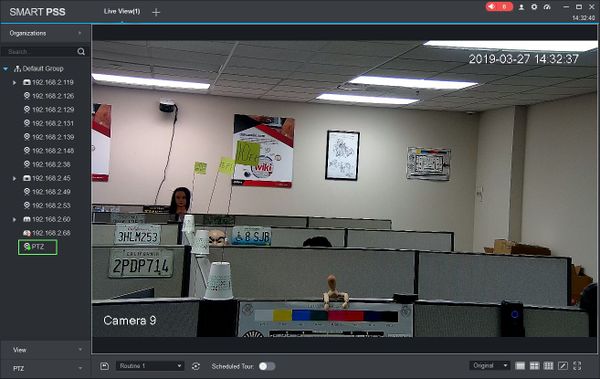
3. Double click a camera in the list or drag and drop it to a position in the window to load.
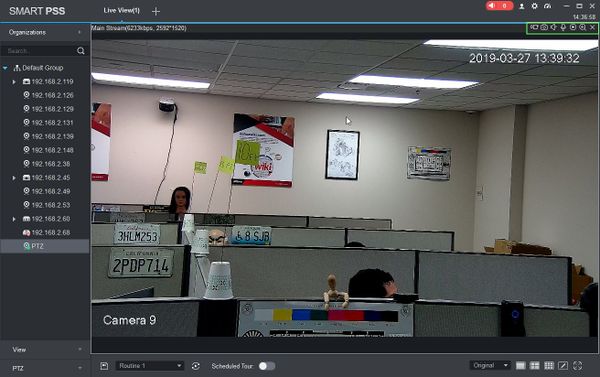
4. Hover the mouse over the window to show the menu
To begin recording, click the Local Record icon ![]()
To end recording, click the icon again.
Local Record Playback
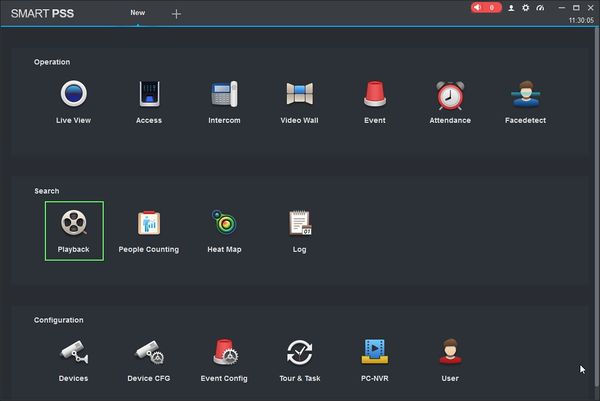
1. Click 'Playback'
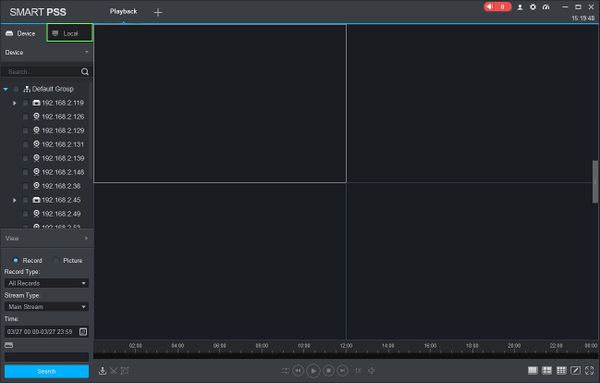
2. The Playback window will open
Click the 'Local' tab to view recordings that have been made on the local computer.
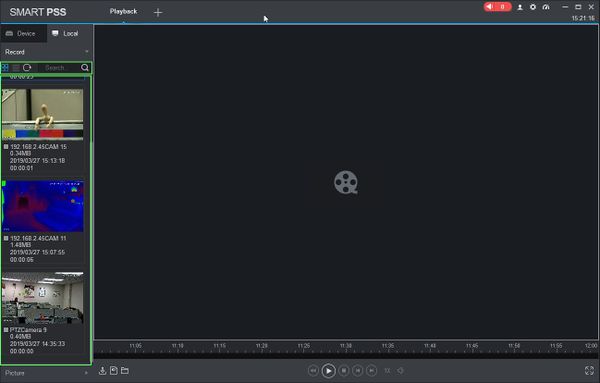
3. Click the icons above the list to choose from a Thumbnail or List View, Refresh the list, or use the Search field to Search by camera name
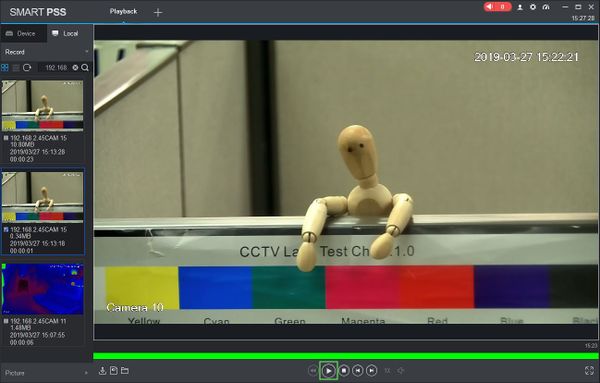
4. Double click a clip in the list to begin playback, or alternatively you can check the box next to the camera then click the 'Play' button
