Notice: Firmware Links Under Maintenance We are currently undergoing maintenance on all firmware links. If any links are inaccessible, please email or contact Tech Support for the firmware. We appreciate your patience during the maintenance, thank you for your understanding.
Difference between revisions of ":Salesforce Interface Map"
(→Description) |
(→Description) |
||
| Line 89: | Line 89: | ||
==Cases Window== | ==Cases Window== | ||
====Description==== | ====Description==== | ||
| + | This section is where you input case details, and any notes pertinent to the resolution of the customer's issue. | ||
====Interface==== | ====Interface==== | ||
[[file:SF_UI_Overview3.png|600px]] | [[file:SF_UI_Overview3.png|600px]] | ||
Revision as of 17:27, 23 January 2018
Contents
Salesforce Interface
Ready to Take Calls Checklist
| Checklist | |
|---|---|
| Logged into Phone | |
| Logged into Shoretel ECC | |
| Logged into Omni-Channel |
Functions
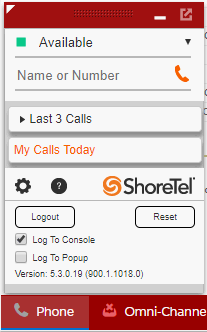
- Phone -This will determine your global phone status. When you start your day, this should be set to, "Available"
- Omni-Channel -This will determine if Open cases are routed to you in Salesforce. If you are able to take a new case change the status of the Omni-Channel to, "Available"
- Shoretel ECC -This will determine your Queue login status. Change the status to, "Available" to begin receiving inbound calls from your assigned queues.
Queues View
Description
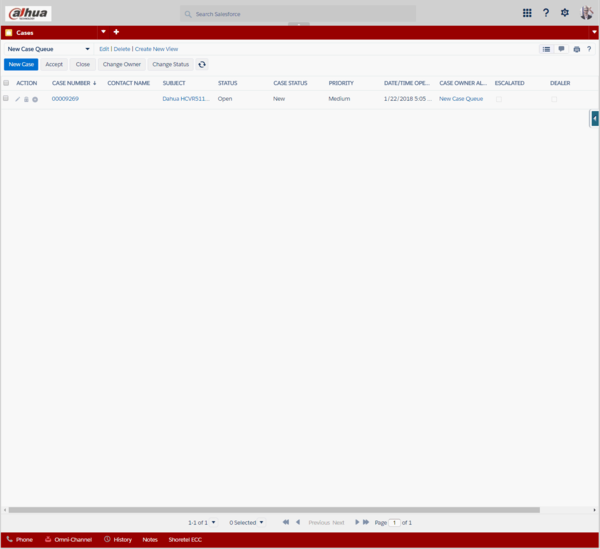
From this page, you will be able to view multiple cases and several key pieces of the case including Subject, Case Number, and the case status. These views can be customized based on your needs.
Interface
Quick Access Bar
Description
The Quick Access Bar is located at the bottom of your Salesforce Windows. From this bar, you can access the Shoretel Phone, Shoretel ECC, Omni-Channel, History, Notes, and maybe more in the future. We can add tabs for other websites, and customize this as needed.
Interface
Phone
Description
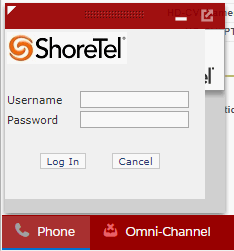
This is the telephony integration between Shoretel, and Salesforce. This tab is used to control your phone's global availability status. During working hours, you should have your phones status set to, "Available"
Interface
Omni-Channel
Description
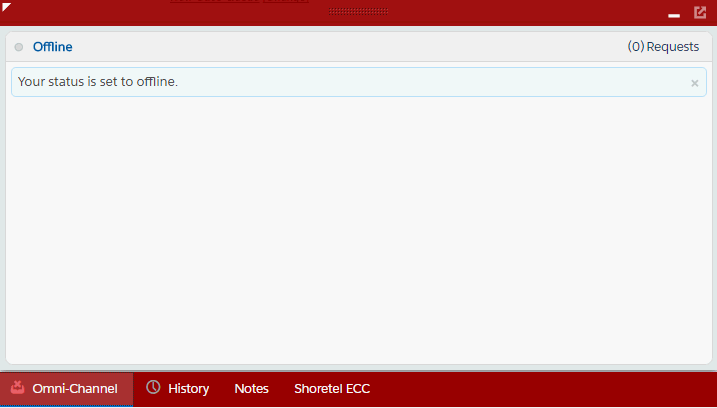
Omni-Channel is Salesforce's intelligent way to route cases to the next available team member. This tab will allow you to receive Open cases from any of your assigned Queues.
NOTE: You have 30 seconds to accept the case offered to you before the case is offered to another agent. Your status will then change to, "Busy" until you manually change your status back to, "Available"
Interface
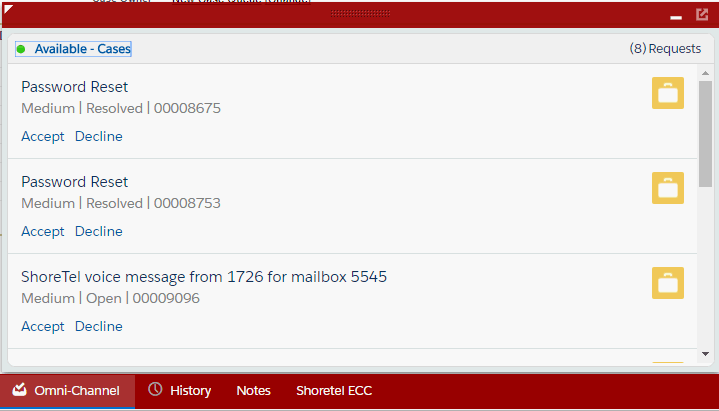 -Logged in, and Available State
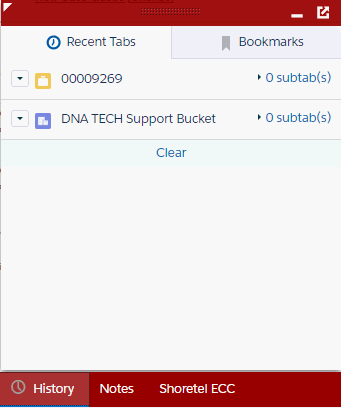
History
Description
This tab will allow you to see previously opened cases. This is helpful when you need to reference a case from earlier in the day, and you have trouble locating it.
Interface
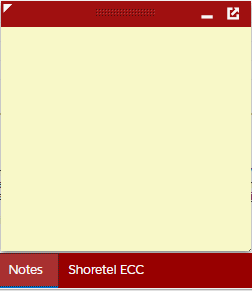
Notes
Description
This section is just used for taking notes. These notes are not saved anywhere, and should be added to the case comments before closing the case.
Interface
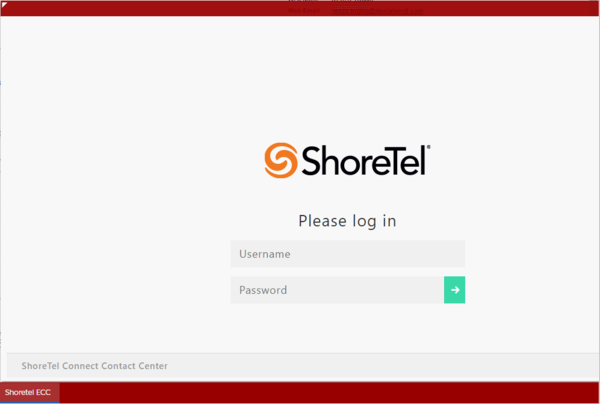
Shoretel ECC
Description
This tab allows you to login to the Shoretel ECC that controls your phone's queue status. Changing the status to, "Available" will result in calls being routed to your phone based on your assigned queues.
Interface
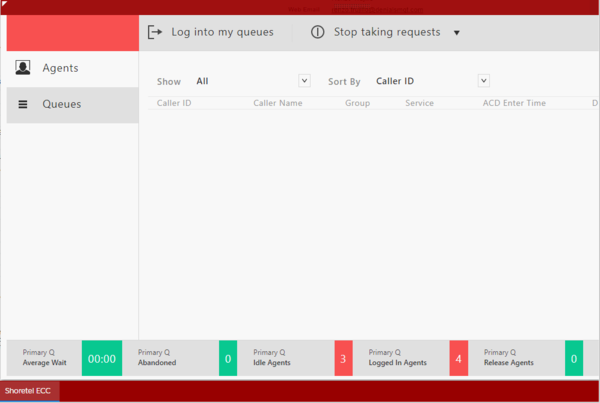 -Logged in, Not Logged Into Queues
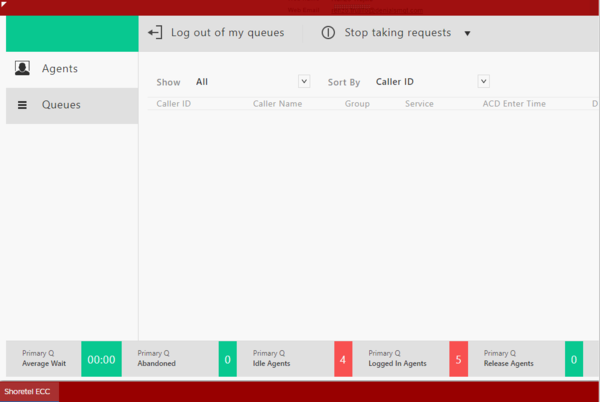 -Logged in, and Logged Into Queues
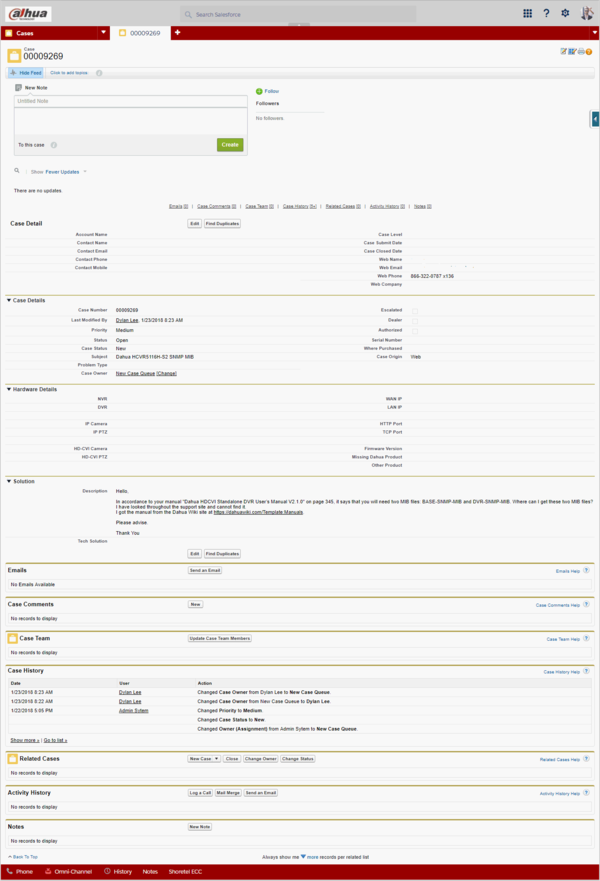
Cases Window
Description
This section is where you input case details, and any notes pertinent to the resolution of the customer's issue.
