Difference between revisions of "SmartPSS/How To Use Task Plan"
(→How To Use Task Plan In SmartPSS) |
(→How To Use Task Plan In SmartPSS) |
||
| Line 30: | Line 30: | ||
[[File:How_To_Use_Task_Plan_-_5.jpg]] | [[File:How_To_Use_Task_Plan_-_5.jpg]] | ||
| − | * Enter a Task Name¹ and Task Time² (in seconds). | + | ''* Enter a Task Name¹ and Task Time² (in seconds). |
* Select from the pre-configured layouts or create your own³ | * Select from the pre-configured layouts or create your own³ | ||
| + | '' | ||
5. To add video to the layout there are several options: | 5. To add video to the layout there are several options: | ||
Revision as of 16:16, 27 March 2019
Contents
How To Use Task Plan In SmartPSS
Description
This article will show you how to setup and use Task Plan in SmartPSS 2.0. Task Plan allows you to configure an automated sequence of video from multiple video devices added to SmartPSS.
Prerequisites
- SmartPSS
- Devices added to SmartPSS
Video Instructions
Coming Soon
Step by Step Instructions
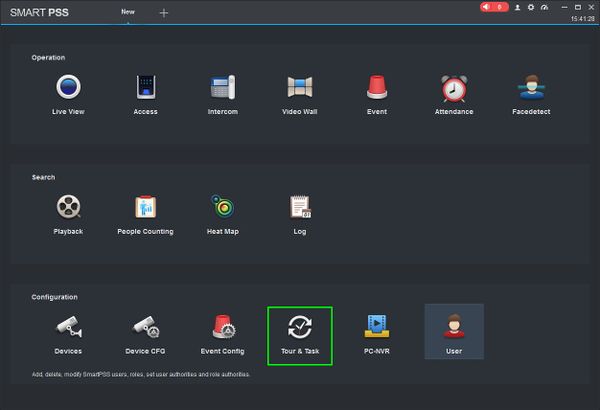
1. Launch SmartPSS and select 'Tour & Task'.
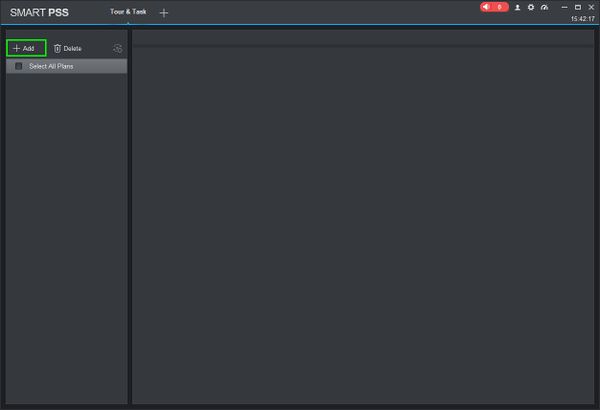
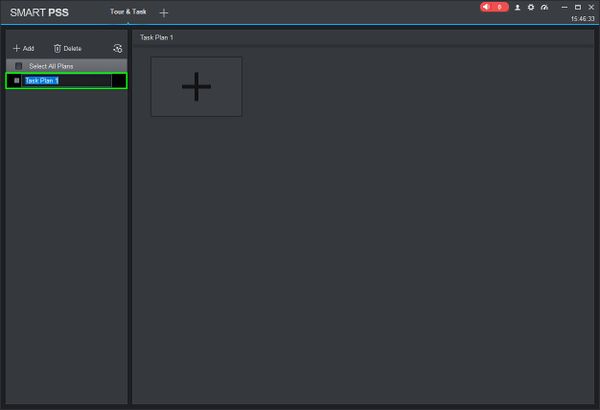
2. On the Tour & Task window click '+ Add'. Enter a name for the plan then press Enter.
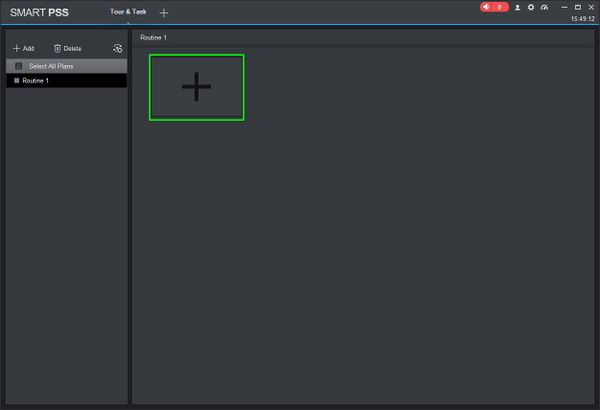
3. Click the + to create a new Task Plan.
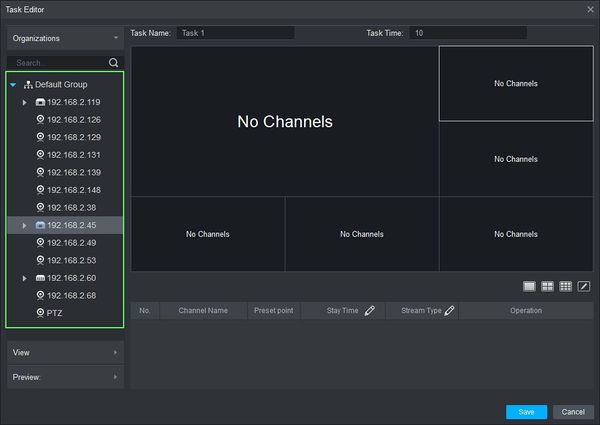
4. The Task Editor window will open.
Error creating thumbnail: Unable to save thumbnail to destination
* Enter a Task Name¹ and Task Time² (in seconds).
- Select from the pre-configured layouts or create your own³
5. To add video to the layout there are several options:
Drag & Drop
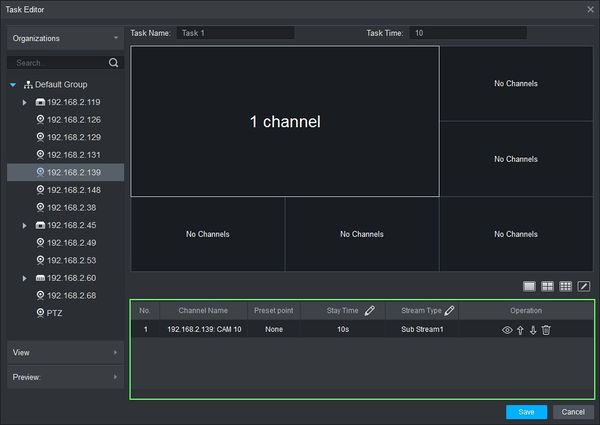
- Use the Device tree on the left to click on a device then drag and drop it onto the layout. If the device has multiple streams (ex: DVR or NVR) all streams from the device will auto populate the grid layout.
- Once a device is added it will appear in the Task List
