Difference between revisions of "SmartPSS/How To Setup Video Talk"
(→How To Setup Video Talk In SmartPSS) |
(→How To Setup Video Talk In SmartPSS) |
||
| Line 10: | Line 10: | ||
<div class="toccolours mw-collapsible mw-collapsed"> | <div class="toccolours mw-collapsible mw-collapsed"> | ||
* Device with video talk capabilities configured with local computer: | * Device with video talk capabilities configured with local computer: | ||
| − | <div class="mw-collapsible-content">For example VTO2111D, the MGT Centre IP Address must be set as the computer running SmartPSS | + | <div class="mw-collapsible-content"> |
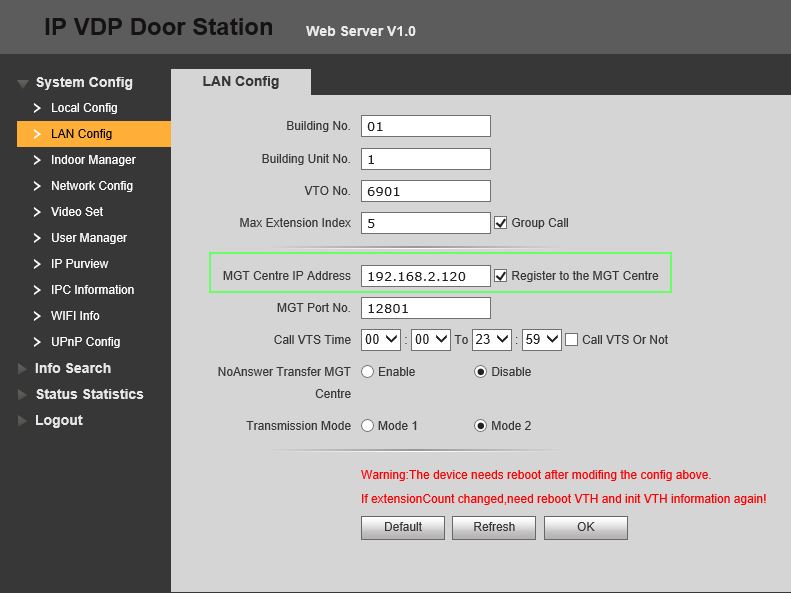
| + | For example VTO2111D, the MGT Centre IP Address must be set as the computer running SmartPSS | ||
[[File:How_To_Setup_Video_Talk_SmartPSS_-_intercom_set_up.jpg]] </div> | [[File:How_To_Setup_Video_Talk_SmartPSS_-_intercom_set_up.jpg]] </div> | ||
</div> | </div> | ||
Revision as of 20:50, 3 April 2019
Contents
How To Setup Video Talk In SmartPSS
Description
This article will show you how to setup and use Video Talk in SmartPSS 2.0
Prerequisites
- SmartPSS
- Device with video talk capabilities
- Device with video talk capabilities added to SmartPSS Device List - How To Add Device to SmartPSS
- Device with video talk capabilities configured with local computer:
Video Instructions
Step by Step Instructions
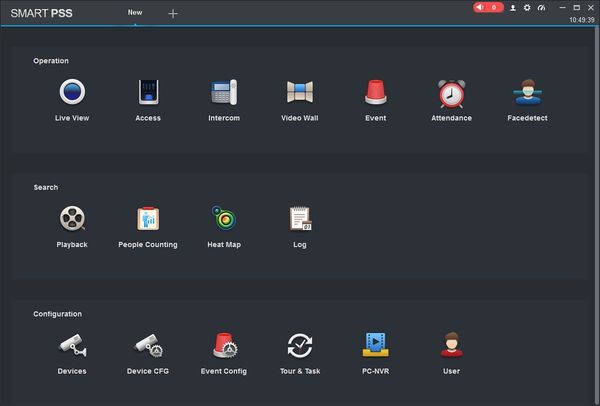
1. Launch SmartPSS.
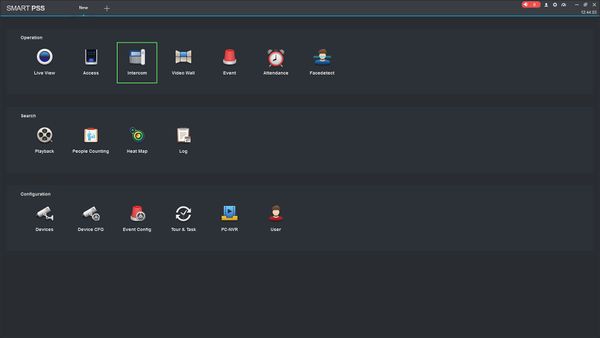
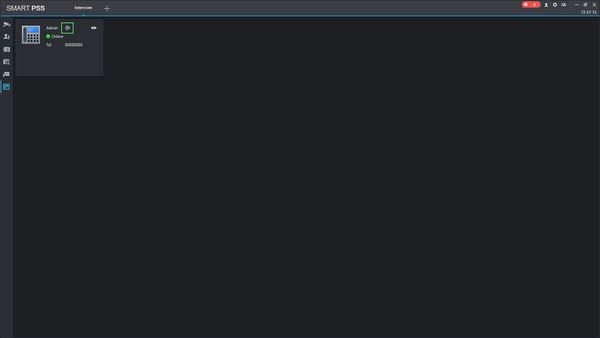
2. Click Intercom
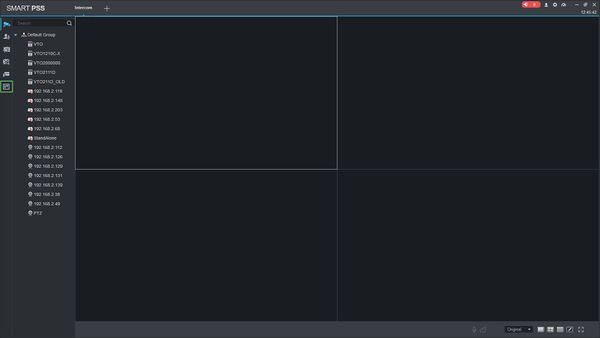
3. Click the VTS icon on the left to enter the VTS Settings menu
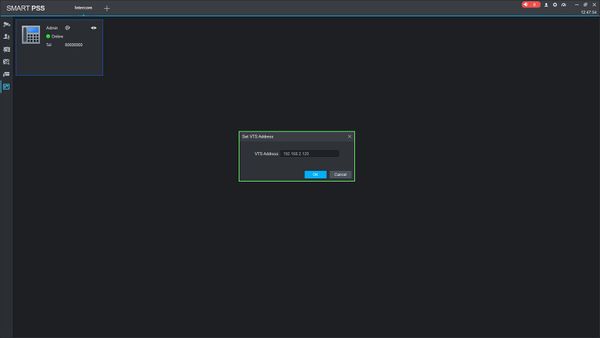
4. Click the IP icon to edit the setting
5.Enter the local IP of the computer running SmartPSS
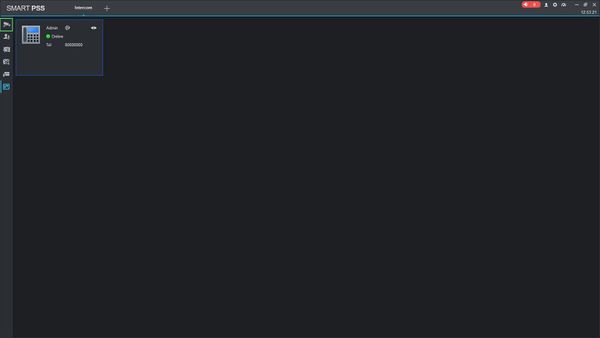
Setup is complete
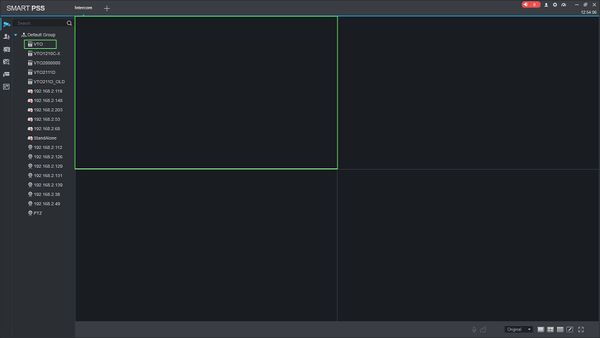
6. Click on Monitor
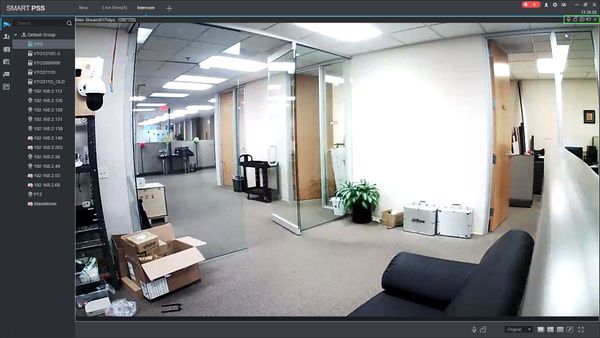
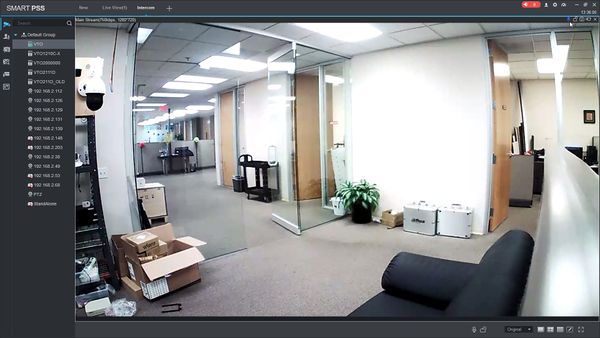
8. Double Click the device the device list on the left side of the screen, then double click the video pane to bring the feed up in full screen
9. Hover the mouse over the window to show the menu
10. Click the Shout icon ![]() to begin a Video Talk
to begin a Video Talk
The icon will change to ![]() when active.
when active.
Click the icon again to end.
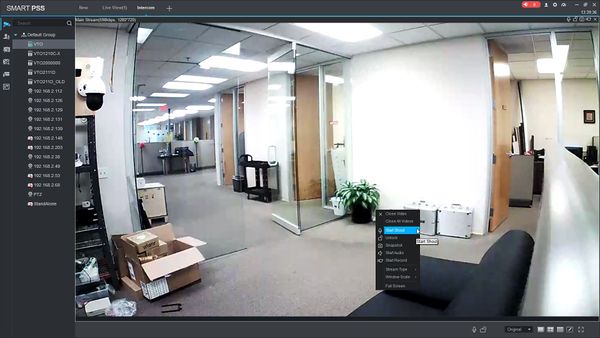
Alternatively, you can Right Click the video feed and select Start/End Shout from menu
