Difference between revisions of "SmartPSS/EMap Setup"
| Line 39: | Line 39: | ||
[[File:EMap_Setup_-_SmartPSS_-_6.jpg|600px]] | [[File:EMap_Setup_-_SmartPSS_-_6.jpg|600px]] | ||
| + | |||
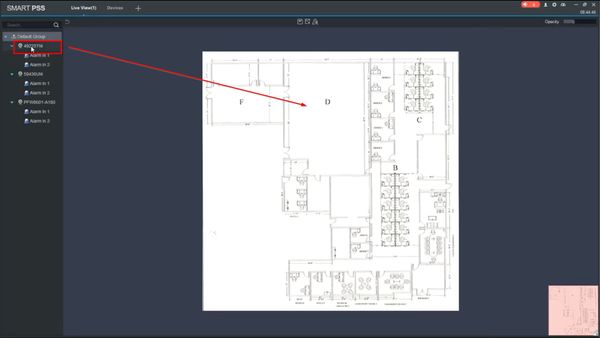
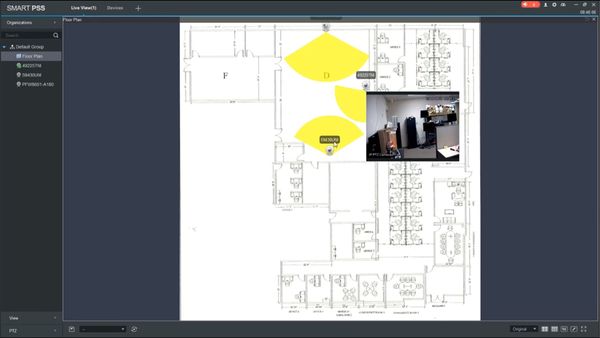
| + | 6. Use the Device Tree on the left side of the screen to drag and drop devices on top of the EMap | ||
[[File:EMap_Setup_-_SmartPSS_-_7.jpg|600px]] | [[File:EMap_Setup_-_SmartPSS_-_7.jpg|600px]] | ||
[[File:EMap_Setup_-_SmartPSS_-_8.jpg|600px]] | [[File:EMap_Setup_-_SmartPSS_-_8.jpg|600px]] | ||
| + | |||
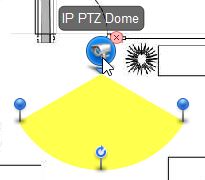
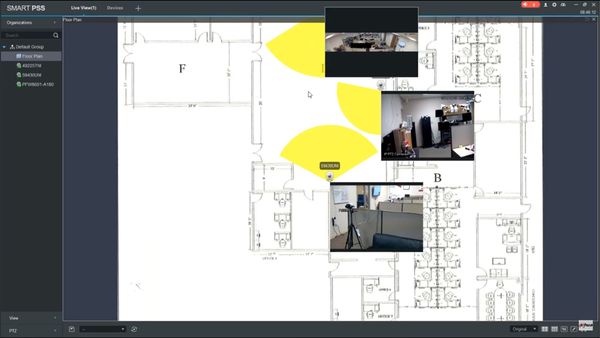
| + | 7. Once a camera has been added you can adjust the viewing angle and direction of the camera | ||
[[File:EMap_Setup_-_SmartPSS_-_9.jpg]] | [[File:EMap_Setup_-_SmartPSS_-_9.jpg]] | ||
| − | [[File:fov_icon.jpg]] [[File:rotate_camera_icon.jpg]] | + | *[[File:fov_icon.jpg]] - Field of View |
| + | *[[File:rotate_camera_icon.jpg]] - Rotate camera | ||
| + | |||
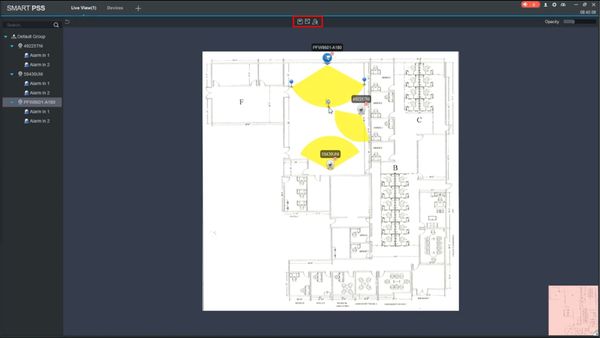
| + | 8. Continue to add devices as desired | ||
| + | Click the | ||
[[File:EMap_Setup_-_SmartPSS_-_10.jpg|600px]] | [[File:EMap_Setup_-_SmartPSS_-_10.jpg|600px]] | ||
Revision as of 17:35, 31 October 2019
Contents
SmartPSS Emap Setup
Description
Prerequisites
- Floor Plan image in JPG format
- SmartPSS Version 2.002.0000009
- Several Devices Added to SmartPSS
Video Instructions
Step by Step Instructions
1. From the Main Page of SmartPSS click Live View
2. In the Device Tree on the left side of the screen, Right Click the Group (by default Default Group)
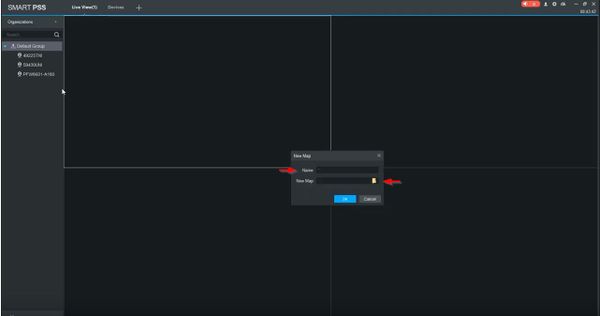
Select 'New Map"
3. The New Map window will appear
Enter a name for the Map.
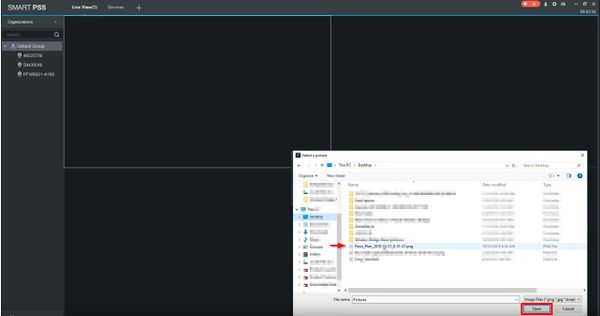
Click the folder icon to locate the floor plan image on the computer
Click Open once the floor plan image has been selected
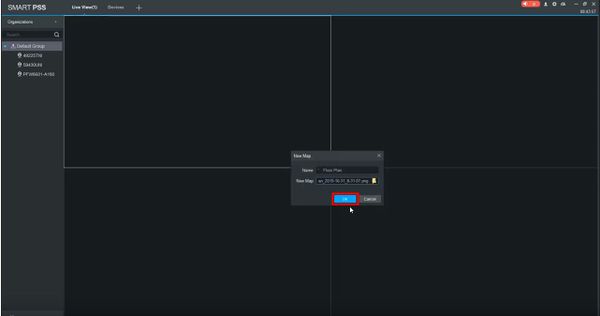
4. Click OK
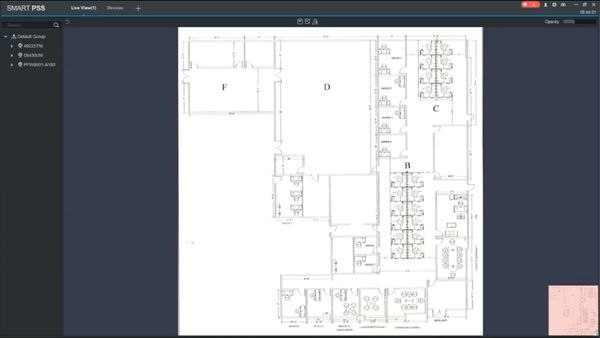
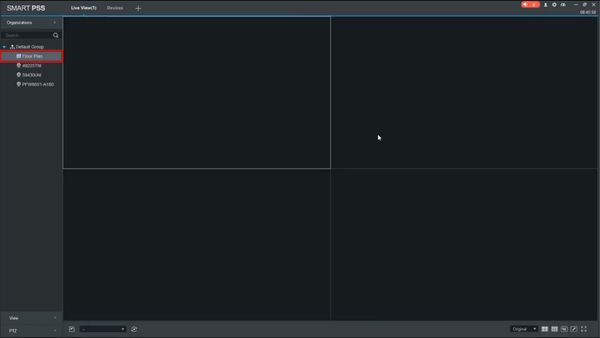
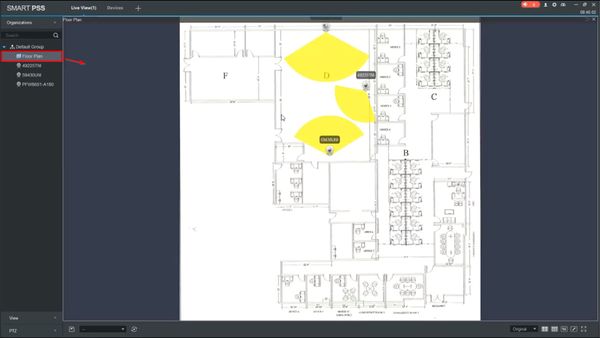
5. The floor plan image will appear once added
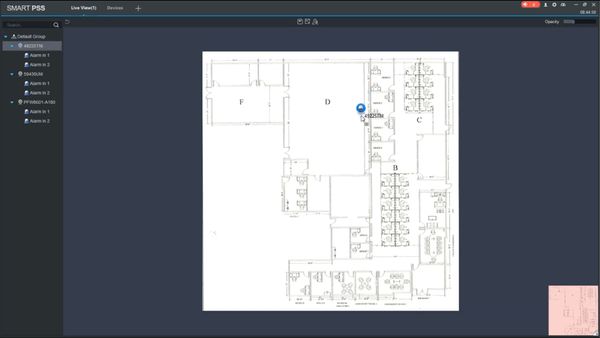
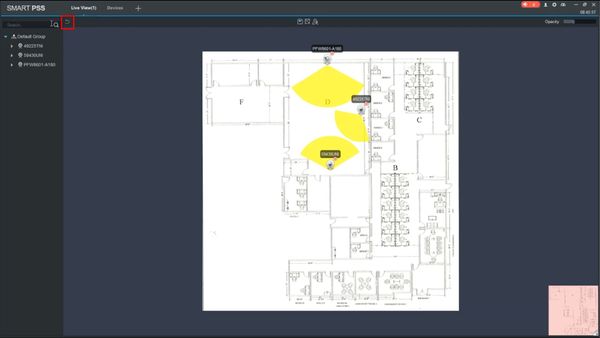
6. Use the Device Tree on the left side of the screen to drag and drop devices on top of the EMap
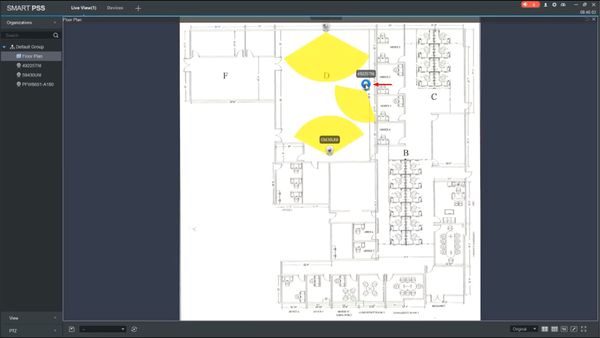
7. Once a camera has been added you can adjust the viewing angle and direction of the camera
8. Continue to add devices as desired


