NVR/Basic Setup/Connect WiFi Camera And NVR
Contents
How to Connect a WiFi Camera to Wifi NVR
Description
This shows you how to connect a Wifi Camera to Wifi NVR.
Prerequisites
- WiFi Camera
- NVR
Video Instructions
Step by Step Instructions
Note: These instructions only apply for WiFi NVRs and Cameras.
1. Connect the NVR and IP Camera directly to your router, switch, or modem with a CAT5 cable.
2. Open the ConfigTool and locate your NVR and IP Camera.
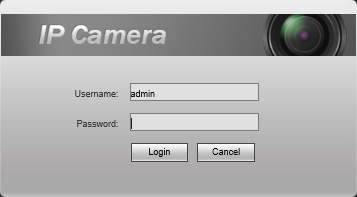
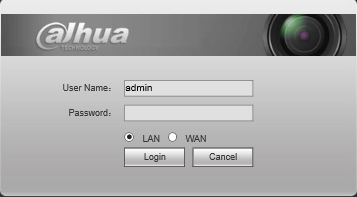
3. Login to both using Internet Explorer. We will open these on two separate tabs (wired camera IP: wireless camera)
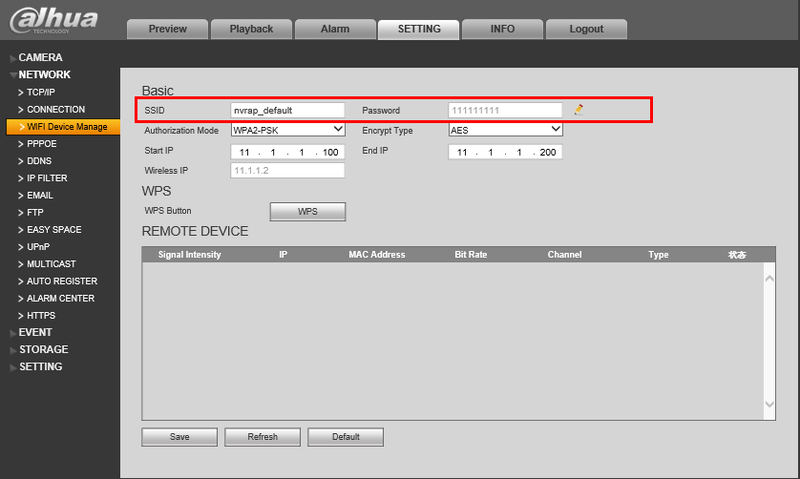
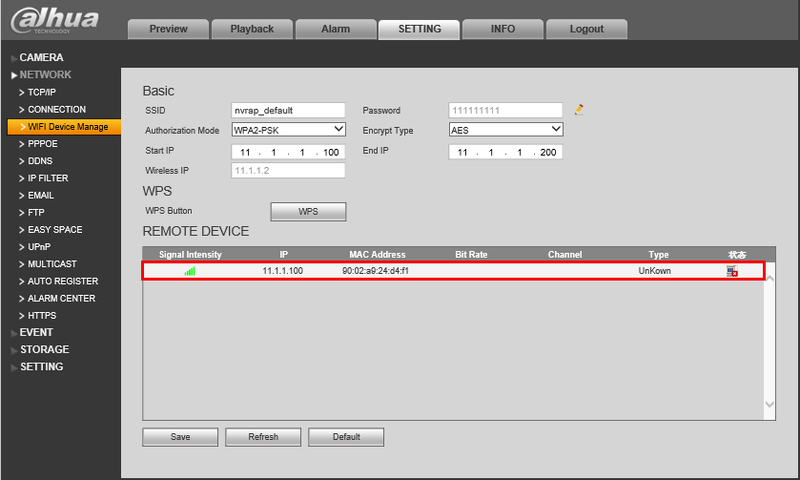
4. On the NVR, go to Settings->Network->WiFi Device Manage
Be sure to note the SSID and Password.
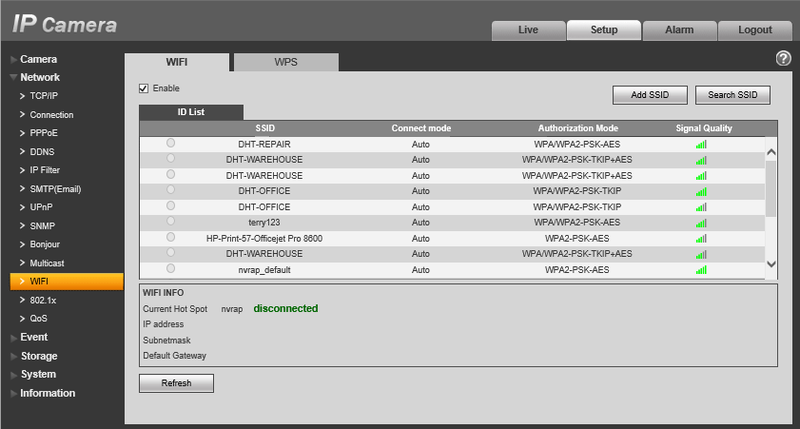
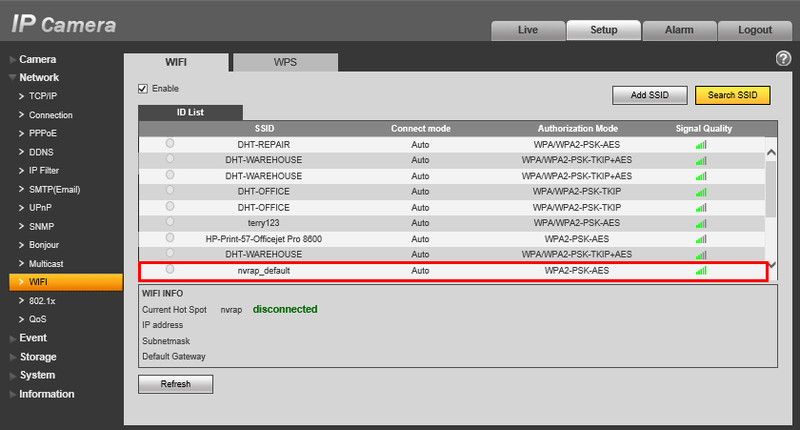
5. On the IP Camera, go to Setup->Network->WiFi
6. Locate your NVR's SSID, and click once.
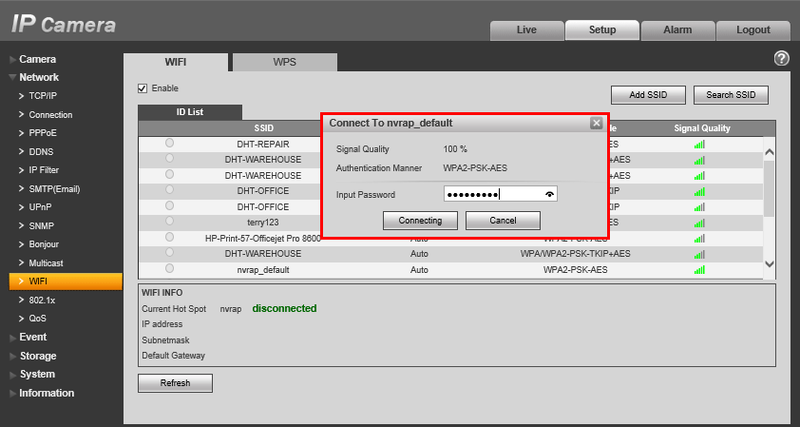
7. Input your NVR's SSID password, and click, "Connecting"
8. Go back to the NVR page, go to Settings->Network->WiFi Device Manage
Confirm that the camera is displaying on this page and note the IP address.
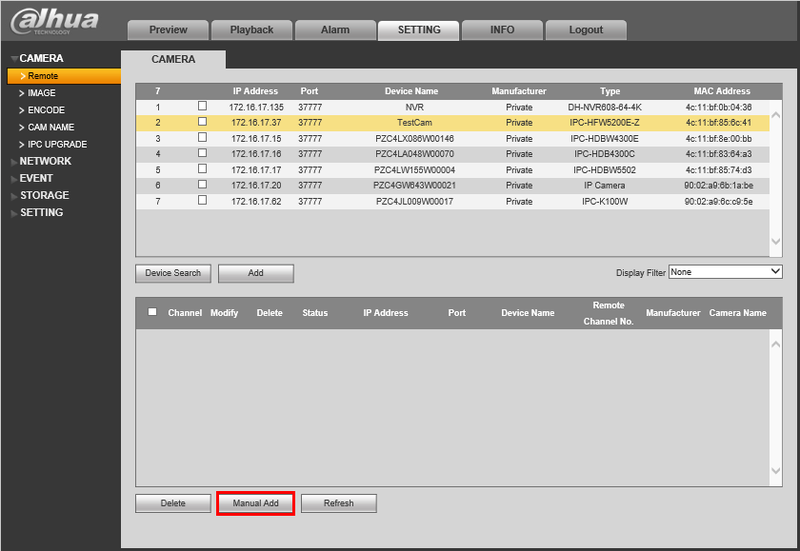
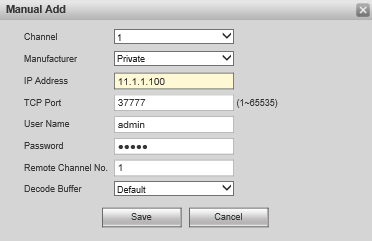
9. On the NVR page, go to Setting->Camera->Remote and click, "Manual Add"
10. Input the following:
- Channel: (Any)
- Manufacturer: Private
- IP Address: (Your IP Camera's IP Address)
- TCP Port: 37777
- User Name: admin
- Password: (Your IP Camera's password.) Default is, "admin"
- Remote Channel No. (Any)
- Decode Buffer: Default
11. Hit, "Save"
