Video Intercom/How To Add A VTO2111D-WP To A VTH5221D
How To Add A VTO2111D-WP To a VTH5221D
Description
This Step by Step guide will provide instruction to setup A VTO2111D-WP To A VTH5221D via a LAN and Wireless LAN connection.
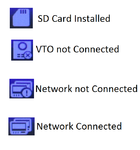
- VTH status indicator key:
Prerequisites
- Power and wired or wireless network to VTH5221D and VTO2111D-WP
- Windows PC on the network
Step by Step Instructions
Below are several sets of instructions for setting up both the VTO and VTH system in their respective interfaces.
Wired Instructions
Follow the instructions below for using a wired network (or PoE).
Video Instructions
VTO2111D-WP
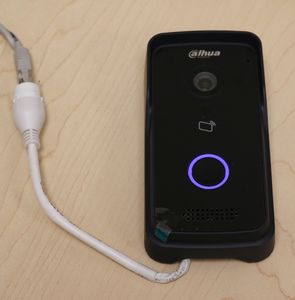
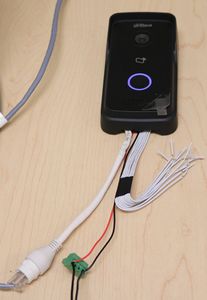
1. Please plug in the appropriate power supply, the VTO2111D-WP can use PoE or a DC power supply:
- PoE:
- DC power supply:
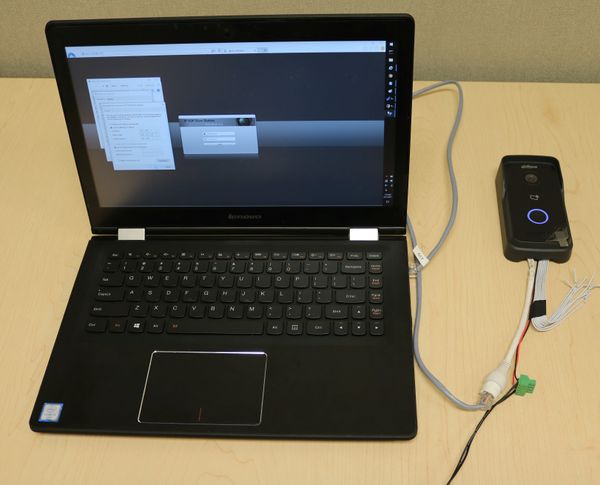
2. For this exercise, the VTO will have both DC power and a direct Ethernet connection directly to a laptop for setup. After the unit has booted up make sure you have a network connection to the device via an Ethernet cable.
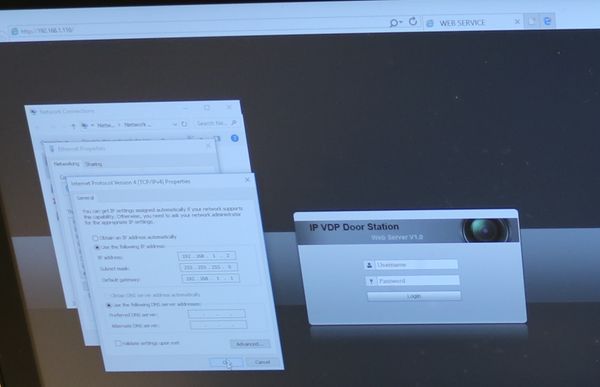
3. If you are using a direct connection please set your devices IP address to 192.168.1.x (x=any available IP), subnet mask 255.255.255.0. This will ensure you are using the same IP scheme as the VTO's factory defaults.
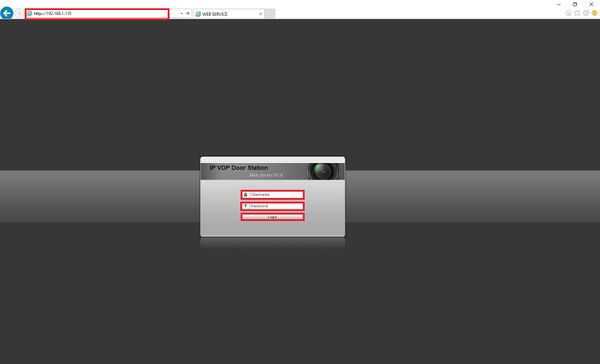
4. Launch Internet Explorer and enter the VTO's default IP address into the URL address bar: 192.168.1.110. If you cannot see the web page load on this default IP, then please press and hold the reset button located on the back side of the VTO for 15 seconds while the device is powered on. Once at the login page please enter the default username (admin) and password (admin).
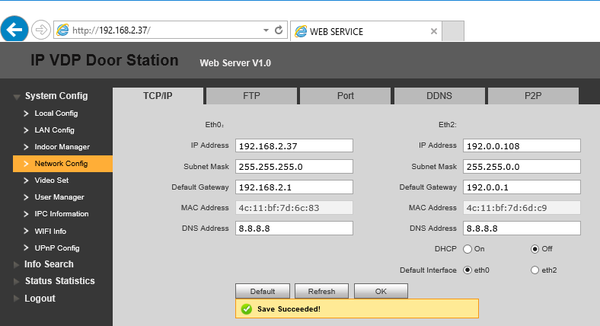
5. After the login page please select Network Config on the left side. Under the TCP/IP tab please input the desired network configuration. For this exercise, the network uses a 192.168.2.x scheme, and the device will be configured on the wired interface (Eth0) and on a static IP address on the LAN (DCHP-Off). After the settings have been entered, select OK. Changing network schemes will disconnect the device when directly connected. From here the device can now be plugged into the network, and accessed from the network.
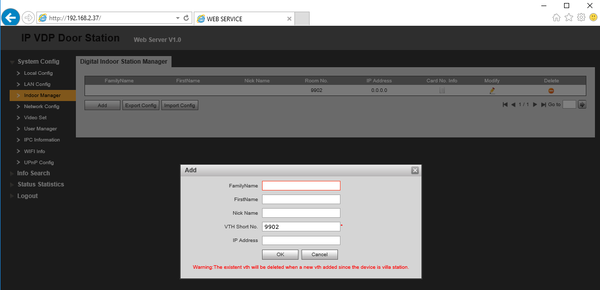
6. To configure the Main VTH with the VTO we will need to add the VTH's room number (or desired room number) to the VTO. Select Indoor Manager on the left, select Add, from here the only necessary info will be the room number. For this example we will be using 9902 as the Main VTH's room number, select OK when this is finished. *Note* The VTO's room number can differ from this number (default of 6901), however this specific device can only add one Main VTH (with multiple VTH extensions).
7. . From here the VTO will use an auto negotiation protocol with the VTH. This process will sometimes require rebooting the device. To access the software reboot on the VTO please select Logout on the left side -> Reboot Device -> Reboot Device, and wait 2-5 minutes. Please follow the second part of the Step by Step instructions to setup and configure the VTH5221D
Video Instructions
VTH5221D
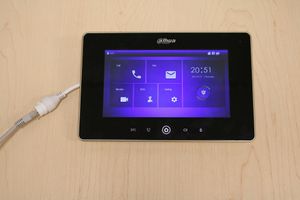
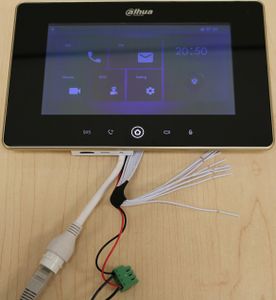
1. Please plug in the appropriate power supply, the VTH5221D can use PoE or a DC power supply:
- PoE:
- DC power supply:
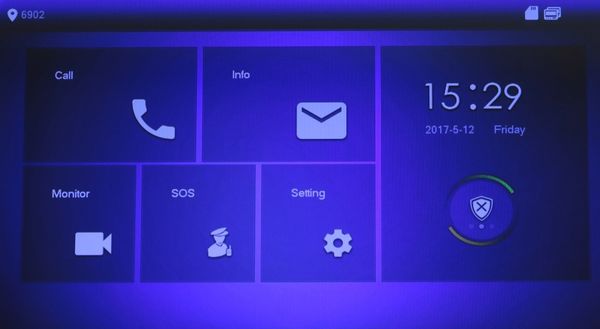
2. Once the VTH has booted up please tap the screen to wake up the main menu.
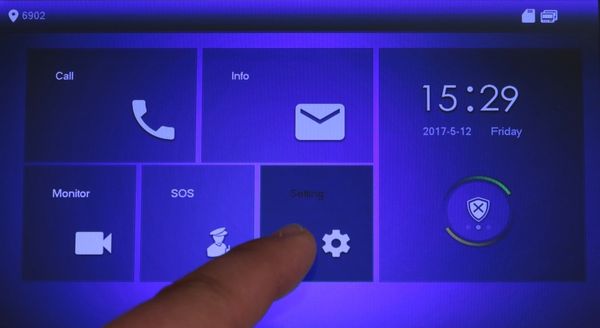
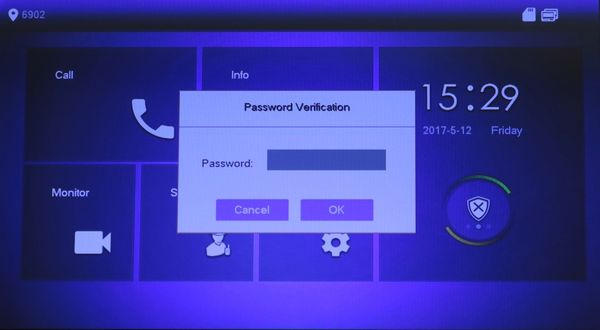
Press and hold Setting until a login menu appears on the screen.
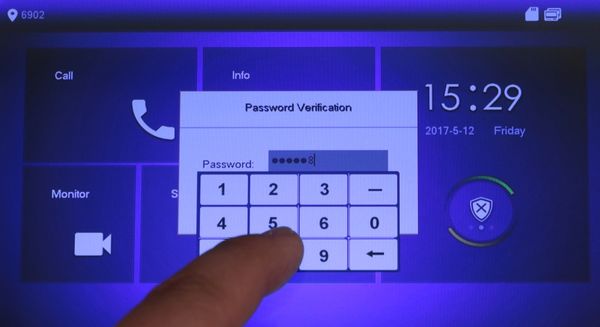
Tap the area next to Password: and enter 888888 to get into the main settings of the device.
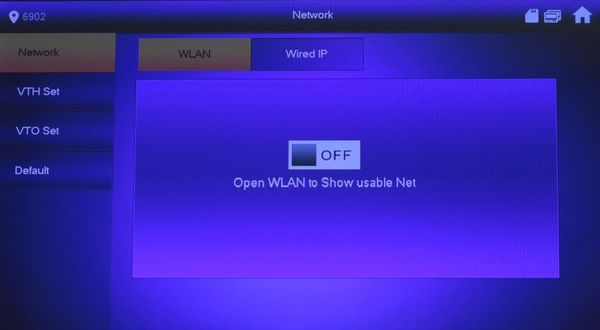
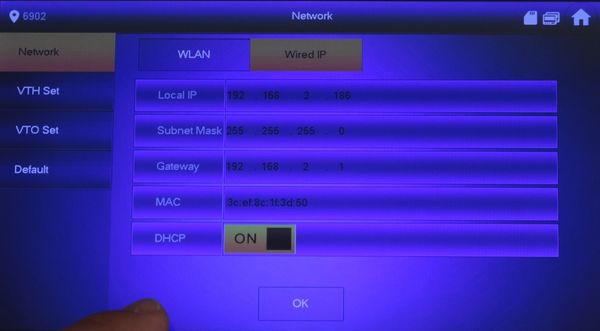
3. At the Network area of the VTH tap Wired IP.
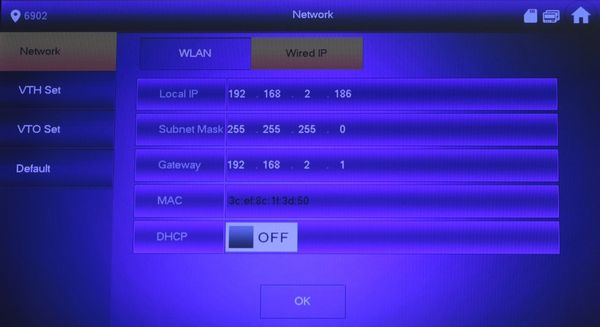
4. Here you can set a static LAN IP, then select OK.
Alternatively you can use DHCP to grab an address from your Routers DHCP server, then select OK.
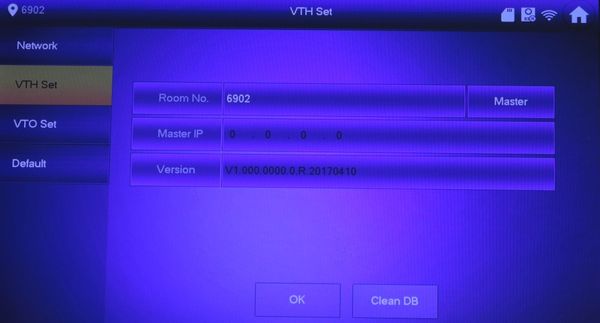
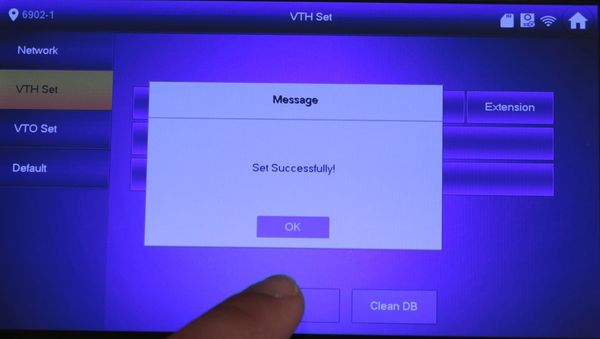
5. To setup the Room No. tap the field and enter a four digit room number (or the number that had been added on the VTO) then select OK.
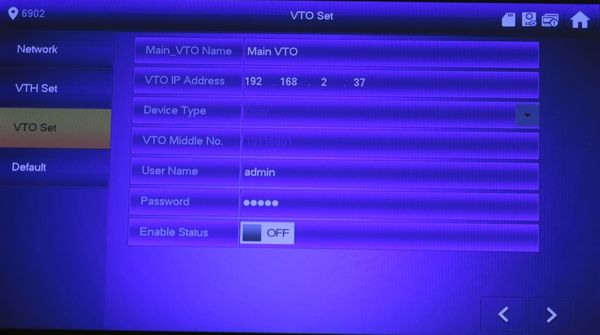
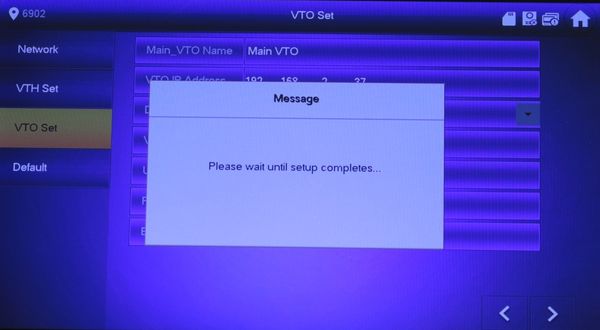
6. Tap VTO Set on the left and enter the VTO IP Address, username, and password that you configured in the VTO setup process.
Then Enable Status to ON.
Note:If the VTO not Connected symbol in the upper right corner does not go away, then you will need to reboot the device through Setting -> Reboot. If this does not work repeat this step. If that does not work, reboot the VTO and repeat this step.
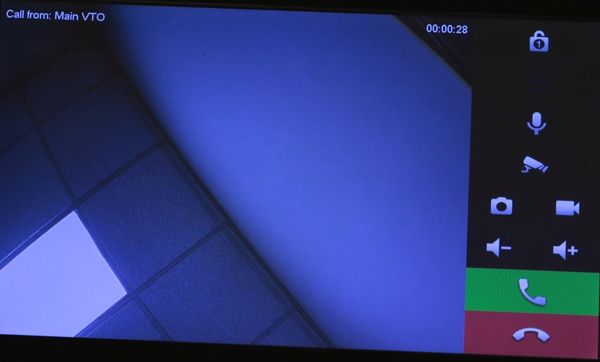
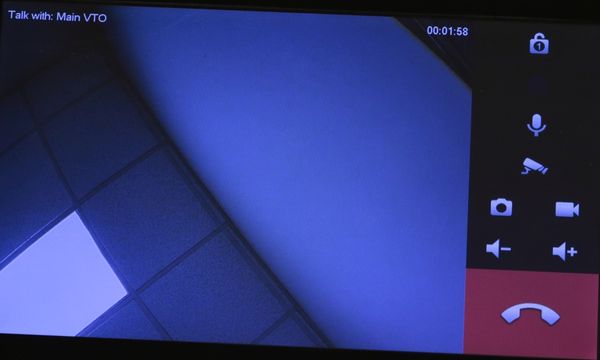
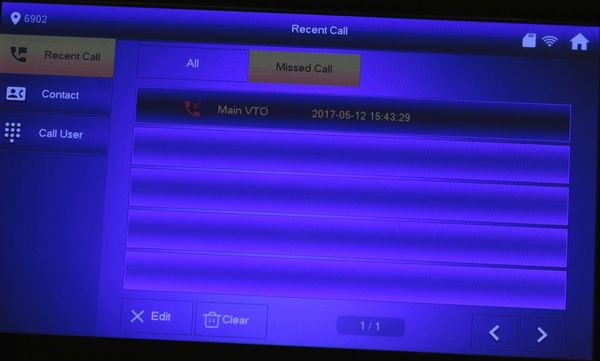
7. Once the VTO not Connected status is cleared, attempt to make a call from the VTO by pressing the blue door bell button.
Wireless
Follow the instructions below for using a wireless network.
VTO2111D-WP
Video Instructions
1.
VTH5221D
Video Instructions
1.
