DSS Windows/Pro/Record
Contents
How to setup recording in DSS Pro
Description
In order to setup recording in DSS pro, you must first setup the storage plan.
Prerequisites
1. Windows PC
2. DSS Pro Software
Video Tutorial
Step by step Instructions
Storage configuration
1. Login to DSS Manager.
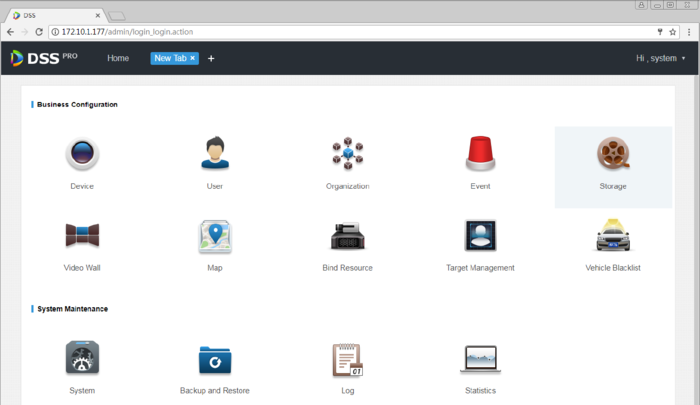
2. Click on + on the right side of Home button
All functional menu will be displayed on the menu interface, as shown below:
3. Click on Storage Config tab. By default, the disk list will be empty.
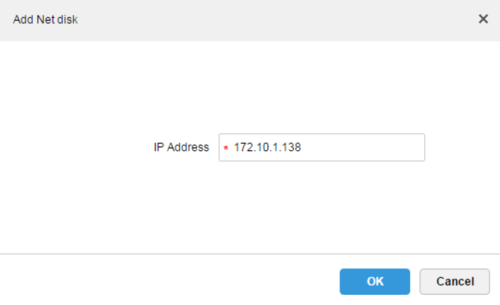
4. Click "+ Add", enter the IP address, and click OK to add net disk.
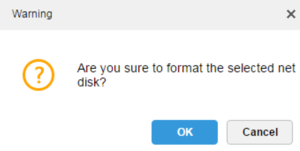
5. To initialize the drive, click on checkbox next to the disk, and then click Format. You will option for Disk type, at this version, only support Video format.
6. Click OK to confirm.
7. After disk has initialized properly, the disk status will change to normal and label the free space capacity.
Record Plan configuration
1. Click on Record Plan menu, and then click on +Add.
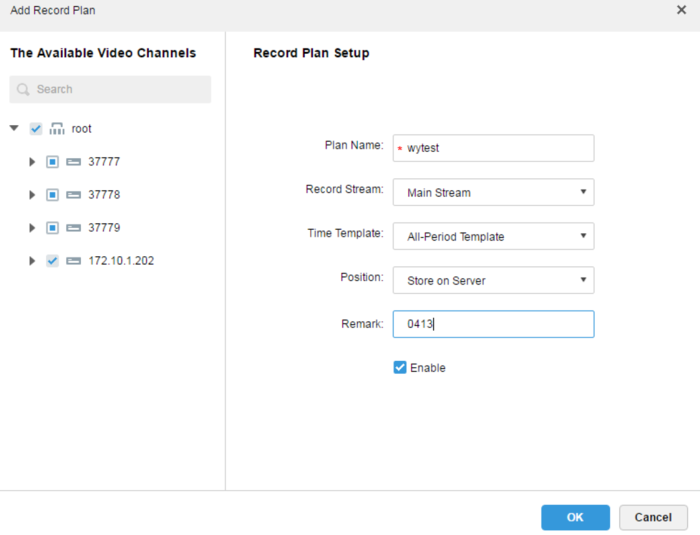
2. Select the video channel to record, enter the Plan Name > select Record Stream > select the Time Template > Select Position > make sure the enable check mark is checked > then click OK.
Notes: There are 3 types of Record Stream - Main, Sub, and third stream. Time template can be chosen from default template, or template can be created by user. Position can be Server or Recorder.
Enable Record Plan
On the previous step, there is a section where you can enable the record plan when you configure the record plan. However, after record plan configured, you can see the toggle on Operation field.
click on the button to enable or disable the record plan.


