EVS/Direct Storage Recording Setup
Contents
Direct Storage Recording Setup
Description
This guide will show how to set up a record schedule for a EVS device.
Prerequisites
- EVS device powered on, set up and connected to the network
- Devices added to EVS - How To Add Dahua Recorder
- Computer with network access
- IP address of EVS device
Video Instructions
Step by Step Instructions
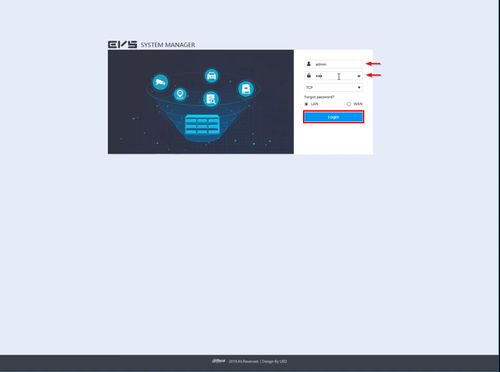
1. Log into the EVS System Manager by typing the IP in to a web browser
Enter the Username and Password and click Login
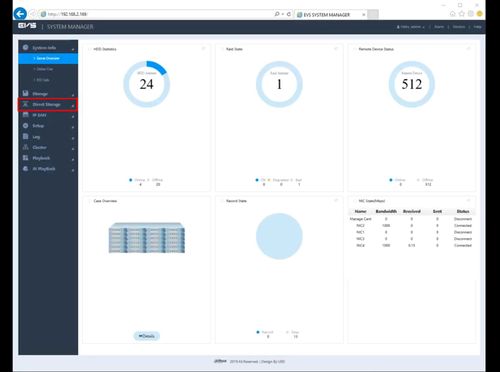
2. Click Direct Storage
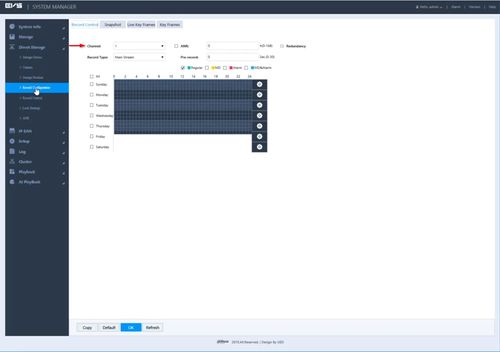
3. Click Record Configuration
4. Use the drop-down box to select the Channel
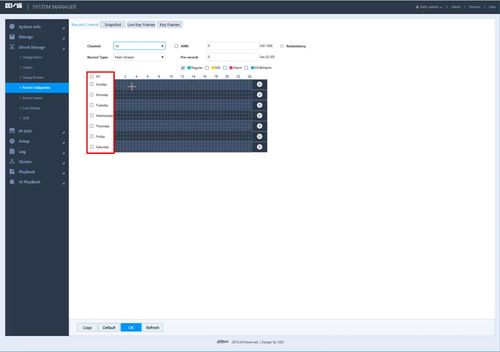
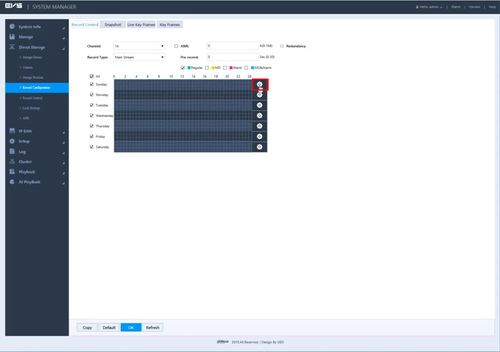
5. Use the checkbox next to each Day to select which day to create a schedule for, or you can check 'All' to select all days
6. Click the gear icon to edit the schedule
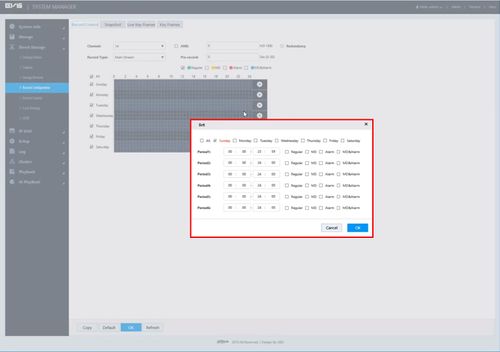
7. The Set Schedule menu will appear
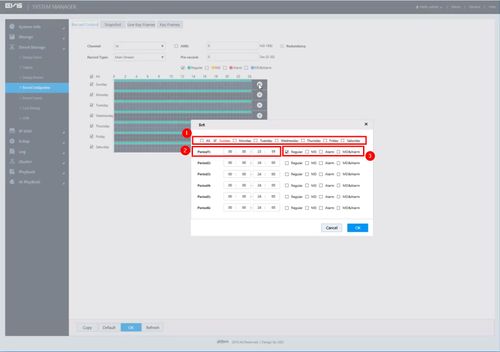
8. Use the interface to create a record schedule:
- Check the box to select which day(s) of the week
- Use the 'Period' fields to enter Date Range(s) for each period
- Check the box next to each Period to select which Record Type to enable - (Regular, MD/Motion, Alarm, MD & Alarm)
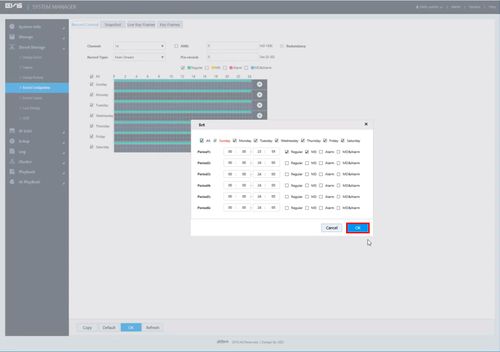
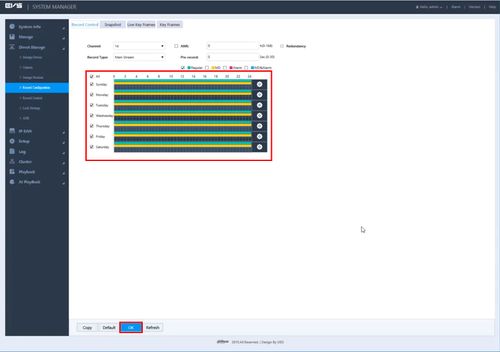
9. Once the information has been entered click OK
10. The schedule should be updated to show the created schedule
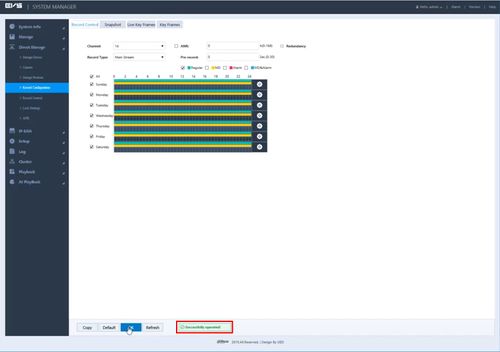
Click OK to save settings
11. A system message will confirm a successful operation
