Difference between revisions of "IPCSDRecord"
(Created page with "===How to Configure IP Camera to Record to SD-Card=== Note: Camera must be connected to LAN via POE switch. You cannot login directly to an IP Camera that is connected to the...") |
|||
| (2 intermediate revisions by 2 users not shown) | |||
| Line 9: | Line 9: | ||
2. Click, "Setup" | 2. Click, "Setup" | ||
| − | [[file:IPCPLayback1.jpg]] | + | [[file:IPCPLayback1.jpg|800px]] |
3. Click, "Storage" then, "Destination" then, "Local" | 3. Click, "Storage" then, "Destination" then, "Local" | ||
| Line 19: | Line 19: | ||
5. To configure the recording please see the following: | 5. To configure the recording please see the following: | ||
*[[Template:Recording|Recording Options]] | *[[Template:Recording|Recording Options]] | ||
| + | |||
| + | ===How to set overwrite when SD card is full=== | ||
| + | |||
| + | |||
| + | 1. Enter ‘Setup-Storage-Record Control’ as Figure 11-1, Choose ‘Disk Full’ as ‘OverWrite’ | ||
| + | |||
| + | 2. Then ‘Save’ | ||
| + | |||
| + | [[File:IPCPLayback003.png|500x500px]] | ||
| + | |||
| + | |||
| + | |||
| + | |||
| + | |||
| + | [[Category:IP Camera]] | ||
| + | |||
| + | [[Category:Browser]] | ||
| + | |||
| + | [[Category:Record]] | ||
Latest revision as of 23:04, 11 August 2016
How to Configure IP Camera to Record to SD-Card
Note: Camera must be connected to LAN via POE switch. You cannot login directly to an IP Camera that is connected to the back of the NVR.
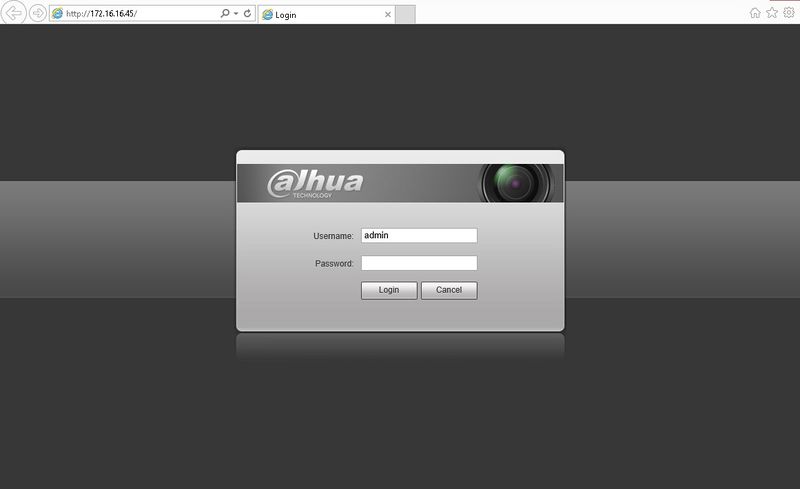
1. Login to your IP Camera from your web browser.
2. Click, "Setup"
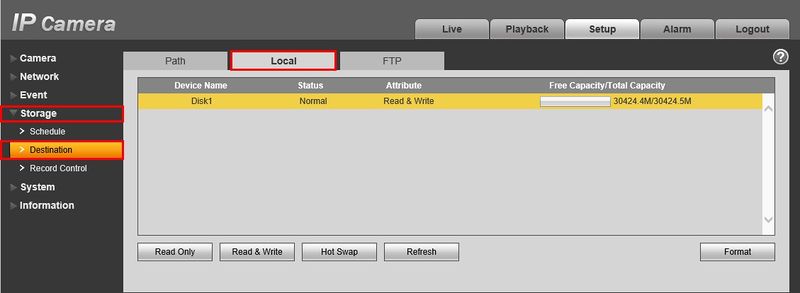
3. Click, "Storage" then, "Destination" then, "Local"
4. Click, "Local" On this page of your IP Camera it should display the SD-Card.
5. To configure the recording please see the following:
How to set overwrite when SD card is full
1. Enter ‘Setup-Storage-Record Control’ as Figure 11-1, Choose ‘Disk Full’ as ‘OverWrite’
2. Then ‘Save’


