Difference between revisions of "SmartPSS/How To Use Heatmap"
(→How To Use Heatmap In SmartPSS) |
|||
| Line 2: | Line 2: | ||
===Description=== | ===Description=== | ||
| − | This article will show you how to use the Heat | + | This article will show you how to use the Heat Map feature on a supported device using the WebUI / Web interface / Internet Explorer |
===Prerequisites=== | ===Prerequisites=== | ||
Revision as of 22:52, 9 May 2019
Contents
How To Use Heat Map In SmartPSS
Description
This article will show you how to use the Heat Map feature on a supported device using the WebUI / Web interface / Internet Explorer
Prerequisites
- SmartPSS
- Supported device with Heat Mapfeature- enabled and with existing heat mapdata. This guide will use the IPC-HDW8341X-3D USA/IPCamera/Ultra/IPC HDW8341X 3D
- Device added to SmartPSS Device List - How To Add Device to SmartPSS
Video Instructions
Step by Step Instructions
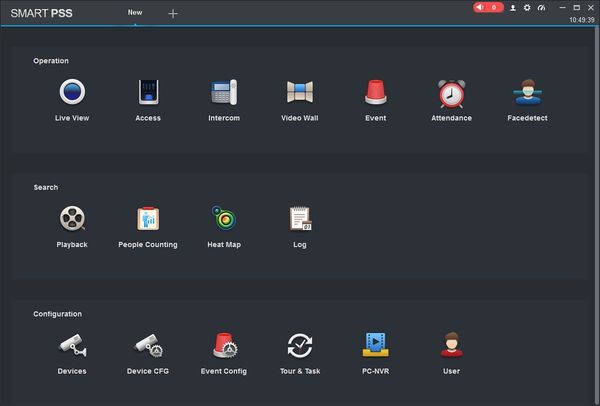
1. Launch SmartPSS.
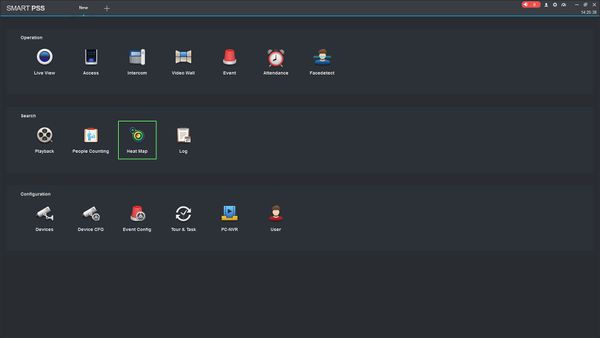
2. Click Heat Map
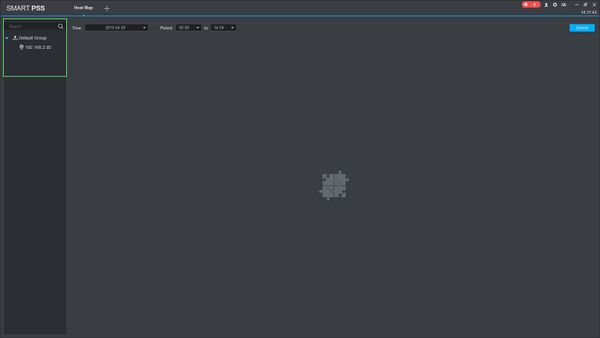
3. The device tree on the left will show devices added to SmartPSS that are compatible with the Heat Map feature. Click the device to select it.
4. Enter a date and time range to search for
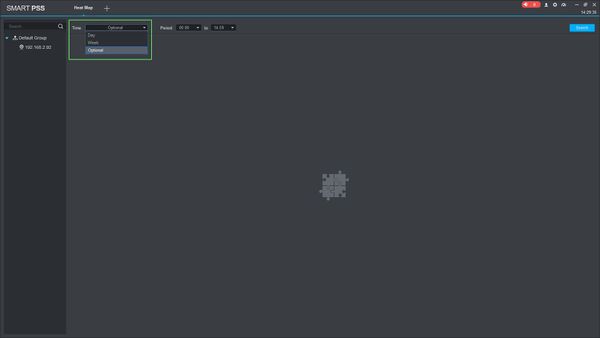
5. Click the drop-down box next to Time to change search parameters for Day, Week, or a longer date range to search from.
6. Click Search to begin the search
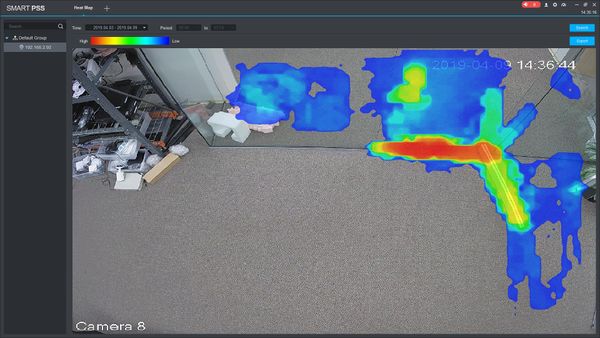
7. The heatmap results will appear in the center of the screen.
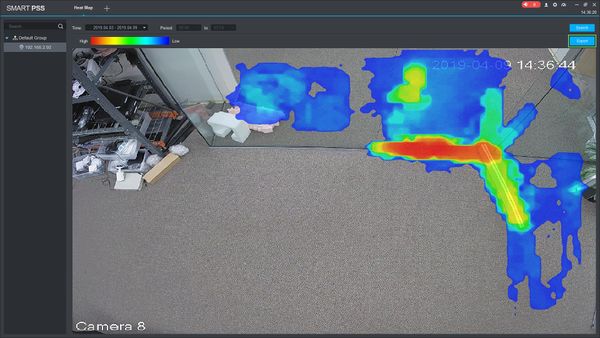
8. Click Export to export the heat map data as an image
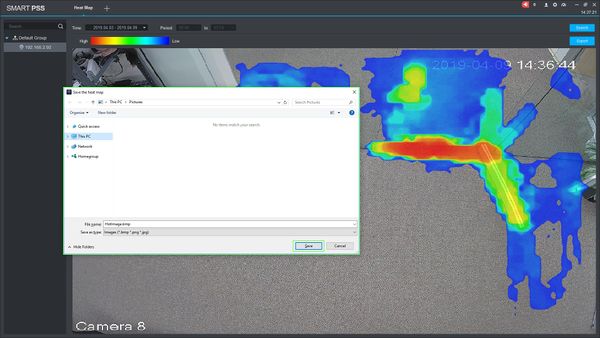
9. Select a location to save the exported picture to and click Save
