Difference between revisions of "Troubleshoot/NVR/Expired Cert"
| Line 18: | Line 18: | ||
| − | + | ===Step by Step Instructions=== | |
1. Log into your NVR via the Internet Explorer Browser. | 1. Log into your NVR via the Internet Explorer Browser. | ||
Latest revision as of 19:18, 12 August 2016
How to create and install a certificate
When I login via HTTPS, a dialogue says the certificate for this website is for other address
You will need to re-issue a certificate with the correct address, and then get the certificate authenticated.
- Follow (Steps 1-5)
When I login via HTTPS, a dialogue says the certificate is not trusted
You will then need to download the certificate and install it on your client side.
- Follow (Steps 1-4 and 6-11)
When I login via HTTPS, a dialogue says the certificate has expired or is not valid yet
- Please make sure your PC time is the same as the device time.
- Follow (Steps 1-4 and 6-11)
- Re open the browser and login again.
Step by Step Instructions
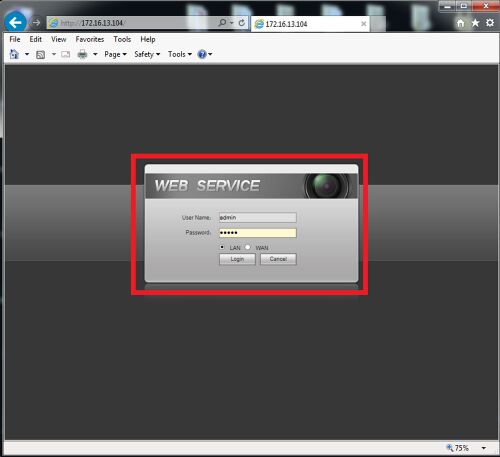
1. Log into your NVR via the Internet Explorer Browser.
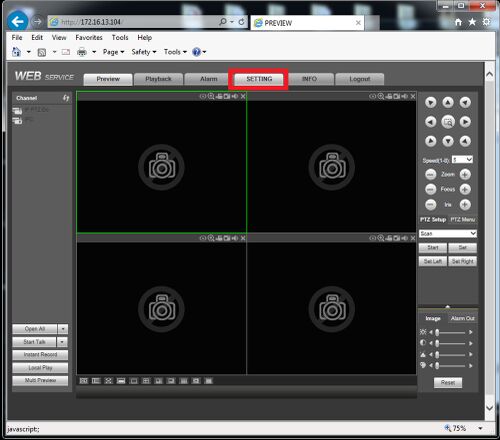
2. Select Setting
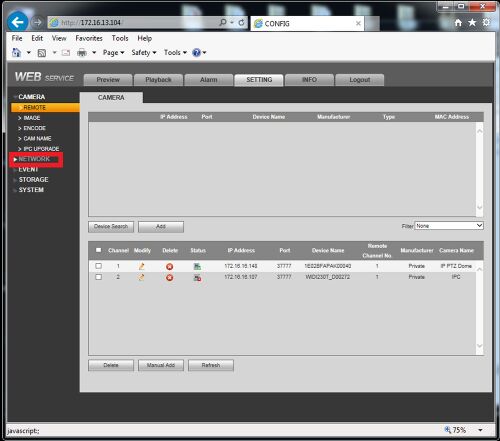
3. Select Network
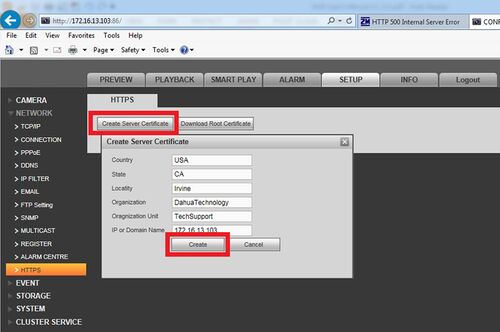
4. Select HTTPS on the left hand column under Network. Then select "Create Server Certificate", and populate your server Certificate with your country code, state, location (city), the name of your organization or business, the name of the department, and the IP or domain name you wish to operate under. The information here will be used to create the SSL certificate to be authorized.
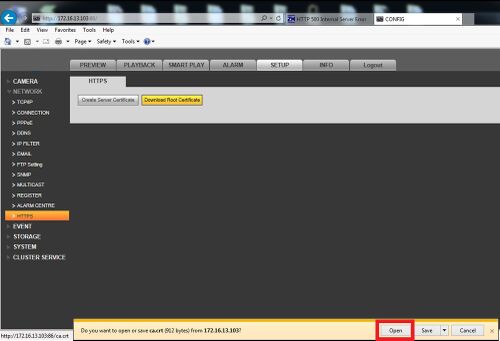
5. Now Select "download Root Certificate", and click open when the prompt pops up on your browser.
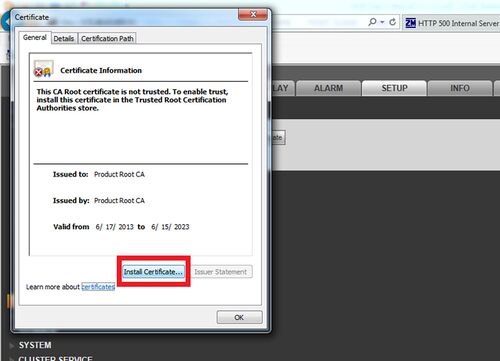
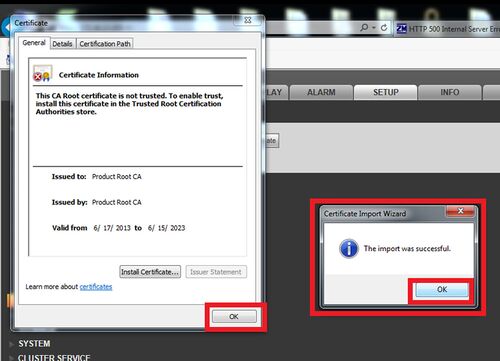
6. Click Install Certificate
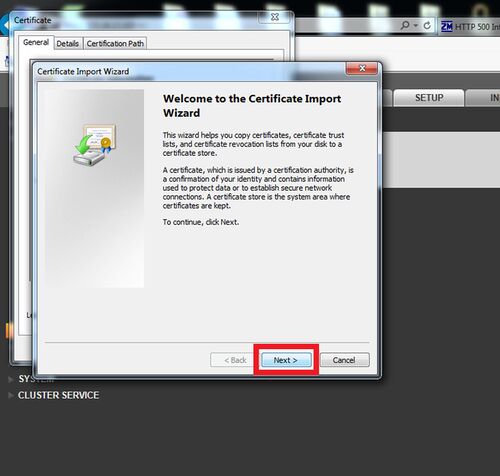
7. Now click next
8. Now click next, unless there is a directory that you want to store the certificate in on your client computer
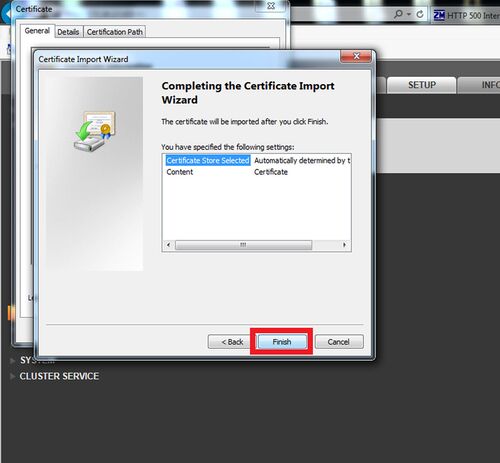
9.Now Click finish
10. There should be a prompt saying "The import was successful"
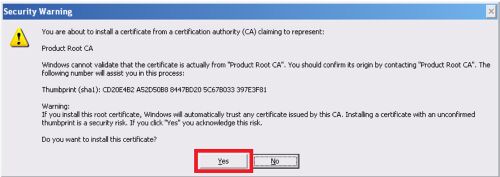
11. After the security certificate is installed go to your HTTPS page and there should be a security promp, click "Yes".
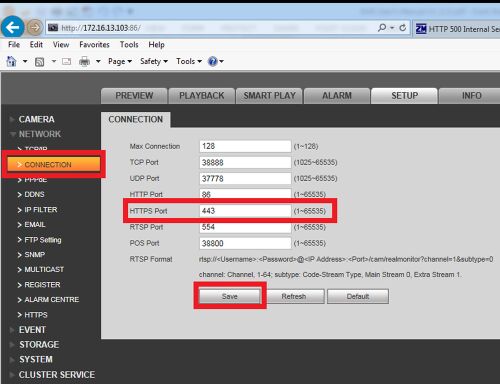
12. Pay attention to the HTTPS port number when setting up port forwarding for your host server (your NVR)
