Difference between revisions of "Long Range Wireless"
(→Long Range Wireless) |
|||
| (2 intermediate revisions by 2 users not shown) | |||
| Line 1: | Line 1: | ||
=Long Range Wireless= | =Long Range Wireless= | ||
{{Template:Product_Point_to_Point}} | {{Template:Product_Point_to_Point}} | ||
| + | |||
| + | [[Category:Wireless]] | ||
Latest revision as of 20:17, 17 January 2020
Contents
- 1 Long Range Wireless
- 2 Wireless Point to Point
- 2.1 NOTE
- 2.2 Networking Mode
- 2.3 Information
- 2.4 How to reset the DH-PFWB5-10n and DH-PFWB5-90n
- 2.5 Video Instructions for Wireless Transmission Device DH-PFWB5-90n as Access Point
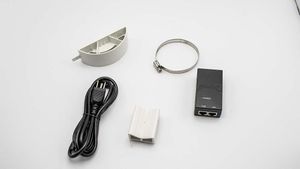
- 2.6 What is in the box - DH-PFWB5-90n
- 2.7 Step by Step Instruction for Wireless Transmission Device DH-PFWB5-90n as Access Point
- 2.8 Video Instructions for Wireless Transmission Device DH-PFWB5-10n as Station
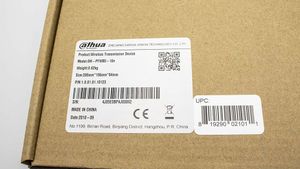
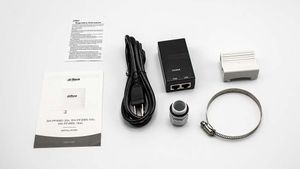
- 2.9 What is in the box - DH-PFWB5-10n
- 2.10 Step by Step Instruction for Wireless Transmission Device DH-PFWB5-10n as Station
- 2.11 Instructions
Long Range Wireless
Wireless Point to Point
NOTE
- DO NOT MIX GENERATION 1 and GENERATION 2 DEVICES!
- Access point broadcasts the SSID, and the base station(s) connect to the access point.
Networking Mode
| Point to Point | 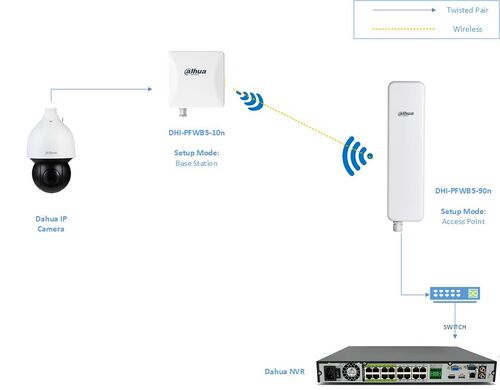
|
| Point to Multipoint | 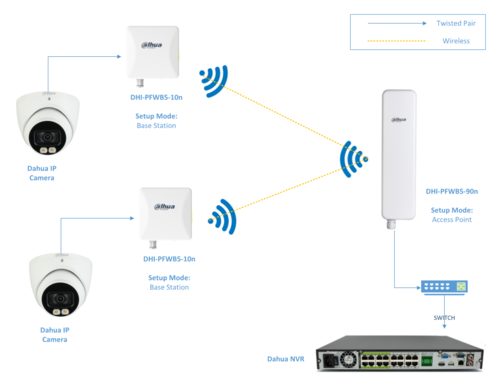
|
Information
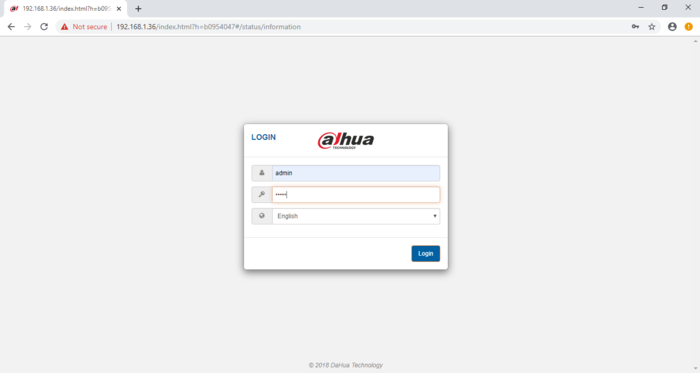
- 192.168.1.36 is default IP
- Default User Name = admin
- Default Password = admin
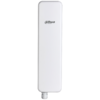
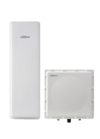
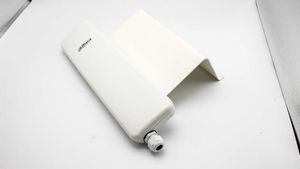
- DHI-PFWB5-90n, Access Point, long skinny unit, Home Base
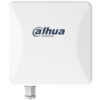
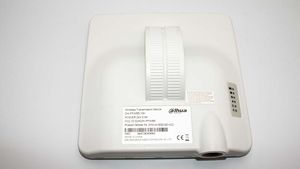
- DHI-PFWB5-10n, Station, square unit, Satellite
Operating Modes
802.11n:
- Access Point (autoWDS),
- Access Point (TDMA 2)
- Access Point (TDMA 3)
- Station (WDS/TDMA 2/TDMA 3)
- Station (ARPNAT)
802.11ac:
- Access Point (autoWDS)
- Access Point (TDMA3)
- Station (WDS/TDMA 3)
How to reset the DH-PFWB5-10n and DH-PFWB5-90n
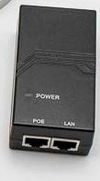
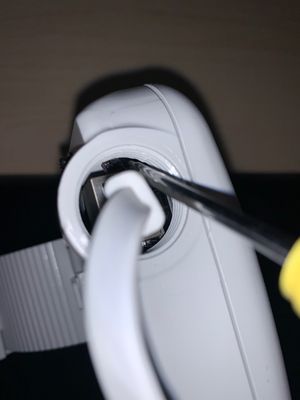
- Make sure the unit is connected to the POE unit that is included in the package.
- Press the reset button for 15 seconds. You will see the LED on the side of the device flash.
Video Instructions for Wireless Transmission Device DH-PFWB5-90n as Access Point
What is in the box - DH-PFWB5-90n
Step by Step Instruction for Wireless Transmission Device DH-PFWB5-90n as Access Point
- It is best to setup these devices on a bench before installing them.
- Power on and Configure one device at a time, they all have the same default IP address.
- Always use the included PoE injector on all configurations.
1. Set your PC IP address in the range of 192.168.1.X
2. Connect your PC to the DH-PFWB5-90n via the LAN port on the PoE injector using a patch cable.
3. Ping the IP address of the DH-PFWB5-90n (192.168.1.36) to make sure it is online.
4. Login to the device using IE or Chrome browser. The default username is "admin" and the default password is "admin". (We recommend changing this as soon as possible.)
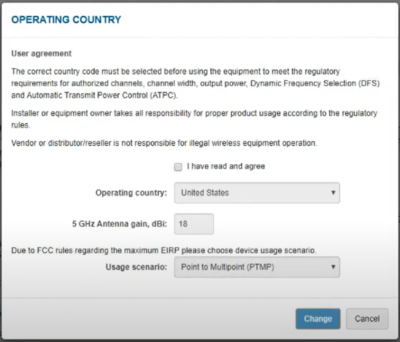
5. Check the box for "I have read and agree".
6. Choose your Country.
7. Choose the scenario (either Point to Point if it's just 2 devices or Point to Multipoint if it is more than 2 devices).
8. Click "Change" to save your changes.
9. You will then be brought to the main menu of the device.
10. Click on the Gear icon at the top, and go to Wireless Configuration on the left.
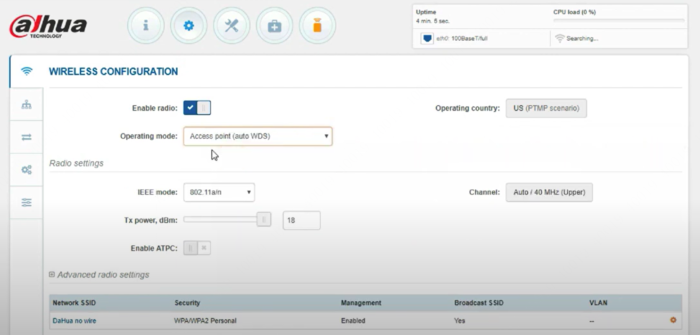
11. Make sure the "Enable Radio" button is enabled.
12. Select Operation Mode and set it to "Access Point (Auto WDS)"
13. Click on the SSID name at the bottom. Then change the SSID name, Security type, and enter the password for the access point.
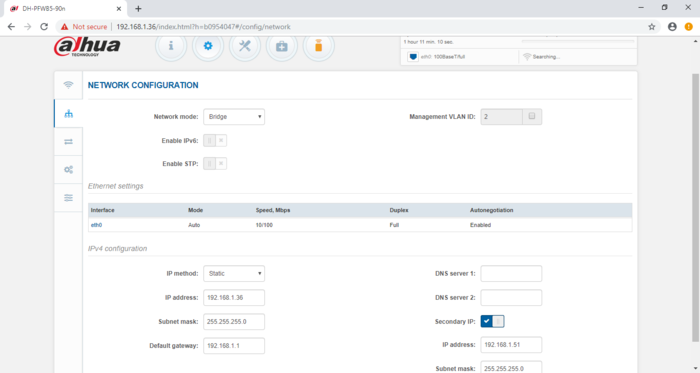
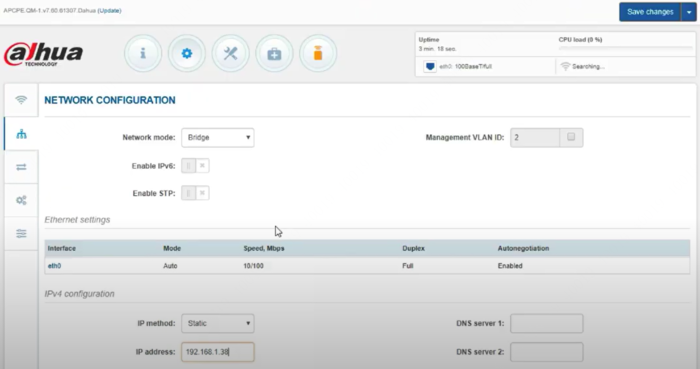
14. Go to Network Configuration on the left and set the Mode to "Bridge"
15. Assigned a static IP, DNS and Subnet mask.
16. Click on the Save Changes button at the top right and then click Save to push all the changes. It will then reboot the device.
17. Log back into the Wireless Station and verify the device's online status, SSID, and IP.
18. The device is now configured as an Access Point.
Video Instructions for Wireless Transmission Device DH-PFWB5-10n as Station
What is in the box - DH-PFWB5-10n
Step by Step Instruction for Wireless Transmission Device DH-PFWB5-10n as Station
- It is best to setup these devices on a bench before installing them.
- Power on and Configure one device at a time, they all have the same default IP address.
- Always use the included POE injector on all configurations.
1. Set your PC IP address in the range of 192.168.1.X
2. Connect your PC to the DH-PFWB5-10n via the LAN port on the PoE injector using a patch cable.
3. Ping the IP address of the DH-PFWB5-10n (192.168.1.36) to make sure it is online.
4. Login to the device using IE or Chrome browser. The default username is "admin" and the default password is "admin". (We recommend changing this as soon as possible.)
5. Check the box for "I have read and agree".
6. Choose your Country.
7. Choose the scenario (either Point to Point if it's just 2 devices or Point to Multipoint if it is more than 2 devices).
8. Click "Change" to save your changes.
9. You will then be brought to the main menu of the device.
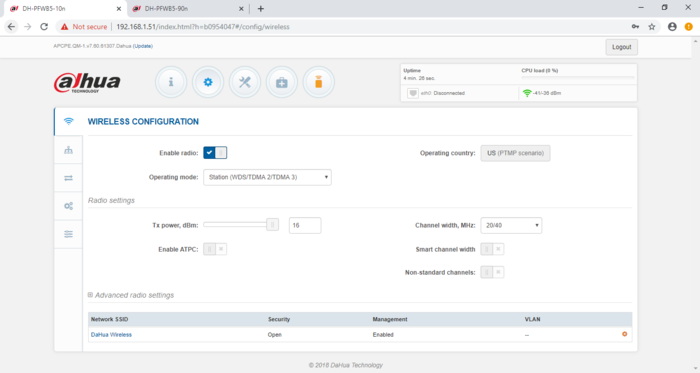
10. Click on the Gear icon at the top, and go to Wireless Configuration on the left.
11. Make sure the "Enable Radio" button is enabled.
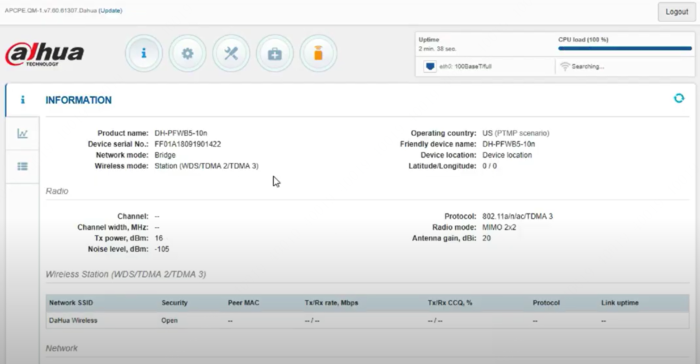
12. Select Operation Mode and set it to "Station (WDS/TDMA 2/TDMA 3)"
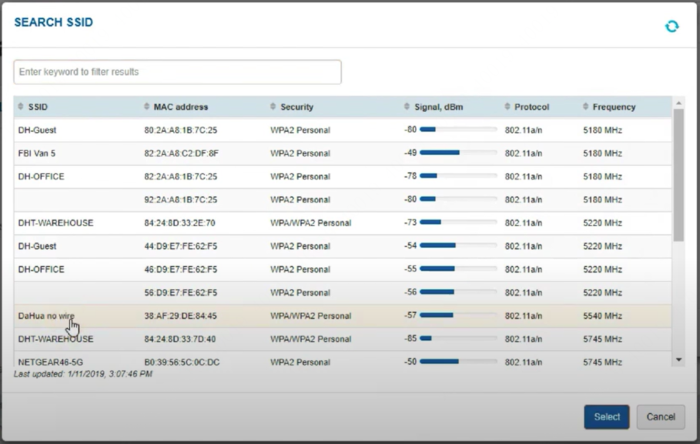
13. Click on the SSID name at the bottom.
14. Select the Magnifying Glass icon and select the access point from the list.
15. Enter the password for that access point (if it requires a password). Then click "Done".
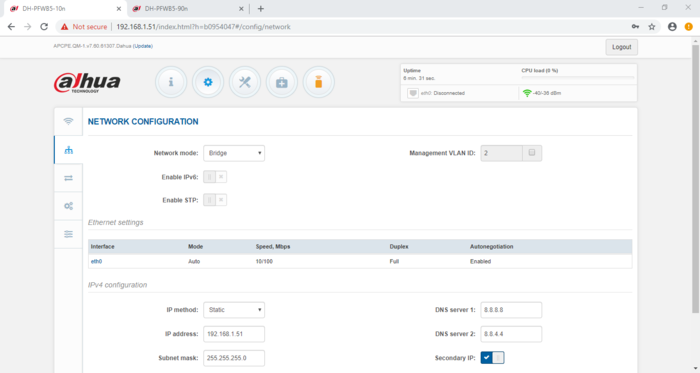
16. Go to Network Configuration on the left and set the Mode to "Bridge"
17. Assigned a static IP, DNS and Subnet mask.
18. Click on the Save Changes button at the top right and then click Save to push all the changes. It will then reboot the device.
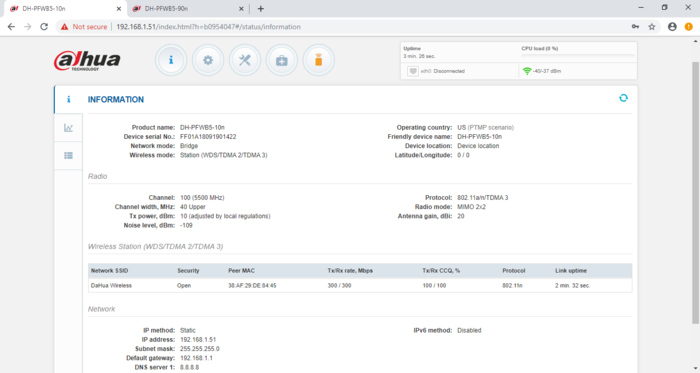
19. Log back into the Wireless Station and verify it has connected to the access point by checking the connection status at the top right.
20. The device is now configured as a Station and connected to an Access Point.
