Difference between revisions of "SmartPSS/How To Enable Task"
| (One intermediate revision by one other user not shown) | |||
| Line 1: | Line 1: | ||
| + | =='''NOTICE'''== | ||
| + | [https://dahuawiki.com/Discontinuation_of_SmartPSS Notice of Discontinuation of SmartPSS] | ||
| + | |||
==How To Enable Task In SmartPSS== | ==How To Enable Task In SmartPSS== | ||
| Line 51: | Line 54: | ||
* Device Type¹ - Select from a single day or a week schedule option | * Device Type¹ - Select from a single day or a week schedule option | ||
* Task Plan² - Task the schedule is being created for | * Task Plan² - Task the schedule is being created for | ||
| − | * Start/End Time³ - Enter a Start Time and End Time for the schedule | + | * Start/End Time³ - Enter a Start Time and End Time for the schedule. |
For Week Plan options, Use the tabs above the table to select which day to add the schedule to. | For Week Plan options, Use the tabs above the table to select which day to add the schedule to. | ||
Latest revision as of 22:19, 2 October 2024
Contents
NOTICE
Notice of Discontinuation of SmartPSS
How To Enable Task In SmartPSS
Description
This article will show you how enable configured tours manually or by schedule using SmartPSS
Prerequisites
- SmartPSS
- Devices added to SmartPSS
- Tours configured in SmartPSS - SmartPSS/How To Use Task Plan
Video Instructions
Coming Soon
Step by Step Instructions
Manual Tour
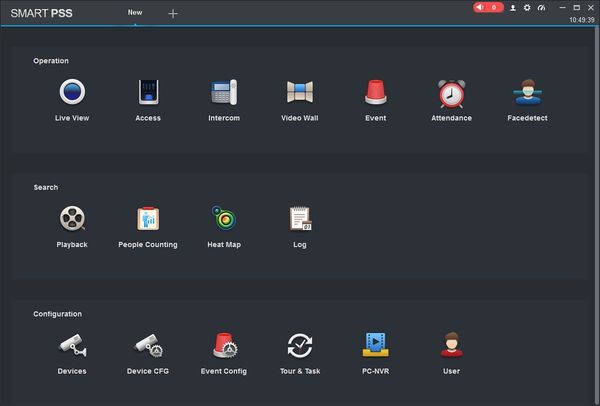
1. Launch SmartPSS.
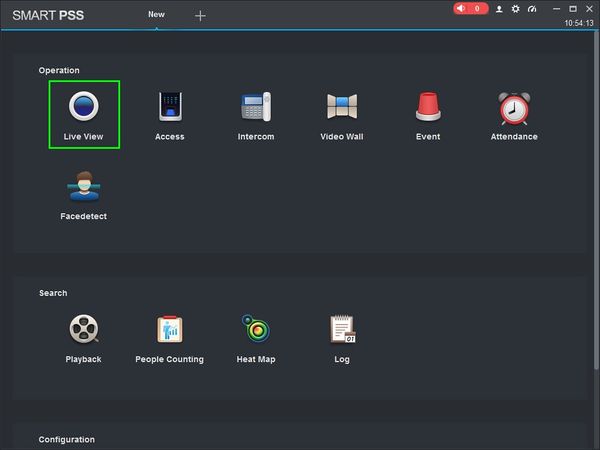
2. Click 'Live View'
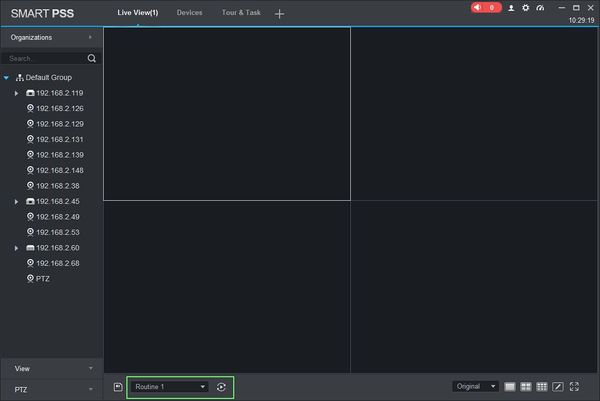
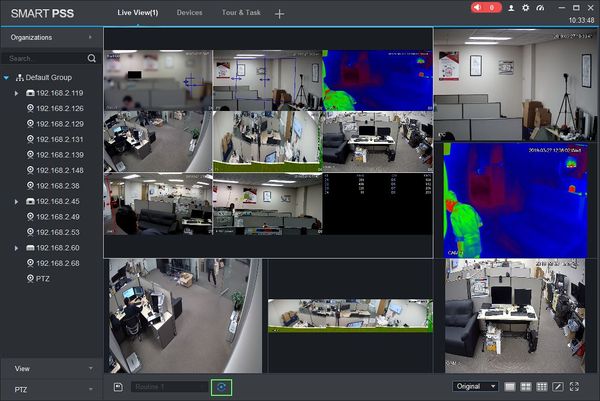
3. Use the drop down box to select the Tour, then click 'Start Tour'
4. The tour will continue to run until 'Stop Tour' is clicked.
Schedule Tour
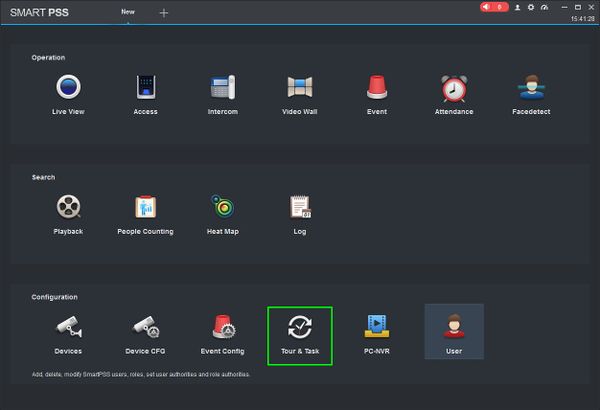
1. Launch SmartPSS and select 'Tour & Task'.
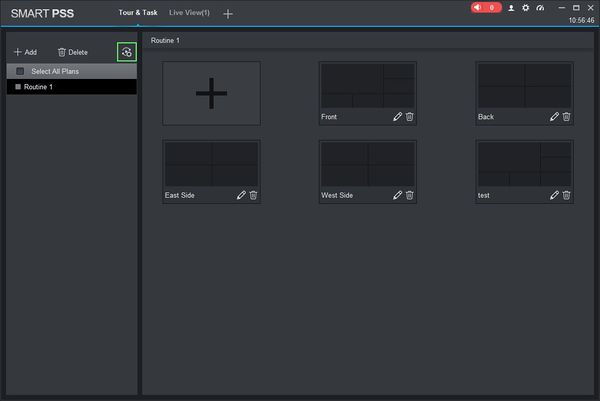
2. Click 'Scheduled Tour Setting' to open the menu
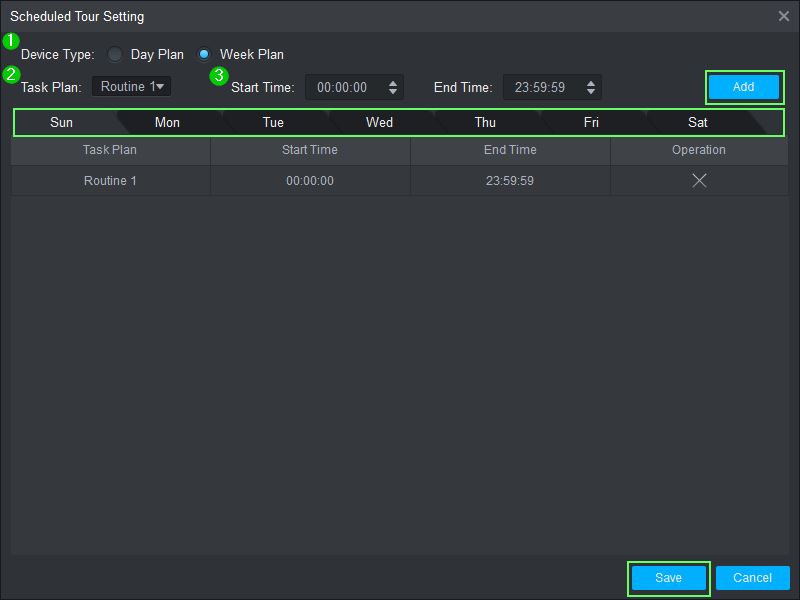
3. Use the menu to configure the schedule.
- Device Type¹ - Select from a single day or a week schedule option
- Task Plan² - Task the schedule is being created for
- Start/End Time³ - Enter a Start Time and End Time for the schedule.
For Week Plan options, Use the tabs above the table to select which day to add the schedule to.
Click 'Add' to add the time to the schedule.
Click 'Save' once you have completed the schedule.
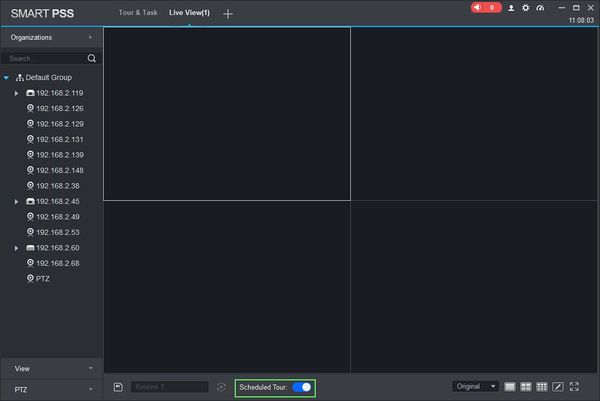
4. Return to Live View, then click to toggle 'Scheduled Tour' in the lower portion of the screen to enable the Scheduled Tour Setting. The Scheduled Tour will continue to operate according to the programmed scheduled until it is disabled or the software is closed.
