Difference between revisions of "Template:Snapshot SystemUI OldGUI"
(Created page with " ==Prerequisites== ==Video Instructions== <embedvideo service="youtube">https://youtu.be/pUC5DkoH3rg</embedvideo> ==Step by Step Instructions==") |
|||
| (3 intermediate revisions by the same user not shown) | |||
| Line 1: | Line 1: | ||
| − | ==Prerequisites== | + | ==How To Take Snapshots via Old SystemUI== |
| − | ==Video Instructions== | + | |
| + | ===Prerequisites=== | ||
| + | * HDMI output or VGA output | ||
| + | * Mouse | ||
| + | |||
| + | ===Video Instructions=== | ||
<embedvideo service="youtube">https://youtu.be/pUC5DkoH3rg</embedvideo> | <embedvideo service="youtube">https://youtu.be/pUC5DkoH3rg</embedvideo> | ||
| − | ==Step by Step Instructions== | + | |
| + | ===Step by Step Instructions=== | ||
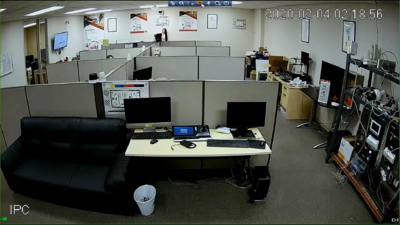
| + | 1. Hover the mouse near the top of the camera's screen and a menu bar will appear. Press the camera icon to take snapshot and the snapshot will be stored on the computer used. | ||
| + | <br> | ||
| + | [[File:1._Snapshot_Button_on_Specified_Camera.PNG|400px]] | ||
| + | |||
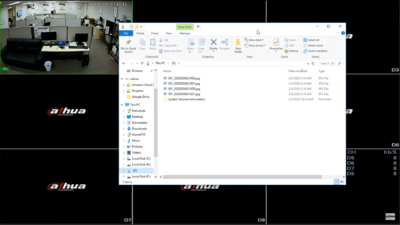
| + | 2. Open the folder where the snapshot were stored to view them. | ||
| + | <br> | ||
| + | [[File:2._Open_Snapshot_Folder.PNG|400px]] | ||
| + | |||
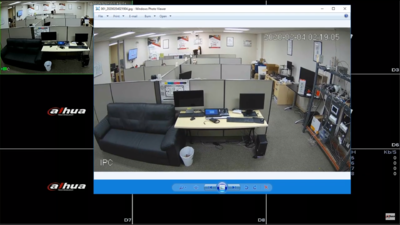
| + | 3. Viewing one of the snapshots take previously. | ||
| + | <br> | ||
| + | [[File:3._Viewing_Snapshot.PNG|400px]] | ||
Latest revision as of 01:03, 4 February 2020
Contents
How To Take Snapshots via Old SystemUI
Prerequisites
- HDMI output or VGA output
- Mouse
Video Instructions
Step by Step Instructions
1. Hover the mouse near the top of the camera's screen and a menu bar will appear. Press the camera icon to take snapshot and the snapshot will be stored on the computer used.

2. Open the folder where the snapshot were stored to view them.

