Difference between revisions of "Playback/SmartSearch/Heat Map"
(→Instructions) |
|||
| (One intermediate revision by one other user not shown) | |||
| Line 1: | Line 1: | ||
=SmartSearch: Heat Map= | =SmartSearch: Heat Map= | ||
| + | __NOTOC__ | ||
| + | |||
==Description== | ==Description== | ||
| + | Heat map allows users to see where the hot and cold areas are on camera's image. | ||
| + | |||
==Prerequisites== | ==Prerequisites== | ||
| + | *Cameras that support heat map | ||
| + | |||
==Instructions== | ==Instructions== | ||
Latest revision as of 00:53, 25 February 2020
SmartSearch: Heat Map
Description
Heat map allows users to see where the hot and cold areas are on camera's image.
Prerequisites
- Cameras that support heat map
Instructions
Prerequisites
- HDMI connection
- Camera that supports thermal features
Video Instructions
Step by Step Instructions
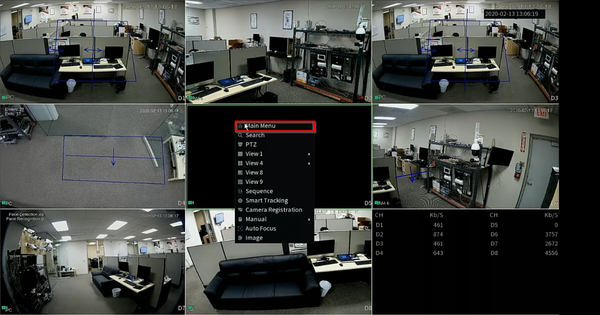
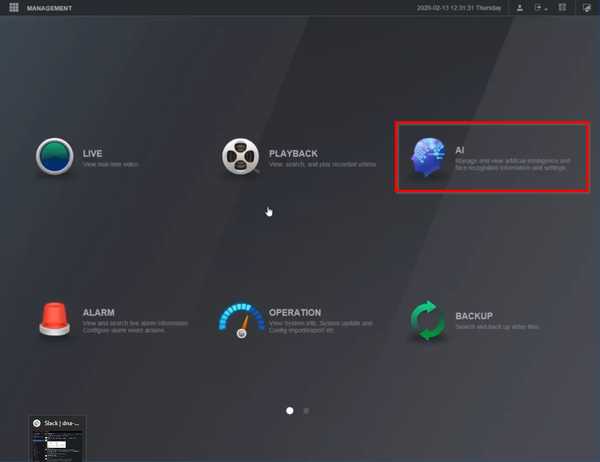
1. Select "Main Menu" to choose AI functions
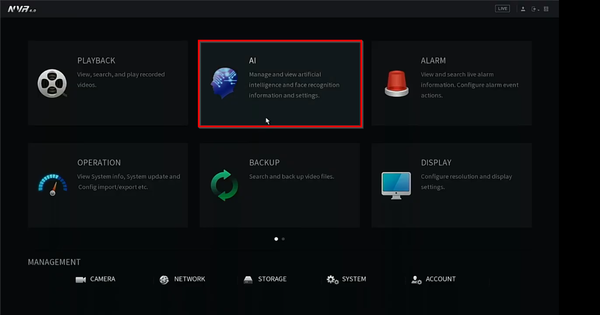
2. Select "AI"
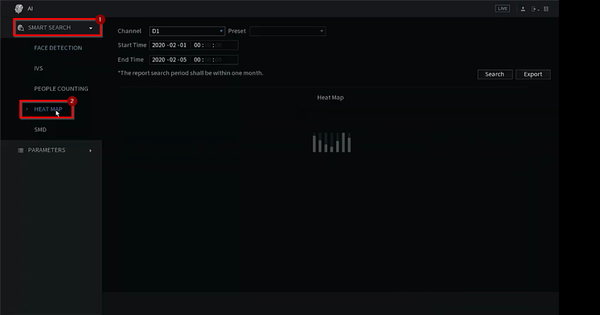
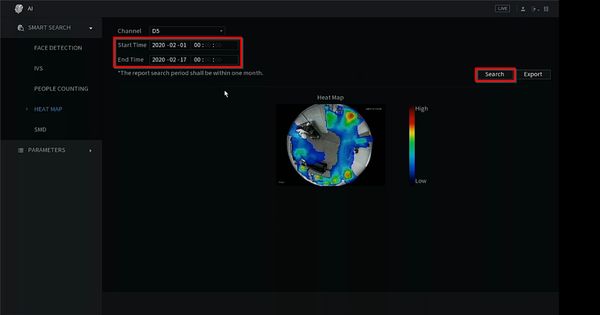
3. Select "Smart Search" => Heat Map
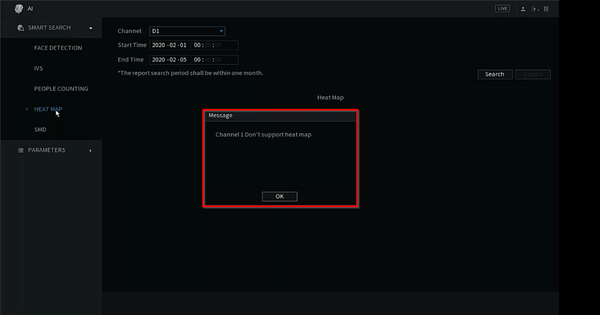
4. If the camera channel doesn't support this feature, an error message will be displayed. Choose a camera channel that has thermal features.
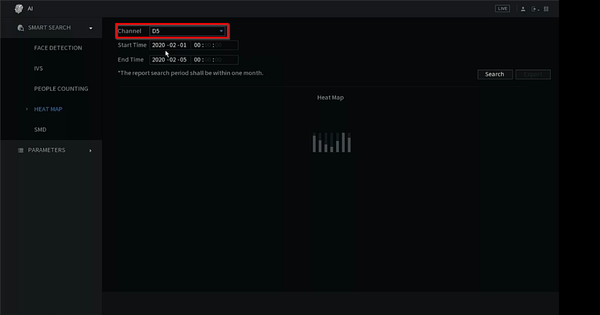
5. Select the correct channel.
6. Select the "Start Time" and "End Time" for the search then press "Search".
Prerequisites
- Internet Explorer
Video Instructions
Step by Step Instructions
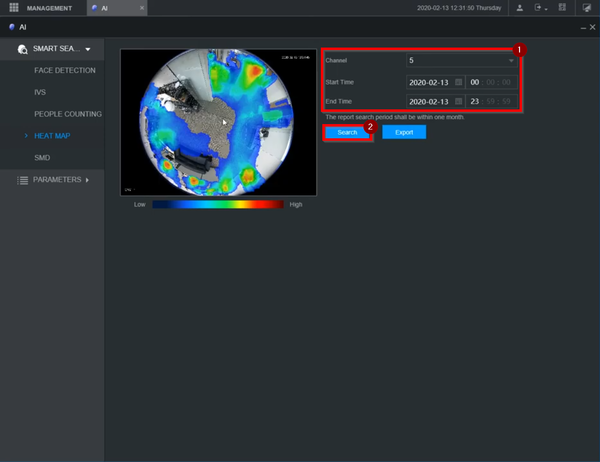
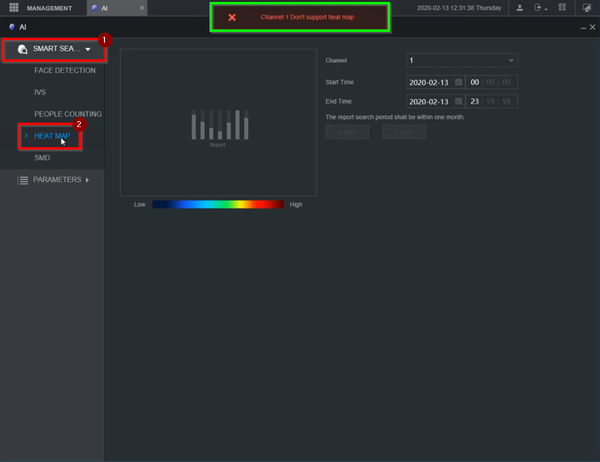
1. After logging into the webUI, select "AI".
2. Select "Smart Search" => Heat Map
Please note that if the selected channel does not have heat map feature, it won't work and an error message will be displayed on the top.
3. Select the correct channel, start time, and end time => Click "Search"
