Difference between revisions of "OSX/How To Install SmartPSS on Mac M1 Chip"
| Line 3: | Line 3: | ||
==Prerequisites== | ==Prerequisites== | ||
| − | { | + | {{Template:SoftwareSmartPSS_macOS}} |
| − | |||
| − | |||
| − | |||
| − | |||
| − | |||
==Video Instructions== | ==Video Instructions== | ||
Latest revision as of 19:57, 13 June 2023
Description
How to install SmartPSS on MAC computers with M1 and M2 Chips
Prerequisites
| SmartPSS | |||||
|---|---|---|---|---|---|
| Version | Download Links | ||||
| SmartPSS Latest | |||||
Video Instructions
Step by Step Instructions
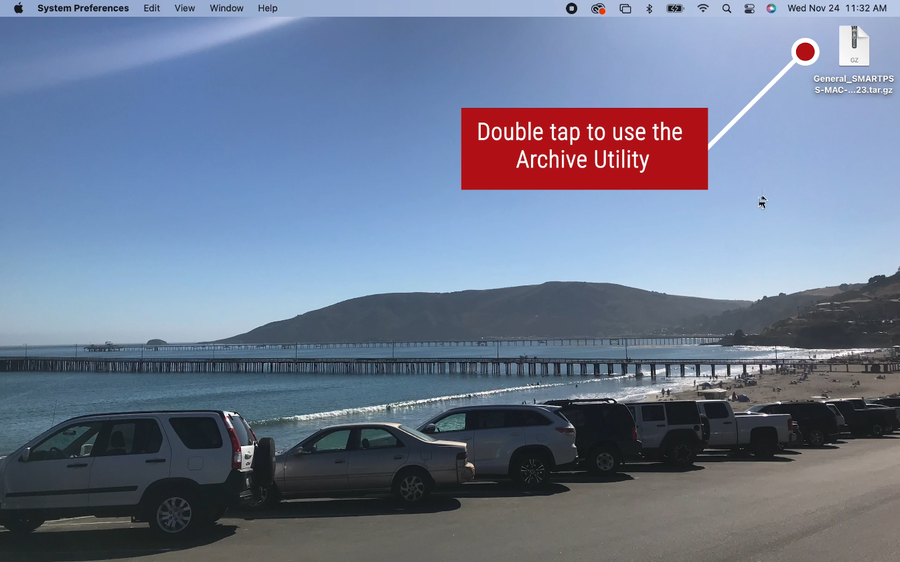
1. Double click on the installer to use the archive Utility
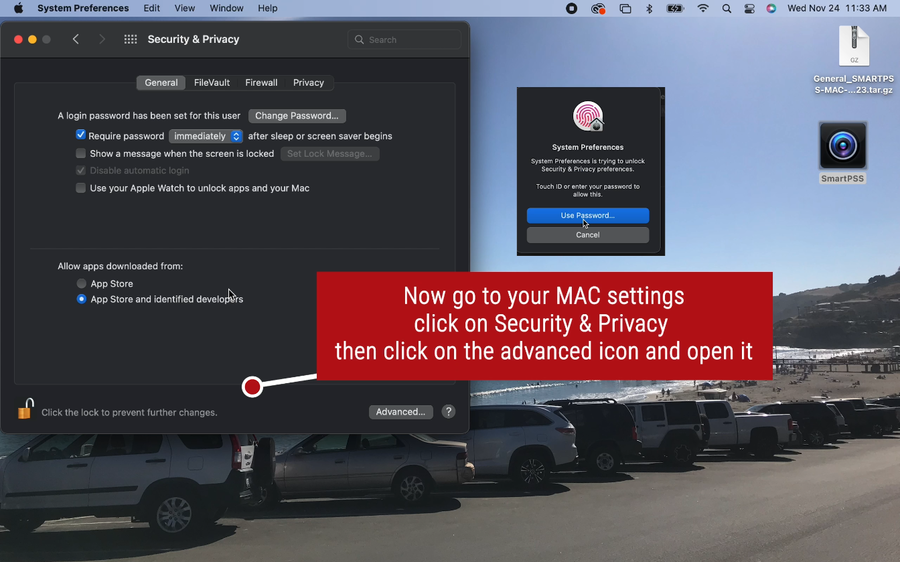
2. Now go to your MAC settings and click on Security and Privacy
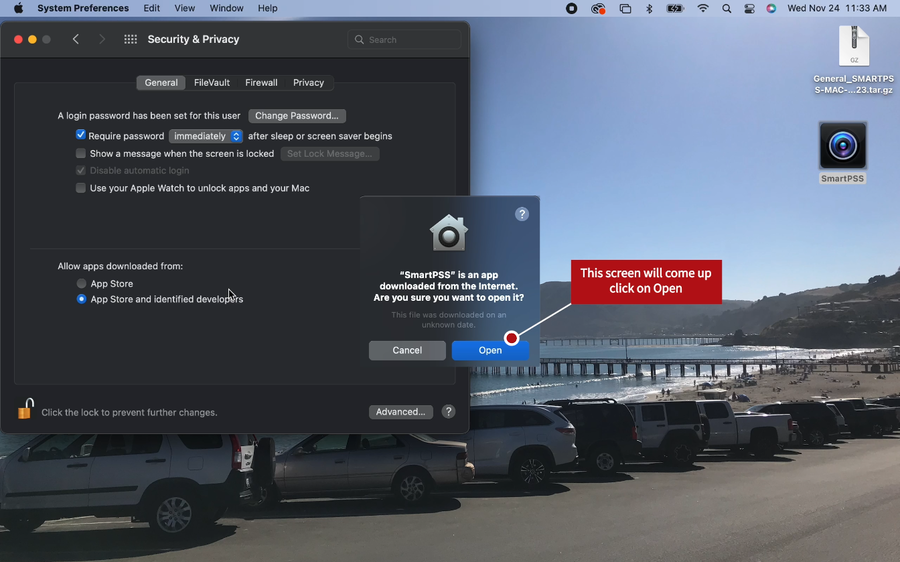
3. A pop up will come up, click on Open
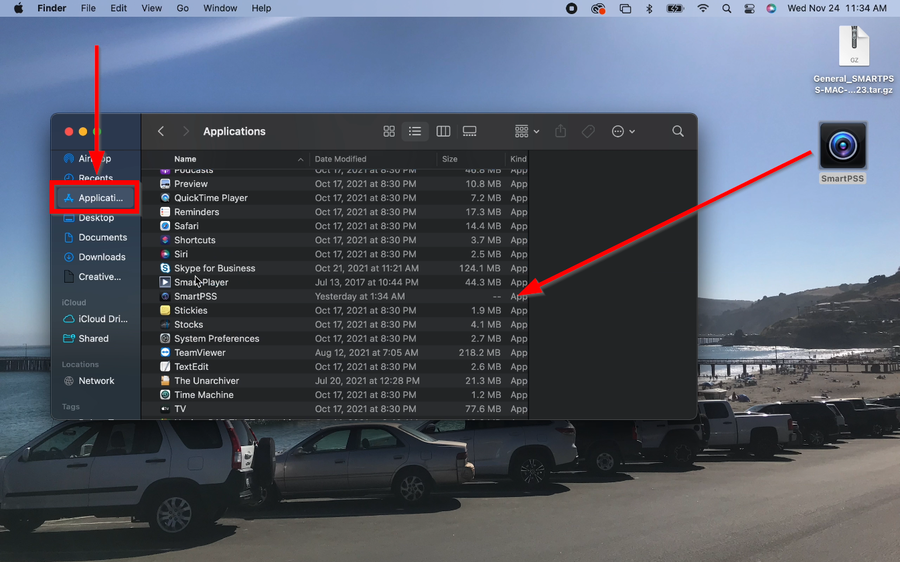
4. SmartPSS will then be extracted to your desktop. Do not open SmartPSS on the desktop. Drag SmartPSS to the Application Folder by opening Finder.
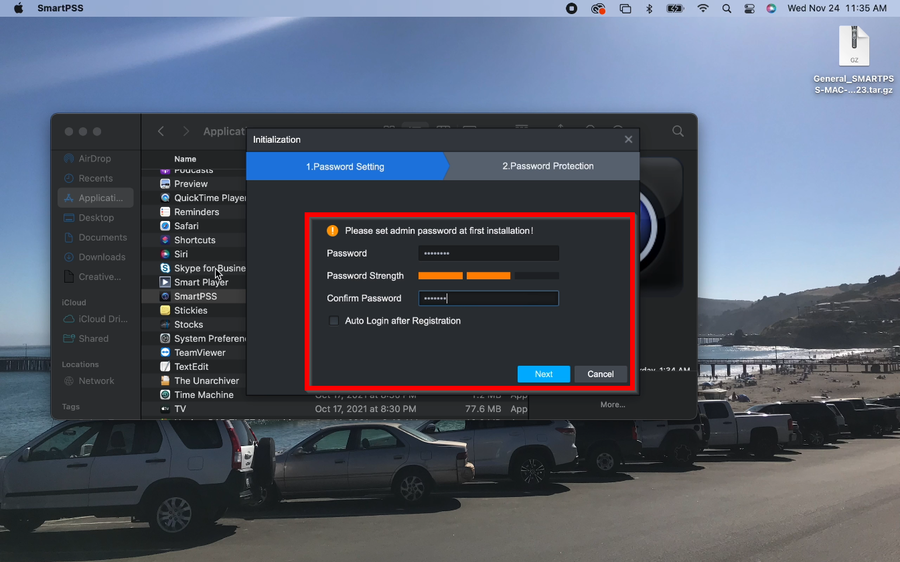
5. You can now open SmartPSS and enter a new password.
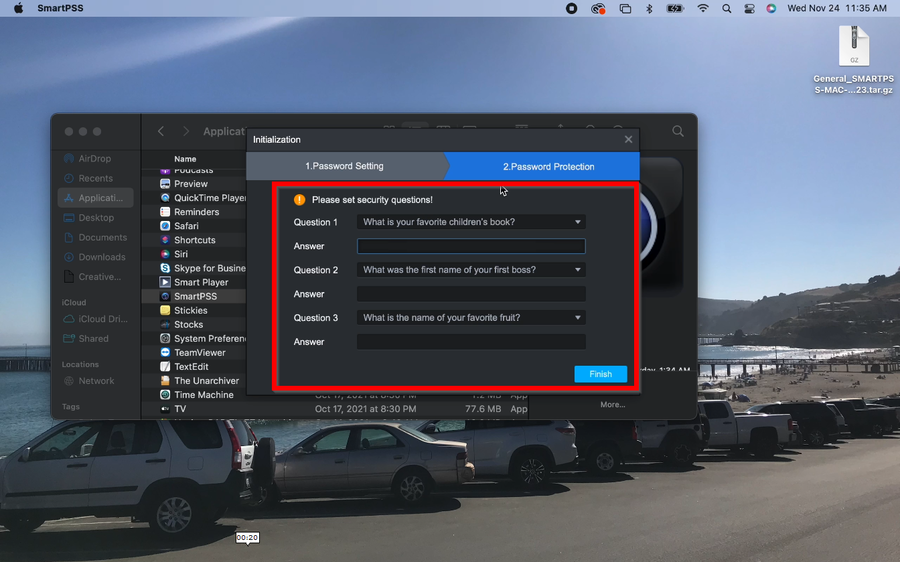
6. Enter security questions and answers in case the password is forgotten.
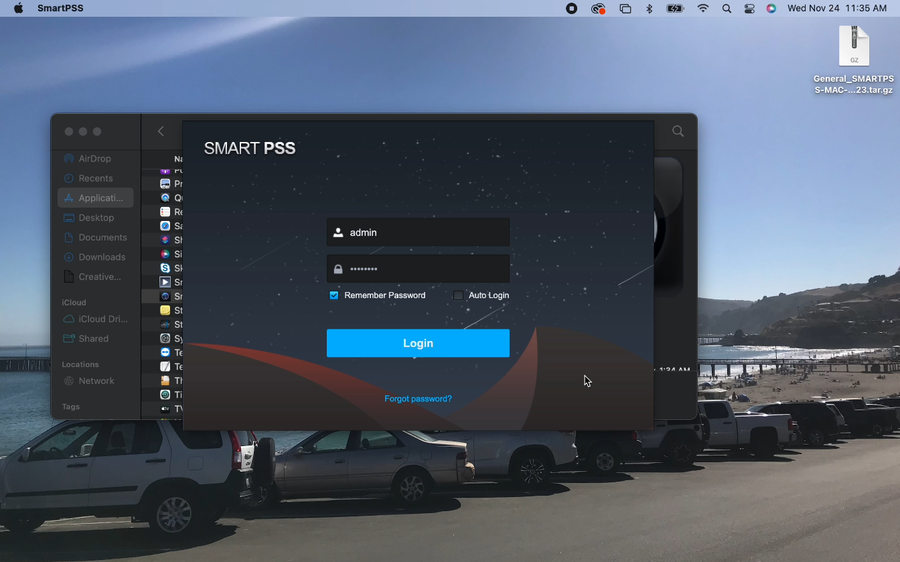
7. SmartPSS is now installed
