Difference between revisions of "Access Control/How To Setup DHI ASI1212D"
| Line 1: | Line 1: | ||
==How To Setup DHI-ASI1212D== | ==How To Setup DHI-ASI1212D== | ||
===Description=== | ===Description=== | ||
| − | Follow the step by step instructions below to setup the DHI-ASI1212D | + | Follow the step by step instructions below to setup the DHI-ASI1212D Water-proof Standalone Controller. |
===Prerequisites=== | ===Prerequisites=== | ||
* DHI-ASI1212D | * DHI-ASI1212D | ||
Latest revision as of 18:02, 11 August 2017
Contents
How To Setup DHI-ASI1212D
Description
Follow the step by step instructions below to setup the DHI-ASI1212D Water-proof Standalone Controller.
Prerequisites
- DHI-ASI1212D
- Network Connection
- Windows PC
-
 SmartPSS 1.16.1
 -
 Config Tool 4.05
Video Instructions
Step by Step Instructions
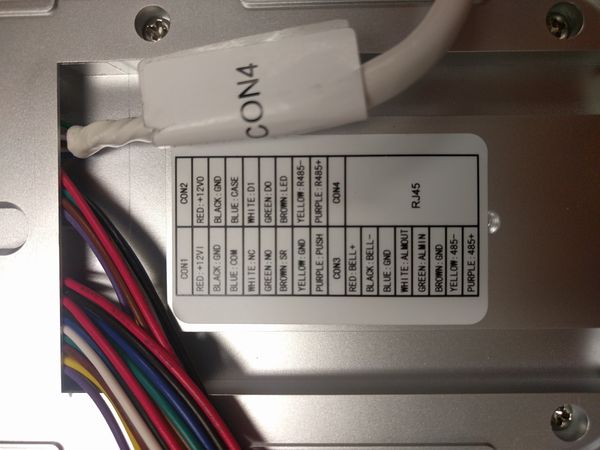
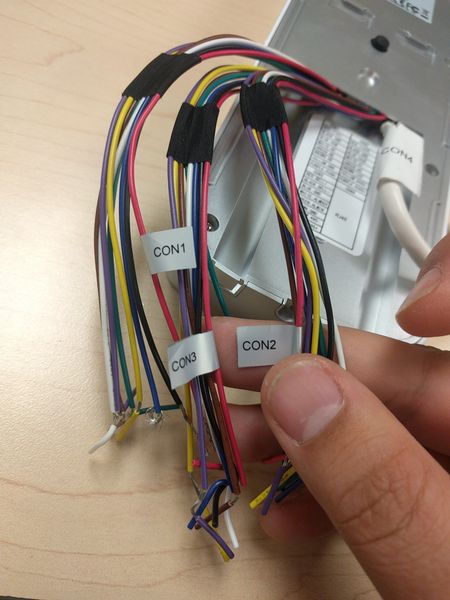
1. Begin with connecting a network cable and 12V DC power supply to the DHI-ASI1212D. Do this by finding the CON1 harness, and locate the red and black wires.
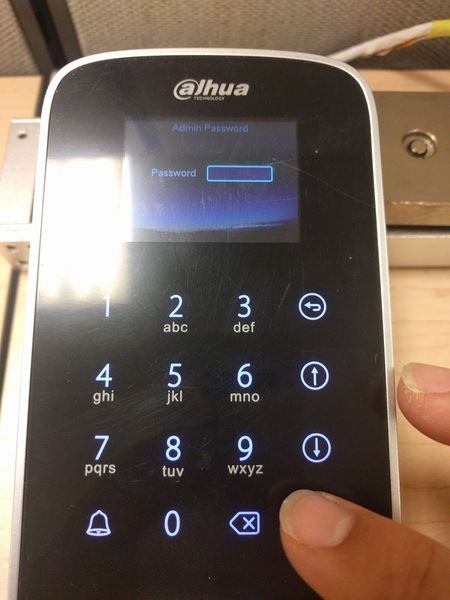
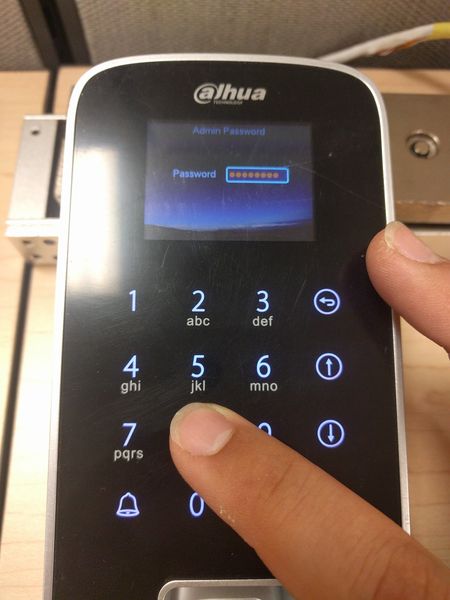
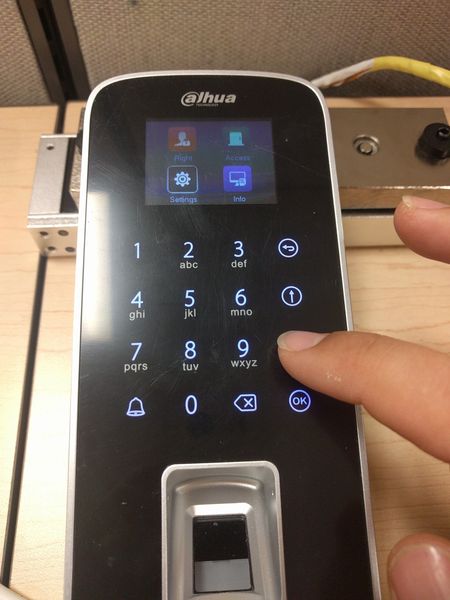
2. Once the DHI-ASC1212D has started press the OK key, and enter the default administrator password of 88888888 then press OK.
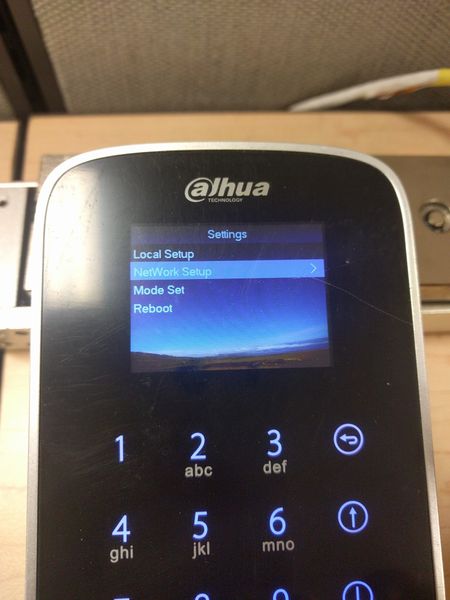
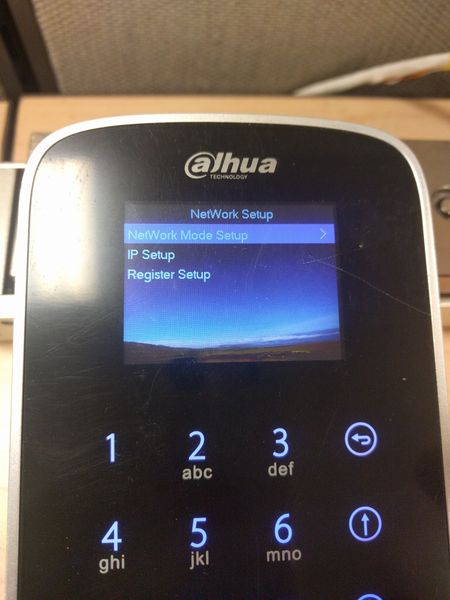
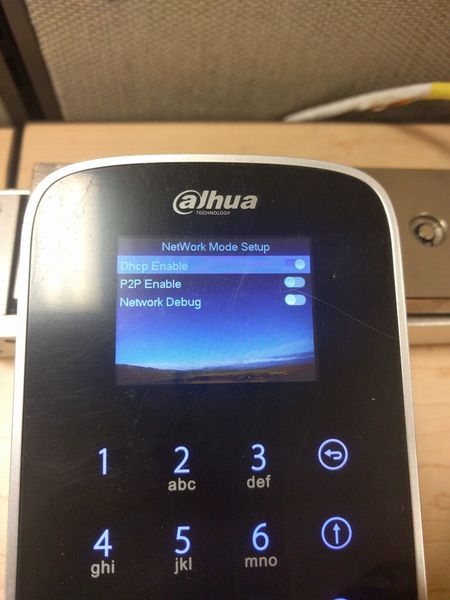
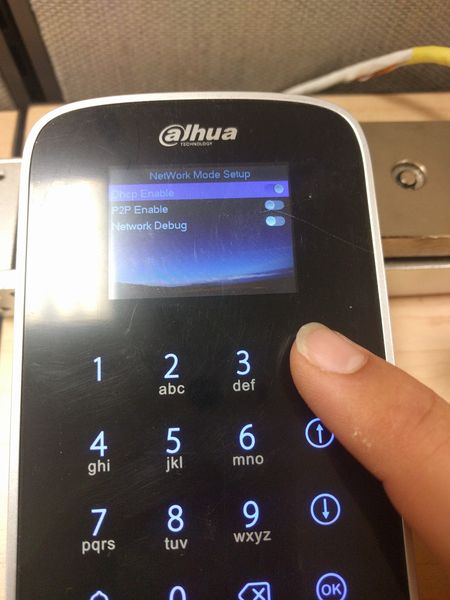
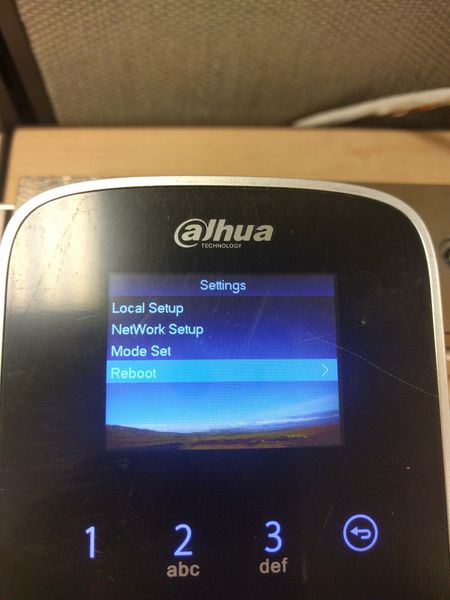
3. Press the down arrow 2 times to select Settings then press the OK key, press the down arrow key and select NetWork Setup and press the OK key. Select OK again to get into the menu for DHCP so the device can automatically be assigned an address from the DHCP server on the network, or you can select IP Setup to configure a Static IP address.
4. Reboot the unit using the option in this menu, or by power cycling the unit.
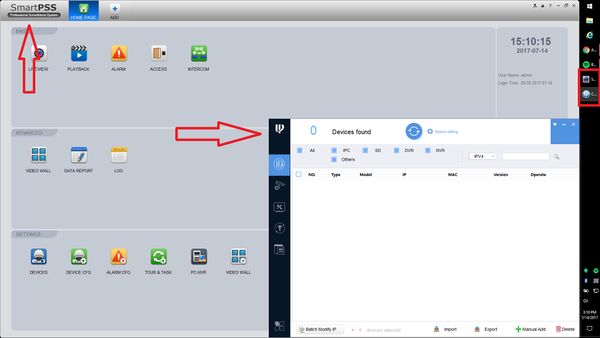
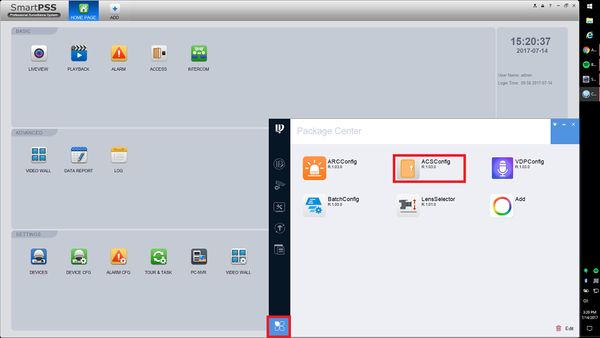
5. Switch to Config Tool 4.05 and then select the icon in the lower left corner. Now select ASCConfig.
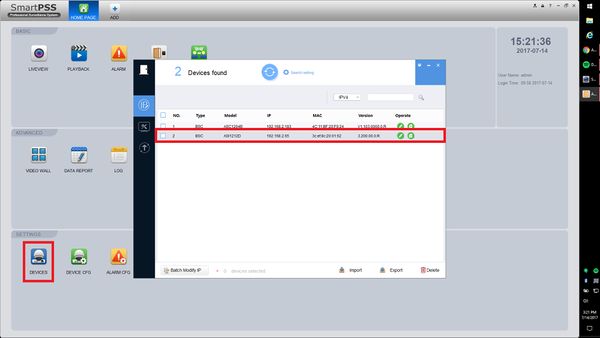
6. Select the refresh icon. The DHI-ASI1212D should now populate in the list.
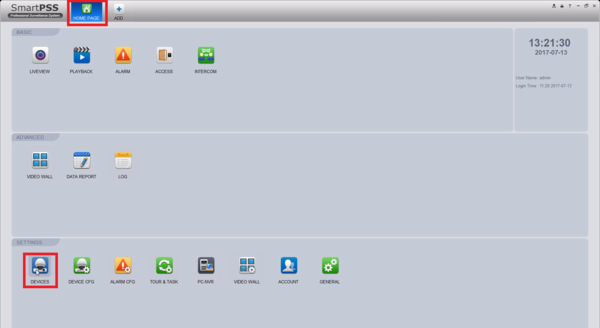
7. Switch to SmartPSS 1.16.1 and go to the home page. Select Devices.
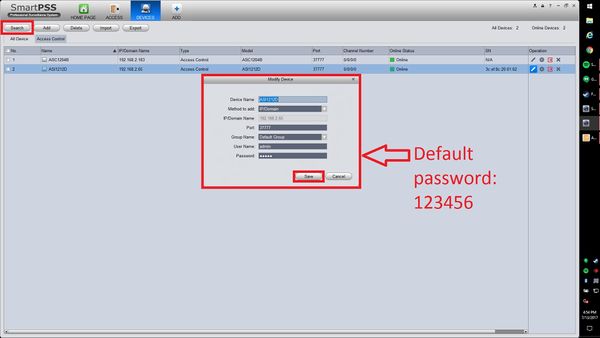
8. Select Add at the top right corner. Enter in a name for the device, the IP you configured in step 6 and enter Port of 37777, User Name as admin, and the default password 123456, then select ok.
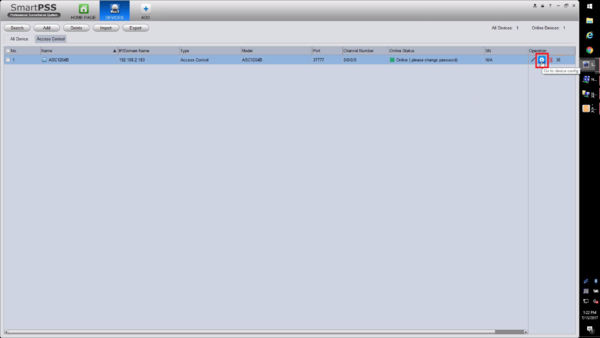
9. Now Select the Gear Icon to get into the devices configuration page on SmartPSS 1.16.1.
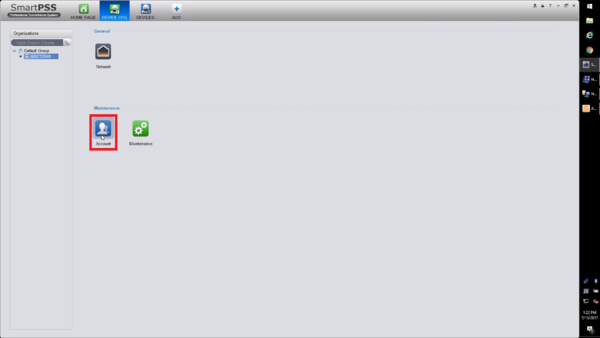
10. Select Account.
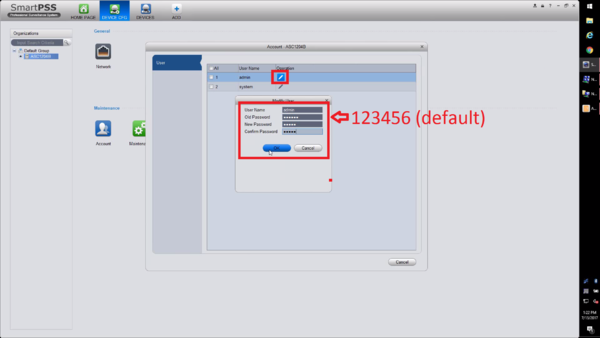
11. To ensure the safety of this device select the pencil icon for the admin account and change the default password of 123456 to something else, then select ok. Now reboot the device. In the Devices tab, select the pencil icon and change the password to reflect the changes made in this step.
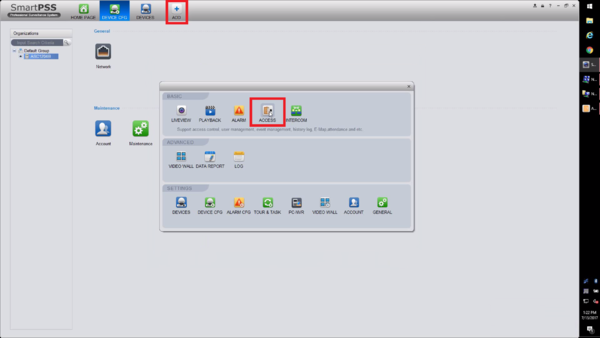
12. Select Add at the top of SmartPSS 1.16.1, and then select Access.
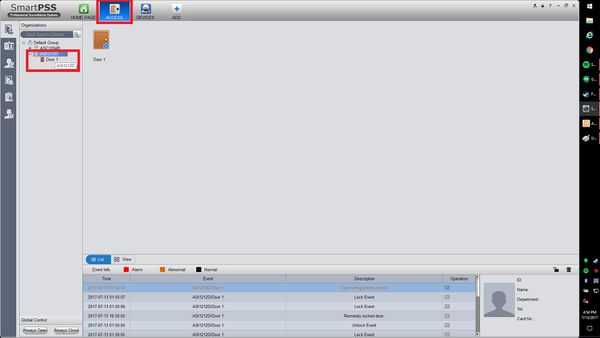
13. Under the Organization tree on the top left select the ASC1024B, you can now open or close doors and begin programming.
