Difference between revisions of "Mobile/iDMSS Push Notifications"
(→Step by Step Instructions Latest Version) |
(→Step by Step Instructions Latest Version) |
||
| Line 37: | Line 37: | ||
[[File:push_notify_new7.png|300px]] | [[File:push_notify_new7.png|300px]] | ||
| − | [[File:push_notify_new8.png| | + | [[File:push_notify_new8.png|290px]] |
8. Select Event type. For this tutorial we are selecting Motion Detect. | 8. Select Event type. For this tutorial we are selecting Motion Detect. | ||
Revision as of 16:33, 5 October 2018
Contents
How to Setup Push Notifications via Mobile Application
Description
This is the paid "PLUS" version for IDMSS/GDMSS. For push notifications to work you must have "Event/Motion" and or "Alarm" enabled From the "Device Manager" in the main menu of IDMSS/GDMSS paid application. Follow the step by step instructions below to setup push notifications.
Prerequisites
- Smartphone with IDMSS/GDMSS PLUS
- Connection and profile to the device
- Event such as Motion Detect must be enabled from Recorder.
Video Instructions
Step by Step Instructions Latest Version
1. From home select "Camera"
2. Select menu
3. Select Alarm Manager
4. Select Subscribe
5. Select device and will show getting configuration.
6. Toggle on. It will show blue if on.
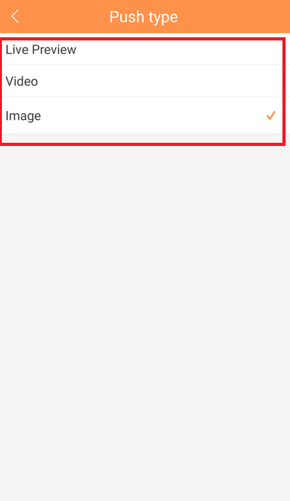
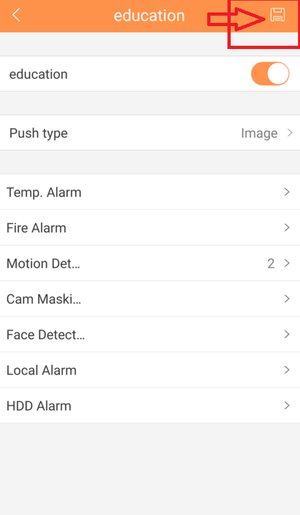
7. Select push type. It is recommended that it is set to Video for Video playback of the event . Select back button.
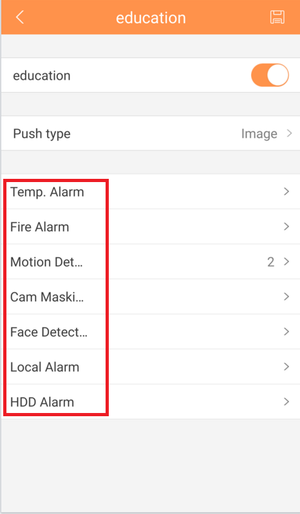
8. Select Event type. For this tutorial we are selecting Motion Detect.
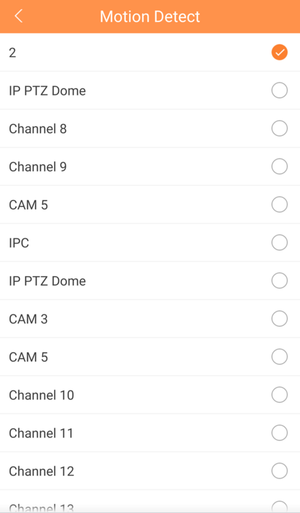
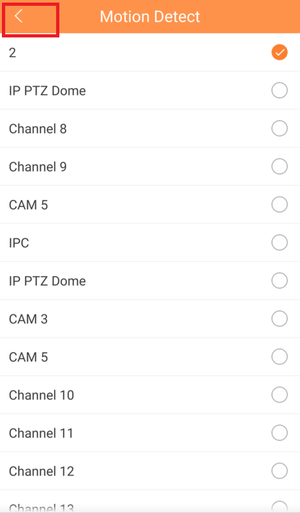
9. Choose camera or cameras that are to be set for push notifications. There will be a blue check mark for the selected cameras. Select Back button.
10. Select blue check mark. This will save the configuration
Step by Step Instructions
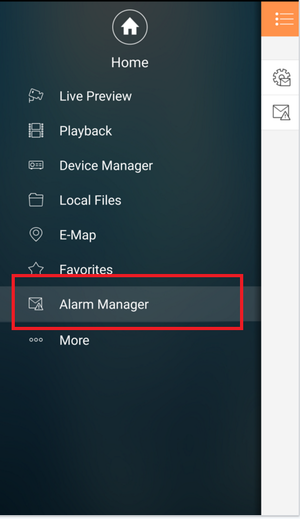
1. From Main Menu Select "Alarm Manager"
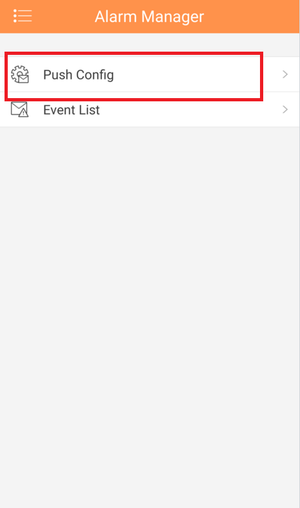
2. Select "Push Config"
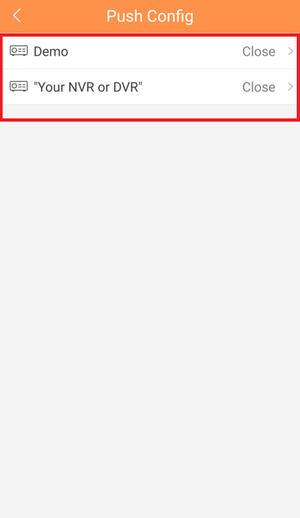
3. Select Recorder from list.
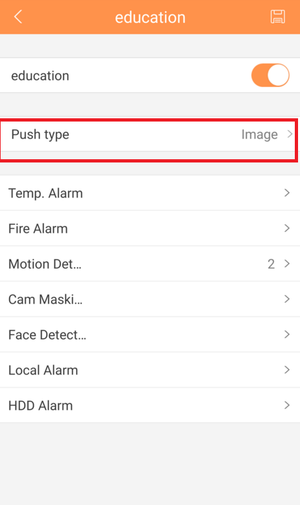
4. Select "Push Type" → Select one of the following: Live Preview, Video or Image → Select back icon.
5. Select Alarm Type.
6. Select Camera or Cameras → Select back icon.
7. Select Disk icon to subscribe entry.
