Difference between revisions of "PTZPreset"
| Line 1: | Line 1: | ||
==How to Setup Preset== | ==How to Setup Preset== | ||
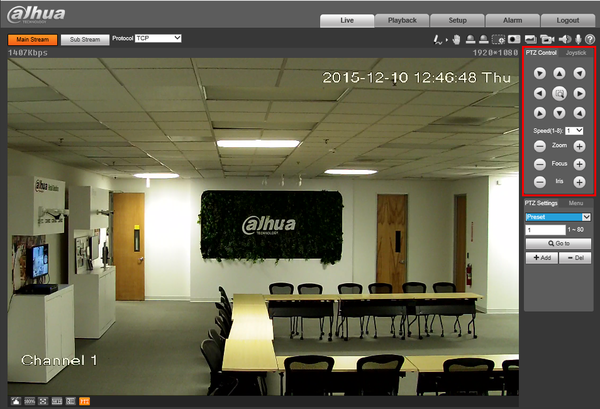
===Description=== | ===Description=== | ||
| − | Pre-sets are used to define single or multiple locations that are saved to the camera's internal memory. Pre-Sets are used in conjunction with the, "Tour" feature. | + | Pre-sets are used to define single or multiple locations that are saved to the camera's internal memory. Pre-Sets are used in conjunction with the, "Tour" feature. |
| + | |||
===Instructions=== | ===Instructions=== | ||
| − | 1. Login to your IP PTZ camera via Internet Explorer. | + | 1. Login to your IP PTZ camera via Internet Explorer. |
[[file:PTZScan1.png]] | [[file:PTZScan1.png]] | ||
| Line 11: | Line 12: | ||
[[file:PTZPreset1.png|600px]] | [[file:PTZPreset1.png|600px]] | ||
| − | Note:For this example, we are going to set Pre-Set 1 and 2. These numbers can be set from 1-80. The number of Pre-Sets available can vary from model to model. | + | Note:For this example, we are going to set Pre-Set 1 and 2. These numbers can be set from 1-80. The number of Pre-Sets available can vary from model to model. |
| − | 3. Move the PTZ to the location you wish to set for Pre-Set 1 using the PTZ Controls. | + | 3. Move the PTZ to the location you wish to set for Pre-Set 1 using the PTZ Controls. |
[[file:PTZPreset2.png|600px]] | [[file:PTZPreset2.png|600px]] | ||
| Line 29: | Line 30: | ||
[[file:PTZPreset5.png|600px]] | [[file:PTZPreset5.png|600px]] | ||
| − | 7. To test, change the Pre-Set back to, "1" and click, "Go to" then repeat for each additional Pre-Set you created. | + | 7. To test, change the Pre-Set back to, "1" and click, "Go to" then repeat for each additional Pre-Set you created. |
[[file:PTZPreset6.png|600px]] | [[file:PTZPreset6.png|600px]] | ||
[[file:PTZPresetGIF.gif]] | [[file:PTZPresetGIF.gif]] | ||
| + | |||
| + | [[Category:PTZ]] | ||
Revision as of 18:04, 9 February 2016
How to Setup Preset
Description
Pre-sets are used to define single or multiple locations that are saved to the camera's internal memory. Pre-Sets are used in conjunction with the, "Tour" feature.
Instructions
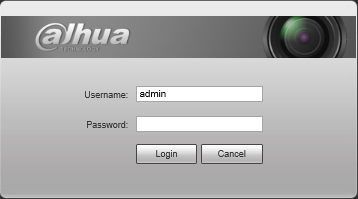
1. Login to your IP PTZ camera via Internet Explorer.
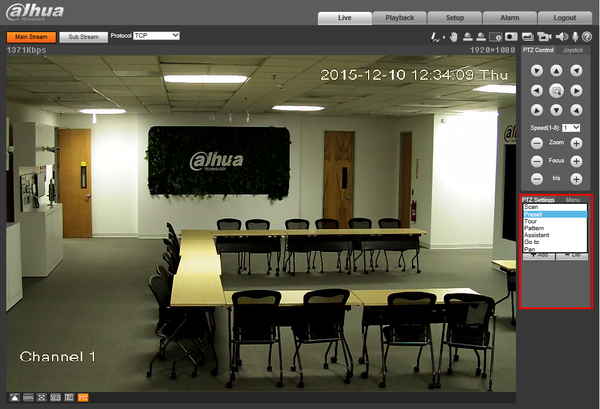
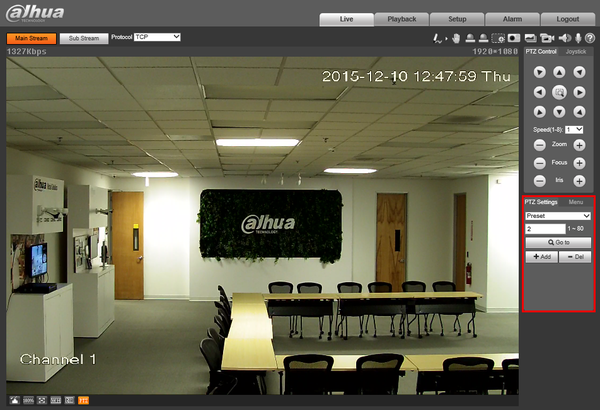
2. On the right hand side, under, "PTZ Settings" click the drop down box and select, "Pre-Set"
Note:For this example, we are going to set Pre-Set 1 and 2. These numbers can be set from 1-80. The number of Pre-Sets available can vary from model to model.
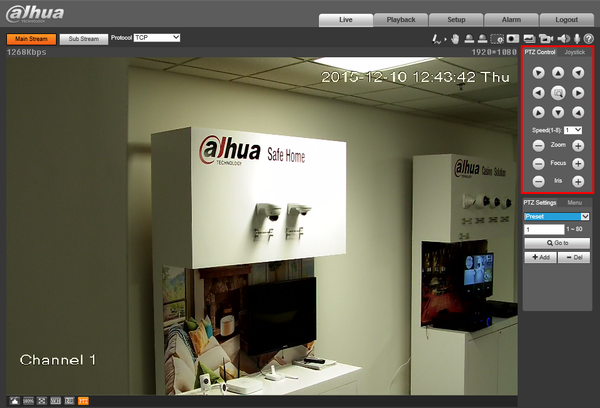
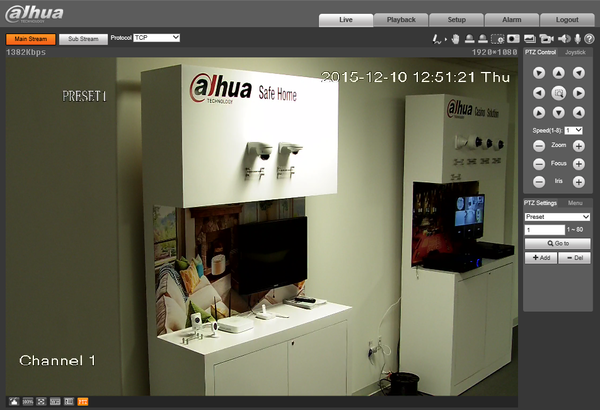
3. Move the PTZ to the location you wish to set for Pre-Set 1 using the PTZ Controls.
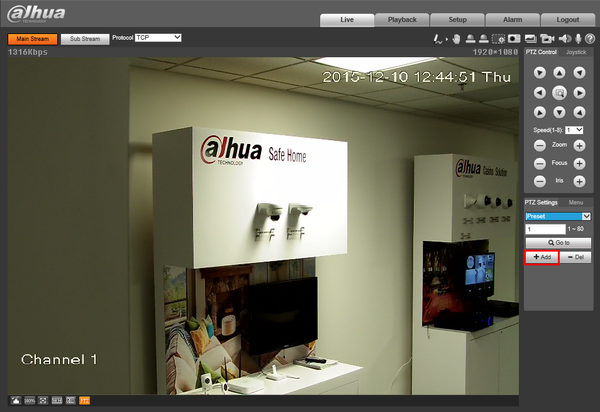
4. Press, "Add"
5. Move the PTZ to the second location that you wish to establish for Preset 2 using the PTZ Controls.
6. Change the Pre-Set number to, "2" and click, "Add"
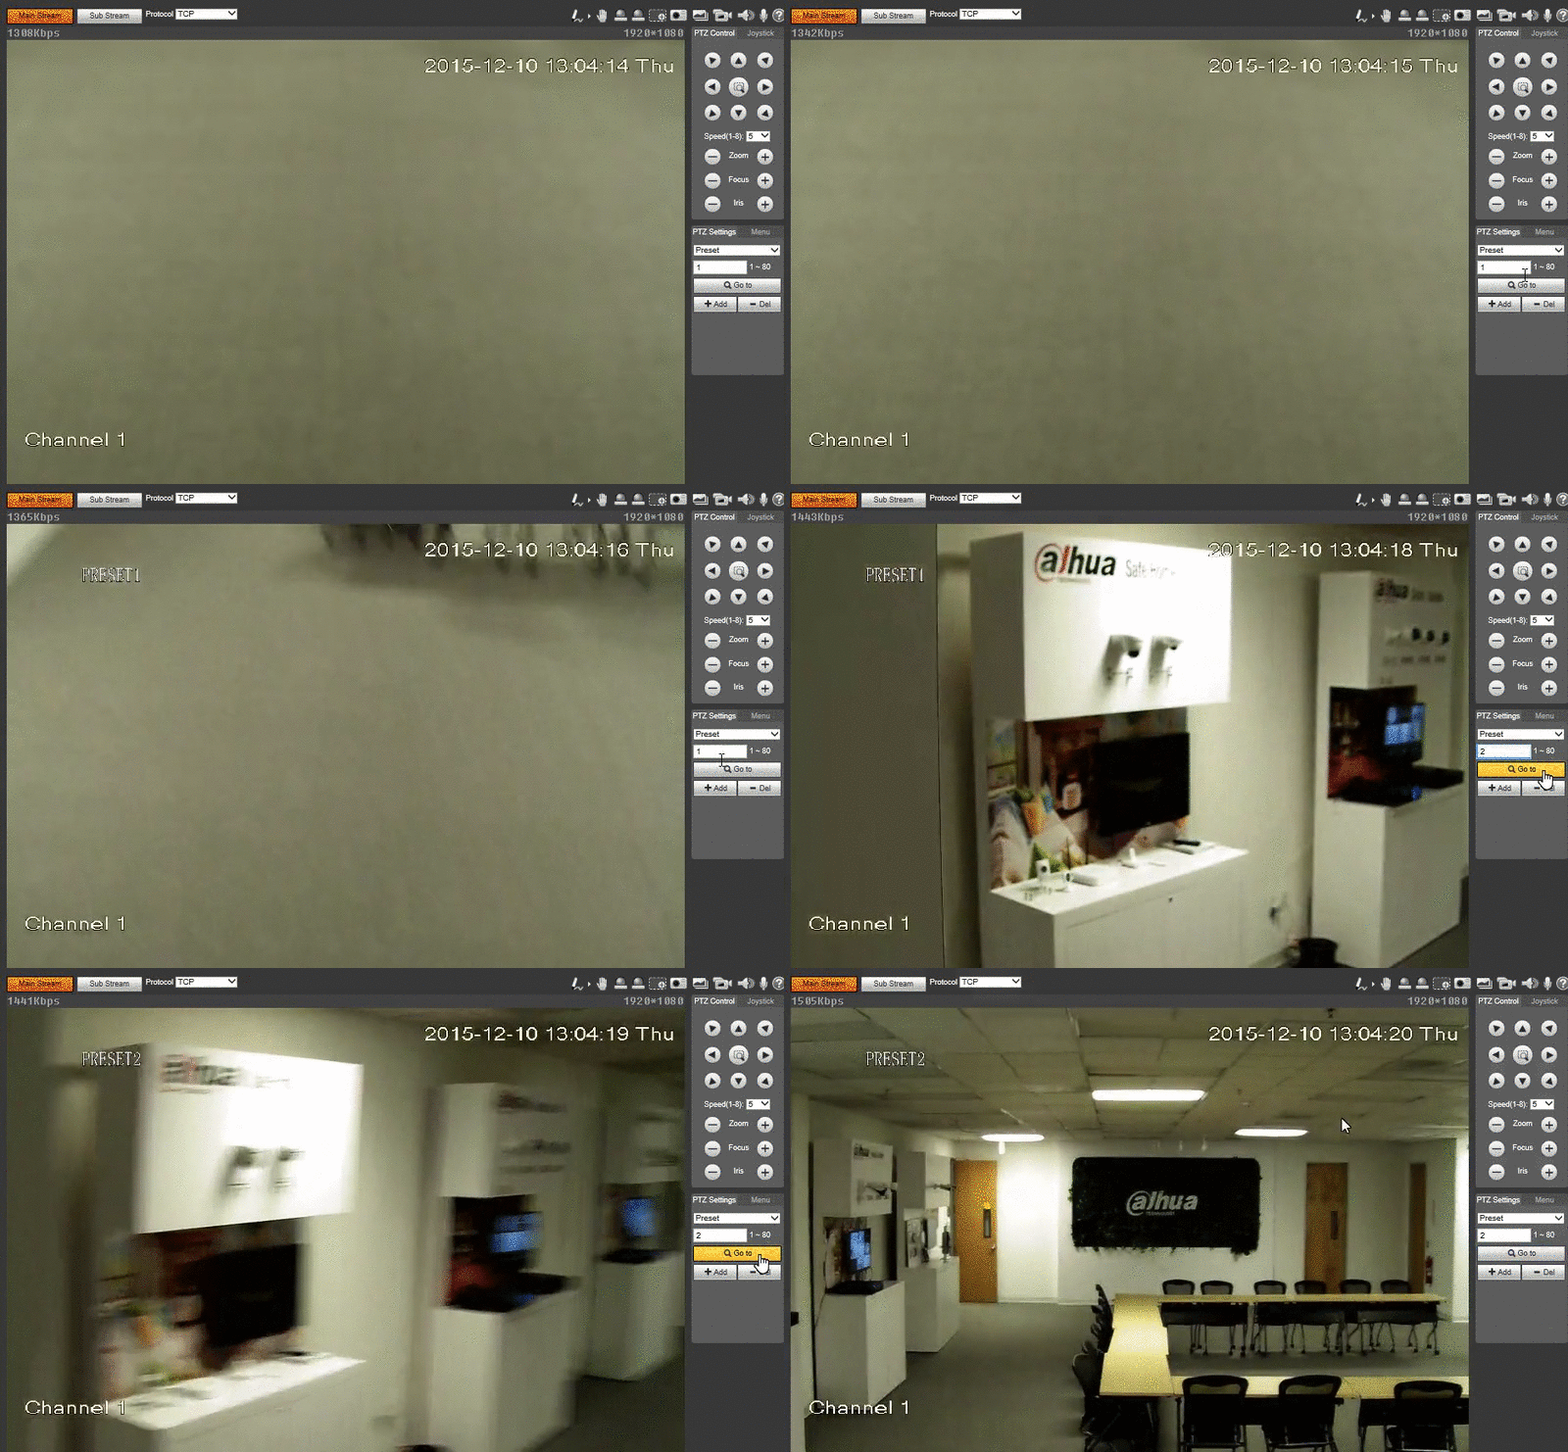
7. To test, change the Pre-Set back to, "1" and click, "Go to" then repeat for each additional Pre-Set you created.
