Difference between revisions of "NVR/Recording Setup/Schedule Record"
(→Quick Video) |
(→Schedule Record) |
||
| Line 3: | Line 3: | ||
===Quick Video=== | ===Quick Video=== | ||
<div class="mw-collapsible-content">[[file:ScheduleRecordGIF.gif|800px]] | <div class="mw-collapsible-content">[[file:ScheduleRecordGIF.gif|800px]] | ||
| − | + | Please Note: For this example, we will be setting all cameras to record 24/7 | |
</div> | </div> | ||
</div> | </div> | ||
Revision as of 19:13, 14 December 2015
Schedule Record
Step-by-Step Instructions
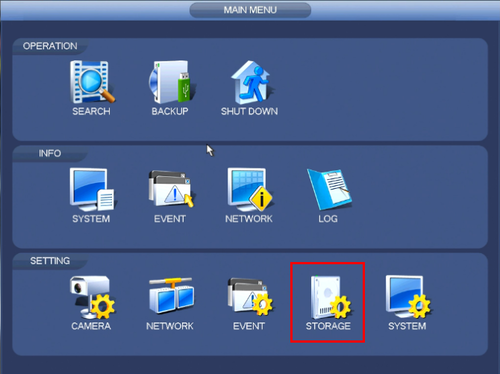
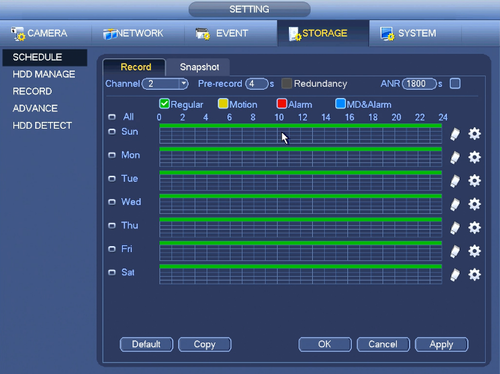
1. From the Main Menu click, "Storage" under, "Settings"
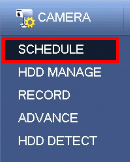
2. Click, "Schedule" on the left hand side.
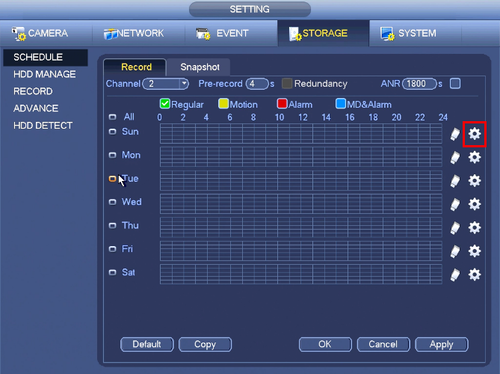
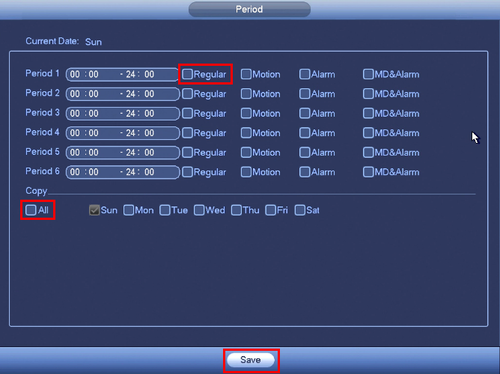
3. Click the Gear icon to the right of any of the graphs.
4. Check the box for, "Regular" then click the, "All" box below, "Copy"
5. Click, "Save" This will return you to the previous screen which should look like this.
6. Click, "Apply" and then, "OK"
