Difference between revisions of "SmartPSS/How To Use PTZ Preset in SmartPSS"
(→Prerequisites) |
(→Prerequisites) |
||
| Line 6: | Line 6: | ||
===Prerequisites=== | ===Prerequisites=== | ||
| − | * SmartPSS | + | * [https://dahuawiki.com/Template:SmartPSS SmartPSS] |
* PTZ Camera. | * PTZ Camera. | ||
* PTZ added to SmartPSS Device List - [[SmartPSS/Add Device via IP|How To Add Device to SmartPSS]] | * PTZ added to SmartPSS Device List - [[SmartPSS/Add Device via IP|How To Add Device to SmartPSS]] | ||
Revision as of 18:46, 26 March 2019
Contents
How To Use PTZ Preset In SmartPSS
Description
This article will show you how to setup and use PTZ Presets in SmartPSS 2.0
Prerequisites
- SmartPSS
- PTZ Camera.
- PTZ added to SmartPSS Device List - How To Add Device to SmartPSS
Video Instructions
Coming Soon
Step by Step Instructions
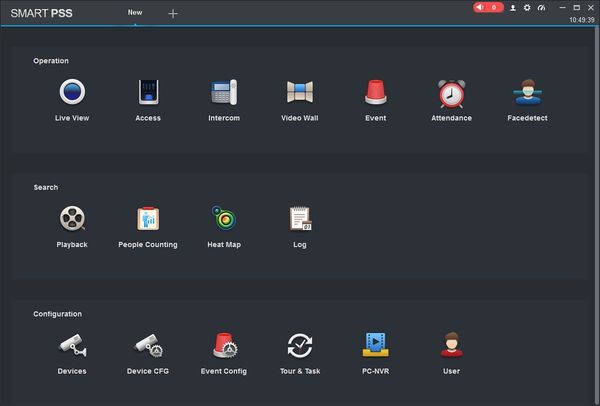
1. Launch SmartPSS.
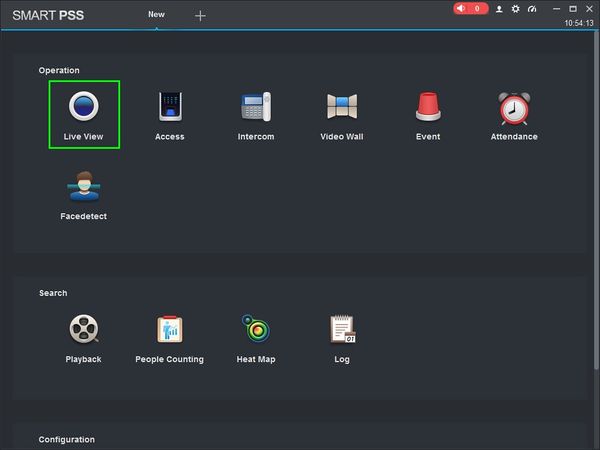
2. Click 'Live View'
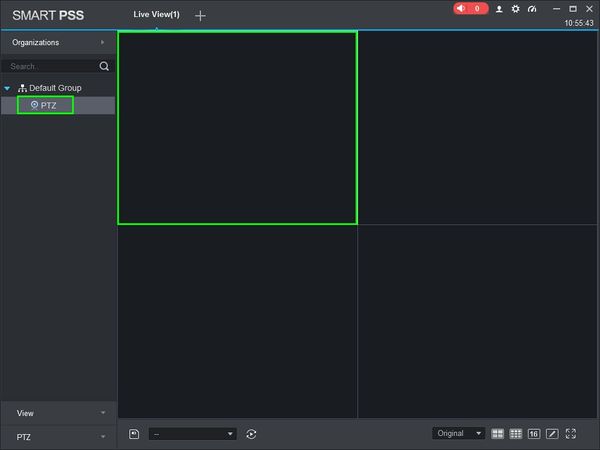
3. Double Click the PTZ on the device list on the left side of the screen, then double click the video pane to bring the feed up in full screen
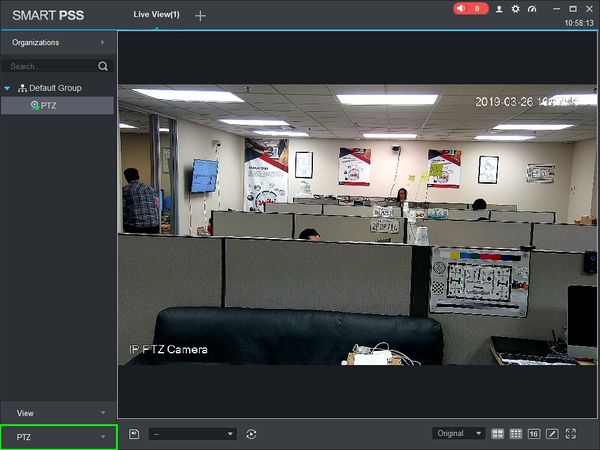
4. Click 'PTZ'
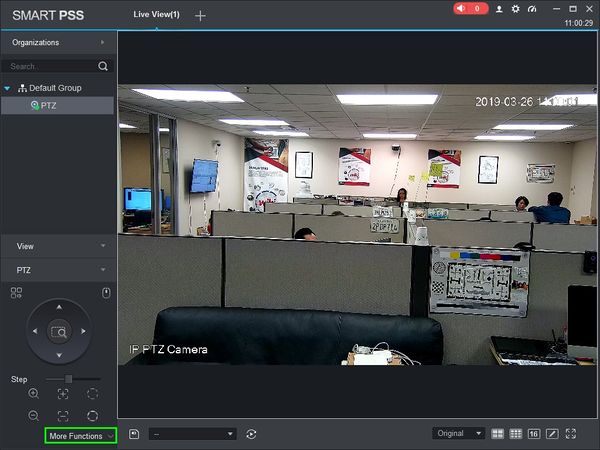
5. Click 'More Functions' in the lower portion of the screen
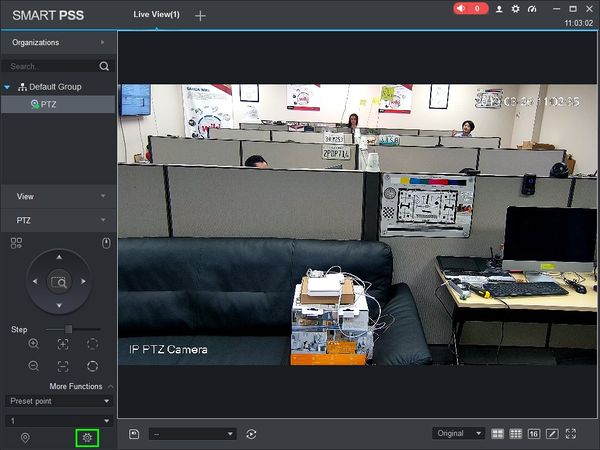
6. Click the Gear icon
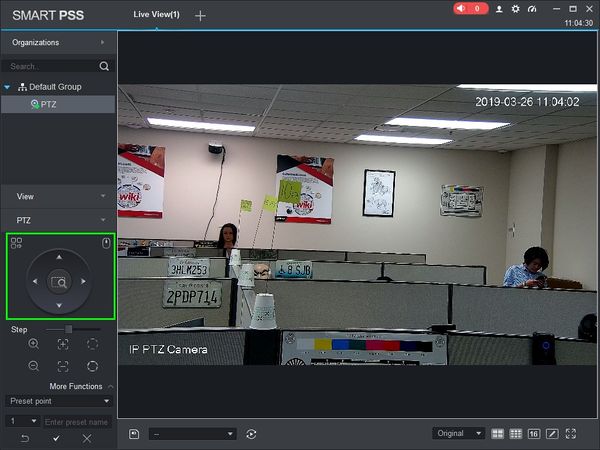
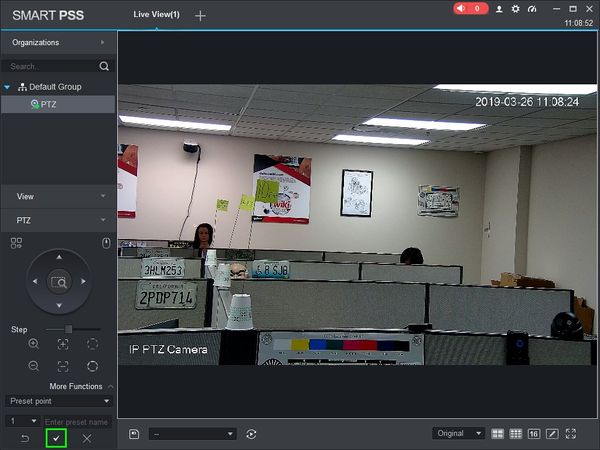
7. Use the onscreen arrows to move the camera to the desired location for the preset.
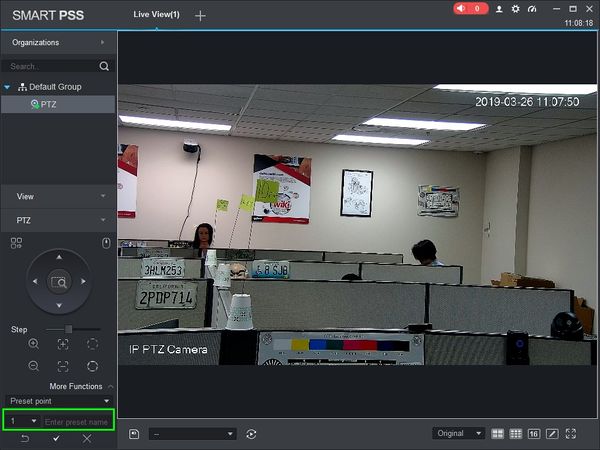
8. Input the preset number you want to program, with a name if desired (not required)
9. Click the Check icon to save
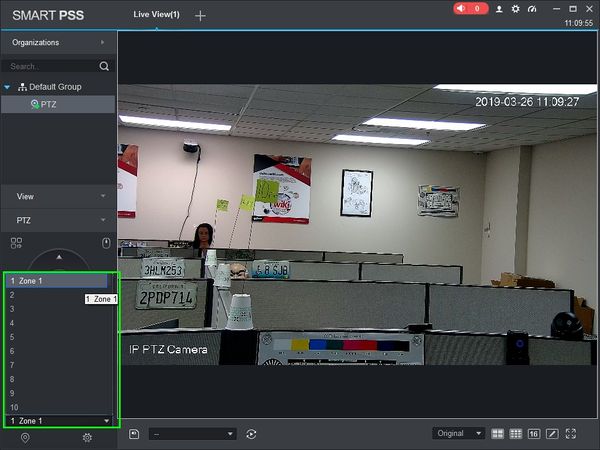
10. Use the drop-down menu to select the preset you want to move the camera to
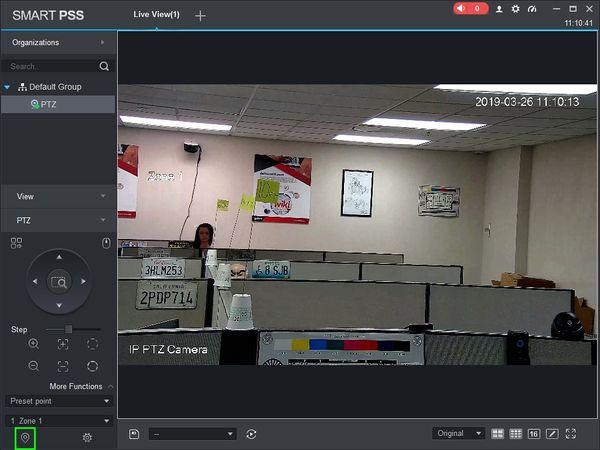
11. Click the Locate icon to issue the preset movement command
