Difference between revisions of "EVS/Setup RAID"
(→Step by Step Instructions) |
|||
| Line 35: | Line 35: | ||
Use the drop-down box to select the RAID type | Use the drop-down box to select the RAID type | ||
| + | |||
[[File:EVS_-_Setup_RAID_-_5.jpg|500px]] | [[File:EVS_-_Setup_RAID_-_5.jpg|500px]] | ||
| Line 54: | Line 55: | ||
The RAID window will be updated with the new RAID | The RAID window will be updated with the new RAID | ||
| + | |||
[[File:EVS_-_Setup_RAID_-_9.jpg|500px]] | [[File:EVS_-_Setup_RAID_-_9.jpg|500px]] | ||
Latest revision as of 00:39, 14 November 2019
Contents
Setup RAID
Description
Prerequisites
- EVS device powered on, set up and connected to the network
- Hard drive(s) installed into EVS
- Computer with network access
- IP address of EVS device
Video Instructions
Step by Step Instructions
1. Log into the EVS System Manager by typing the IP in to a web browser
Enter the Username and Password and click Login
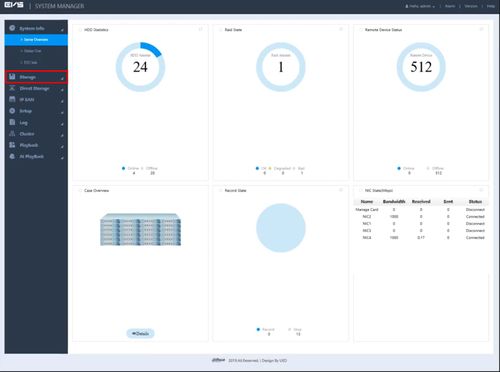
2. Click Storage
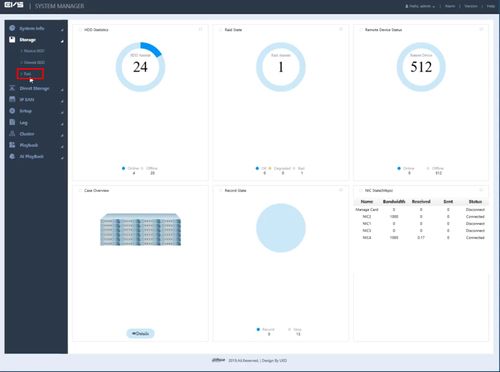
3. Click Raid
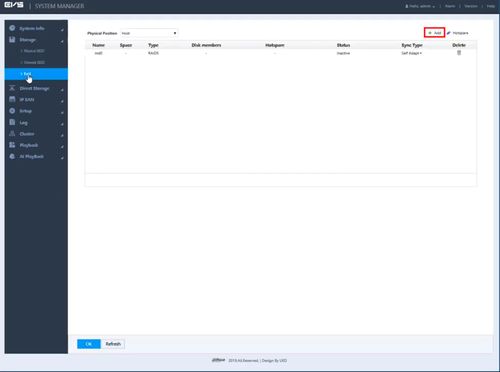
4. Click '+ Add' to create a new RAID
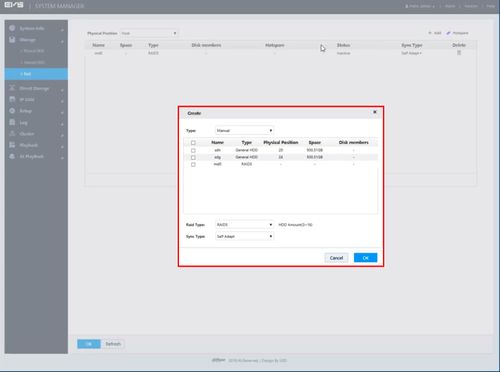
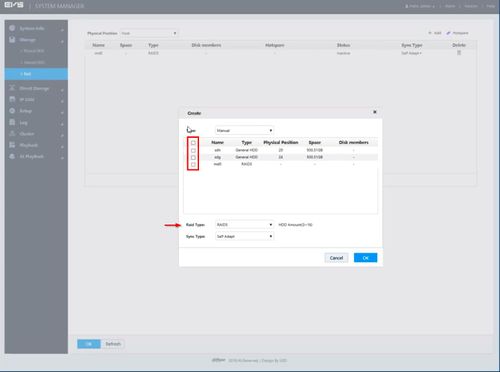
5. The Create RAID window will appear
6. Use the checkbox next to each hard drive to select which to include in the RAID
Use the drop-down box to select the RAID type
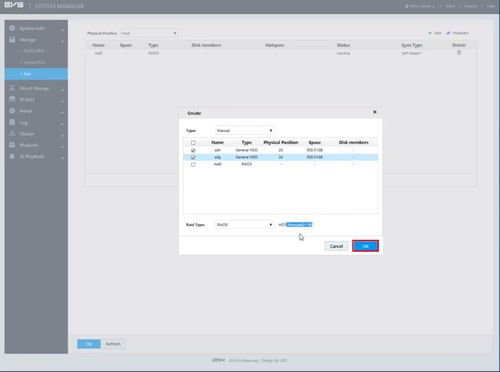
7. Click OK once all setting have been entered
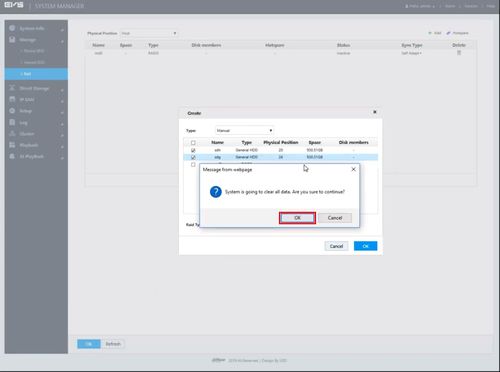
8. A pop up will appear to confirm that data will be cleared on any Hard Drives being added to the RAID
Click OK
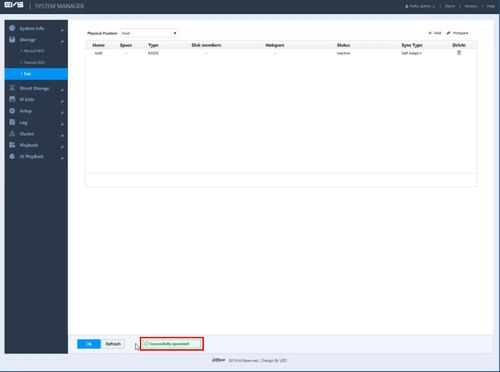
9. A system message will confirm a successful Format
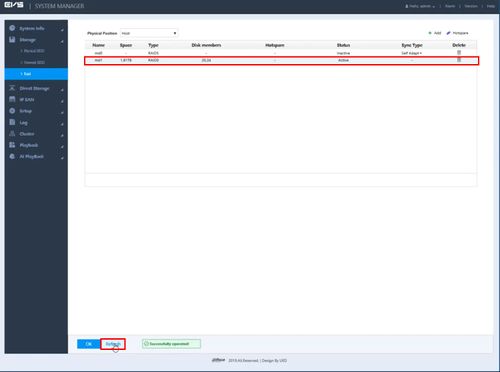
10. Click Refresh
The RAID window will be updated with the new RAID

