Difference between revisions of "Template:Product Point to Point"
| Line 11: | Line 11: | ||
!|EOL | !|EOL | ||
|- | |- | ||
| − | |||
| − | |||
| − | |||
| − | |||
| − | |||
| − | |||
| − | |||
| − | |||
| − | |||
| − | |||
|- | |- | ||
|DHI-PFWB5-10n | |DHI-PFWB5-10n | ||
| Line 33: | Line 23: | ||
|'''No''' | |'''No''' | ||
|- | |- | ||
| + | |DHI-PFWB5-90n | ||
| + | |[[file:DHI_PFWB5_90n_Web.png|100px]] | ||
| + | |Wireless Base Station | ||
| + | | | ||
| + | *Integrated 5 GHz (2 x 2) MIMO Radio | ||
| + | *Recommended as a Base Station for 3.11 miles (5 km) PTMP Wireless Connection | ||
| + | *Frequency 5.150 – 5.850 GHz (FCC 5.150 to 5.250 and 5.725 to 5.850 GHz) | ||
| + | |[https://dahuawiki.com/File:Datasheet_Wireless_Transmission_DH-PFWB5-90n_v001_005.pdf <ul class="fa-ul"> <li><i class="fas fa-file fa-4x" style="color:darkred;></i></li></ul>] | ||
| + | |[https://dahuawiki.com/File:Dahua-V-Radio-Wireless-Transmission-Device-User-Guide3.pdf <ul class="fa-ul"> <li><i class="fas fa-book fa-4x" style="color:darkred;></i></li></ul>] | ||
| + | |'''No''' | ||
|} | |} | ||
|-| | |-| | ||
Revision as of 18:49, 26 November 2019
==Product==
==NOTE== DO NOT MIX GENERATION 1 and GENERATION 2 DEVICES! ==Networking Mode==
| Point to Point | 400px |
| Point to Multipoint | 400px |
==Information==
- 192.168.1.36 is default IP
- Default User Name = admin
- Default Password = admin
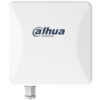
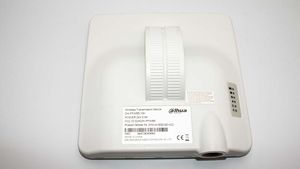
- DHI-PFWB5-10n-Station, square unit, satellite
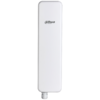
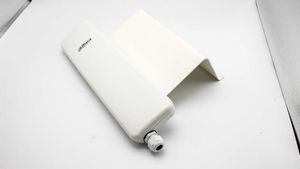
- DHI-PFWB5-90n-Access Point, long skinny unit, Home Base
===Operating Modes=== 802.11n:
- Access Point (autoWDS),
- Access Point (TDMA 2)
- Access Point (TDMA 3)
- Station (WDS/TDMA 2/TDMA 3)
- Station (ARPNAT)
802.11ac:
- Access Point (autoWDS)
- Access Point (TDMA3)
- Station (WDS/TDMA 3)
Contents
- 1 How to reset the DH-PFWB5-10n and DH-PFWB5-90n
- 2 Video Instructions for Wireless Transmission Device DH-PFWB5-10n
- 3 Step by Step Instruction for Wireless Transmission Device DH-PFWB5-10n
- 4 Video Instructions for Wireless Transmission Device DH-PFWB5-90n
- 5 Step by Step Instruction for Wireless Transmission Device DH-PFWB5-90n
How to reset the DH-PFWB5-10n and DH-PFWB5-90n
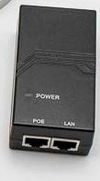
- Make sure the unit is connected to the POE unit that is included in the package.
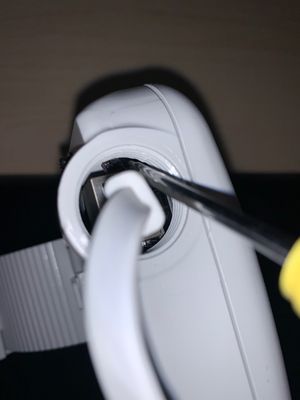
- Press the reset button for 15 seconds. You will see the LED on the side of the device flash.
Video Instructions for Wireless Transmission Device DH-PFWB5-10n
Step by Step Instruction for Wireless Transmission Device DH-PFWB5-10n
- It is best to setup these devices on a bench before installing them.
- Power on and Configure one device at a time, they all have the same default IP address.
- Always use the included POE injector on all configurations.
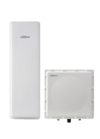
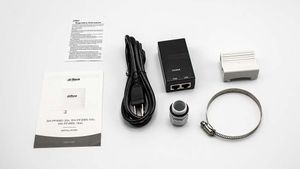
- What is in the BOX - DH-PFWB5-10n.
- 1. Give your PC a IP address of 192.168.1.200
- 2. Connect to the DH-PFWB5-10n to your PC using a patch cable.
- 3. ping the IP address of the DH-PFWB5-10n (192.168.1.36) to make sure it is alive.
- 4. Using IE or Chrome type the IP address on a browser.
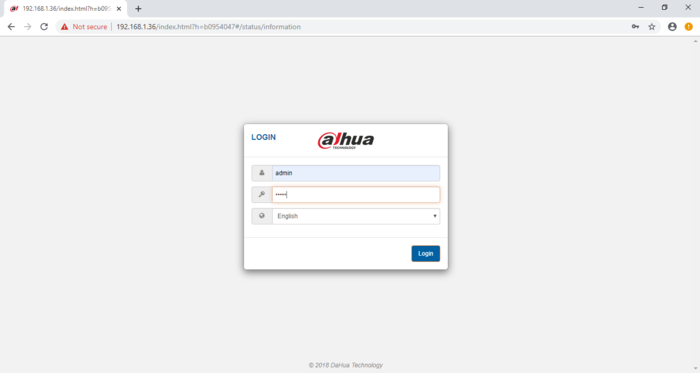
- 5. Login screen.
- 6 Main Menu
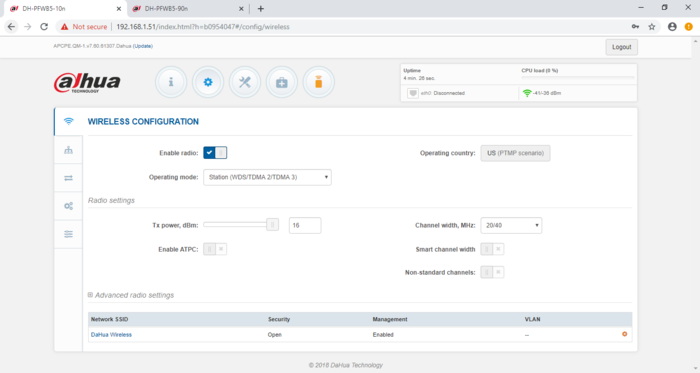
- Setup, Wireless Configuration.
- 7. Enable the radio button.
- 8. Operation Mode "Station (WDS/TDMA 2/TDMA 3"
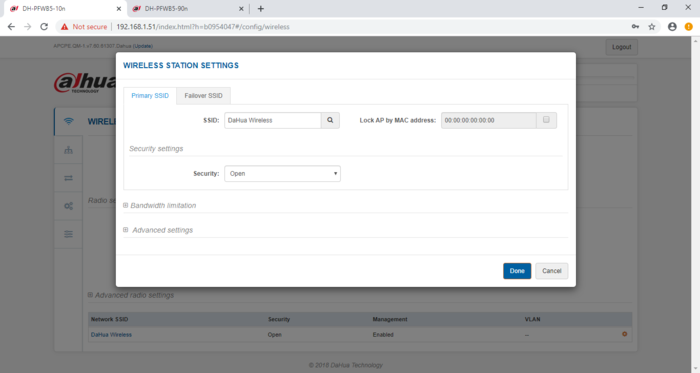
- 9. Wireless Station Settings, SSID and Security.
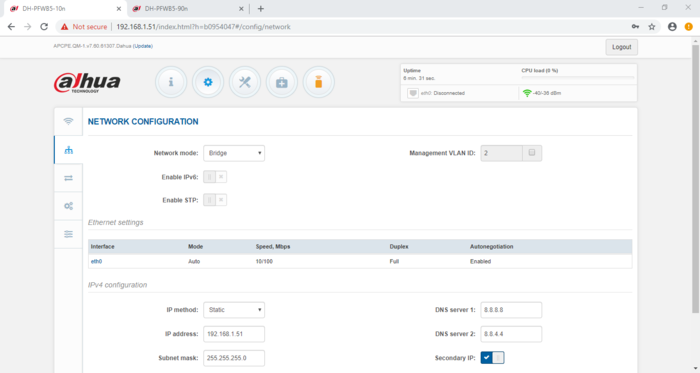
- 10. Network Configuration, Bridge mode
- 11. Assigned a static IP, DNS and Subnet mask.
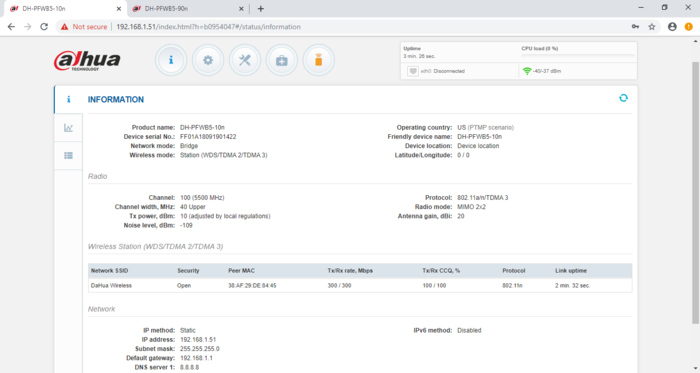
- 12. Information Screen.
- 13. Here you can see that the device is online, SSID, IP.
- Congratulation your device is online.
Video Instructions for Wireless Transmission Device DH-PFWB5-90n
Step by Step Instruction for Wireless Transmission Device DH-PFWB5-90n
- It is best to setup these devices on a bench before installing them.
- Power on and Configure one device at a time, they all have the same default IP address.
- Always use the included POE injector on all configurations.
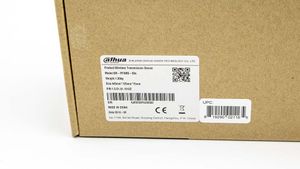
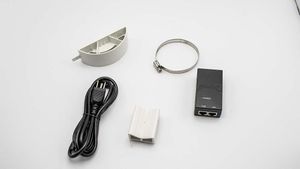
- What is in the BOX - DH-PFWB5-90n.
- 1. Give your PC a IP address of 192.168.1.200
- 2. Connect to the DH-PFWB5-90n to your PC using a patch cable.
- 3. ping the IP address of the DH-PFWB5-90n (192.168.1.36) to make sure it is alive.
- 4. Using IE or Chrome type the IP address on a browser.
- 5. Login screen.
- 6 Main Menu
- Setup, Wireless Configuration.
- 7. Enable the radio button.
- 8. Operation Mode "Access Point (WDS/TDMA 2/TDMA 3"
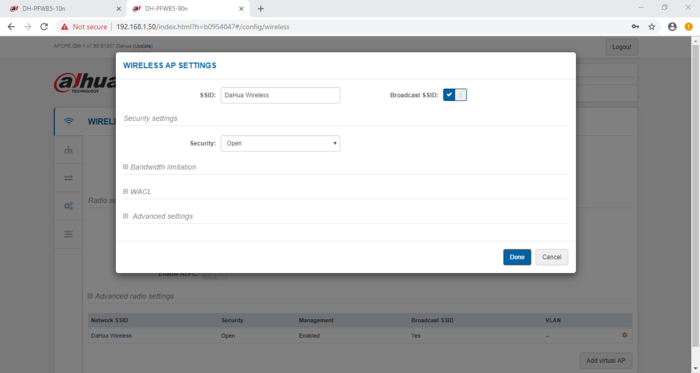
- 9. Wireless Station Settings, SSID and Security.
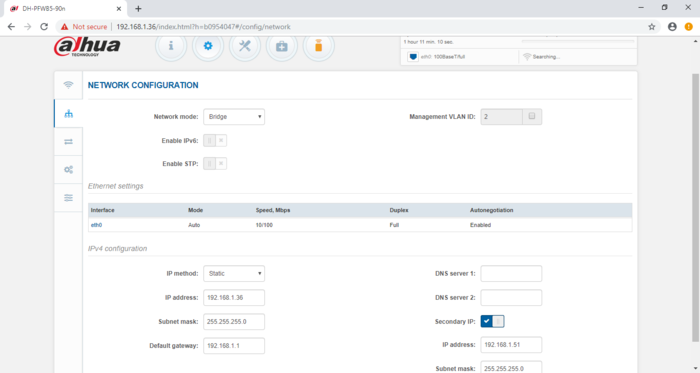
- 10. Network Configuration, Bridge mode
- 11. Assigned a static IP, DNS and Subnet mask.
- 12. Information Screen.
- 13. Here you can see that the device is online, SSID, IP.
- Congratulation your device is online.
==Instructions==
