Difference between revisions of "Template:Temperature Monitoring Physical Setup"
(→Step by Step Instructions) |
|||
| Line 21: | Line 21: | ||
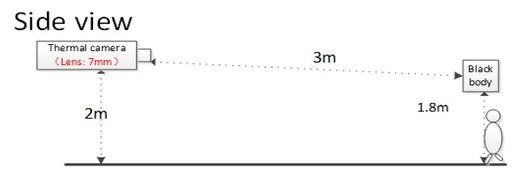
====Suggested Physical Layout==== | ====Suggested Physical Layout==== | ||
| + | <gallery mode="packed-hover"> | ||
| + | File:Temperature_Monitoring_-_Physical_Setup_-_Physical_Layout_Side_View_Diagram.jpg|Side view diagram | ||
| + | File:Temperature_Monitoring_-_Physical_Setup_-_Physical_Layout_Top_View_Diagram.jpg|Top view diagram | ||
| + | </gallery> | ||
<gallery> | <gallery> | ||
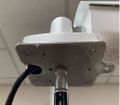
File:Temperature_Monitoring_-_Physical_Setup_-_Physical_Layout_Camera_Height.jpg|'''Camera height:''' 2m (6.56 ft) | File:Temperature_Monitoring_-_Physical_Setup_-_Physical_Layout_Camera_Height.jpg|'''Camera height:''' 2m (6.56 ft) | ||
Revision as of 23:51, 1 April 2020
Contents
Video Instructions
Step by Step Instructions
Mounting Adapter Plates
The mounting brackets/plates must be installed to both the camera and black body device
To attach the tripod:


