Difference between revisions of "Template:LPR Camera Guide Setup"
| Line 19: | Line 19: | ||
'''1. Confirmation''' | '''1. Confirmation''' | ||
| − | * Confirm the Software Version is the latest (''Visit the Product page for latest firmware version - Link''), and then click ''' | + | * Confirm the Software Version is the latest (''Visit the Product page for latest firmware version - Link''), and then click '''OK'''. |
[[File:LPR_Camera_Guide_Setup_-1.jpg|600px]] | [[File:LPR_Camera_Guide_Setup_-1.jpg|600px]] | ||
Revision as of 23:09, 11 March 2021
The Guide interface is useful to configure the correct settings for license plate capture
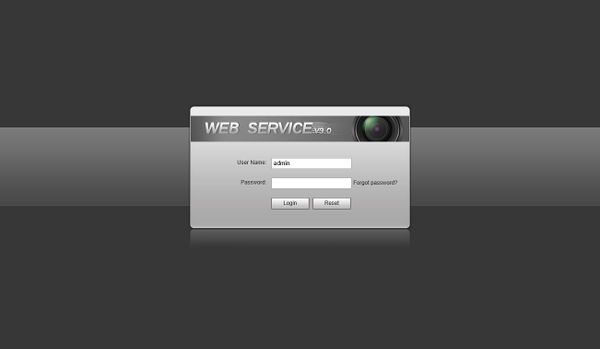
Log into the Web UI of the camera by typing the IP into a web browser.
Enter the username/password and click Login
- Click the Guide tab.
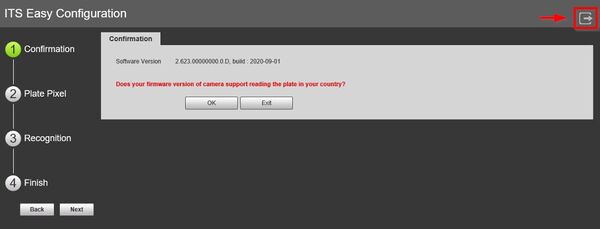
On the Guide interface, you can configure capture scenarios. You can click at at the upper-right corner of Guide interface to exit at anytime.
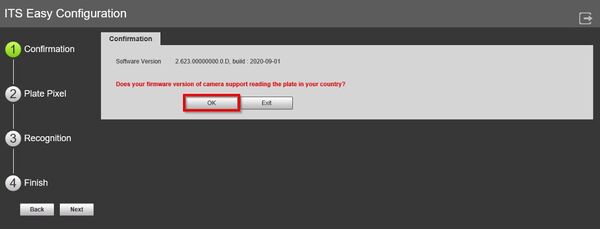
1. Confirmation
- Confirm the Software Version is the latest (Visit the Product page for latest firmware version - Link), and then click OK.
2. Plate Pixel
- You can check whether the video image is properly zoomed and focused by checking the plate pixel.
3. Recognition
- Configure recognition area for detection of license plates.
- Click Iden Area.
Click and draw 4 lines on the video frame to create a recognition area
- Click Snap Line.
Draw snap line by dragging mouse on the area. The snap line must cross the area.
3) Click Save to complete the Setup.
Click Finish, exit Guide interface and enter Live interface.


