Difference between revisions of "NVR/Recording Setup/RAID Hotspare"
m (JP moved page RAIDHotspare to NVR/Recording Setup/RAID Hotspare) |
|||
| Line 1: | Line 1: | ||
==How to setup Hotspare== | ==How to setup Hotspare== | ||
===Pre-Requisites=== | ===Pre-Requisites=== | ||
| − | *An NVR that supports RAID and Hotspare | + | * An NVR that supports RAID and Hotspare |
| − | *3 or more hard drives installed on your NVR, including a drive that is not currently part of the RAID array. | + | * 3 or more hard drives installed on your NVR, including a drive that is not currently part of the RAID array. |
| − | *Completed the instructions to setup RAID [[RAIDSetup|Link Here]] | + | * Completed the instructions to setup RAID [[RAIDSetup|Link Here]] |
| + | |||
===Step by Step Instructions to Setup Hotspare=== | ===Step by Step Instructions to Setup Hotspare=== | ||
| − | 1. Login to your NVR from the web interface. | + | 1. Login to your NVR from the web interface. |
[[file:RAID1.png]] | [[file:RAID1.png]] | ||
| Line 25: | Line 26: | ||
[[file:Hotspare4.png]] | [[file:Hotspare4.png]] | ||
| − | 6. Click on the [[file:PencilIcon.png]](pencil) icon. | + | 6. Click on the [[file:PencilIcon.png]](pencil) icon. |
[[file:Hotspare5.png]] | [[file:Hotspare5.png]] | ||
| Line 33: | Line 34: | ||
[[file:Hotspare6.png]] | [[file:Hotspare6.png]] | ||
| − | 8. Click, "OK" again on the confirmation dialogue. | + | 8. Click, "OK" again on the confirmation dialogue. |
[[file:Hotspare7.png]] | [[file:Hotspare7.png]] | ||
| Line 40: | Line 41: | ||
[[file:Hotspare8.png]] | [[file:Hotspare8.png]] | ||
| + | |||
| + | |||
| + | |||
| + | |||
| + | [[Category:NVR]] | ||
| + | [[Category:Browser]] | ||
| + | [[Category:RAID]] | ||
| + | [[Category:HDD]] | ||
Revision as of 22:56, 13 July 2016
How to setup Hotspare
Pre-Requisites
- An NVR that supports RAID and Hotspare
- 3 or more hard drives installed on your NVR, including a drive that is not currently part of the RAID array.
- Completed the instructions to setup RAID Link Here
Step by Step Instructions to Setup Hotspare
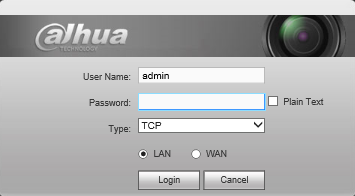
1. Login to your NVR from the web interface.
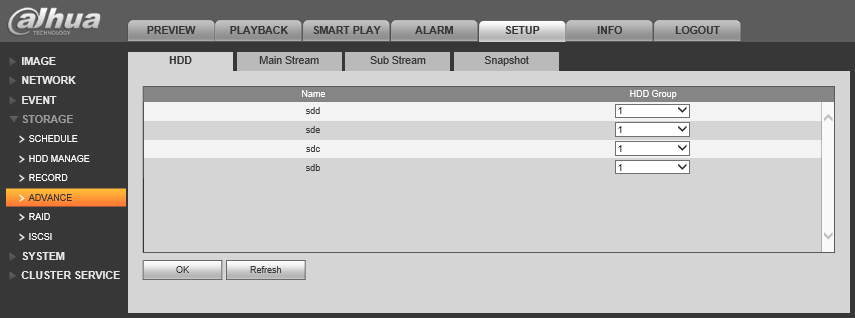
2. Go to Setup->Storage->Advance
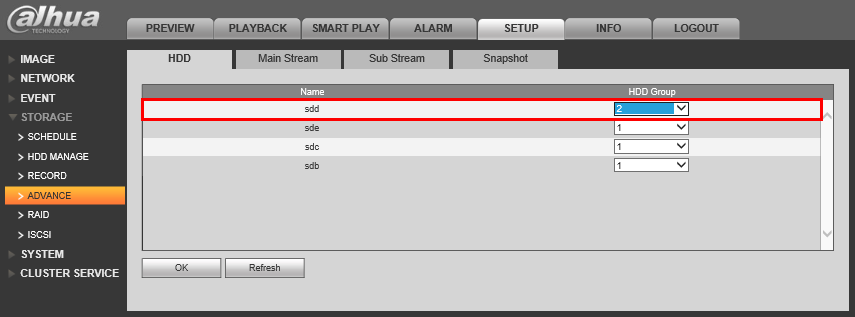
3. Select the drive you wish to assign as the Hotspare, and set that drive to "HDD Group 2"
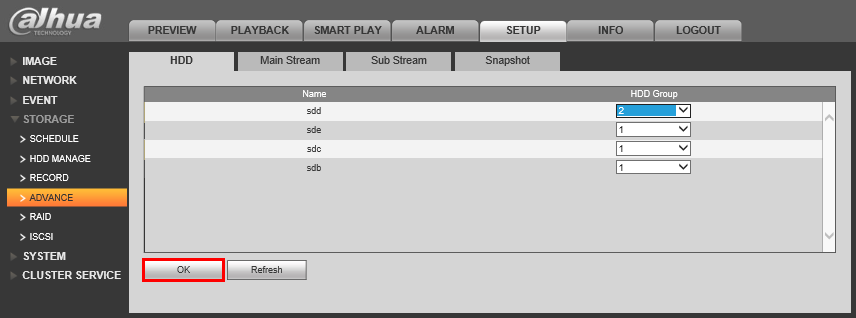
4. Click, "OK"
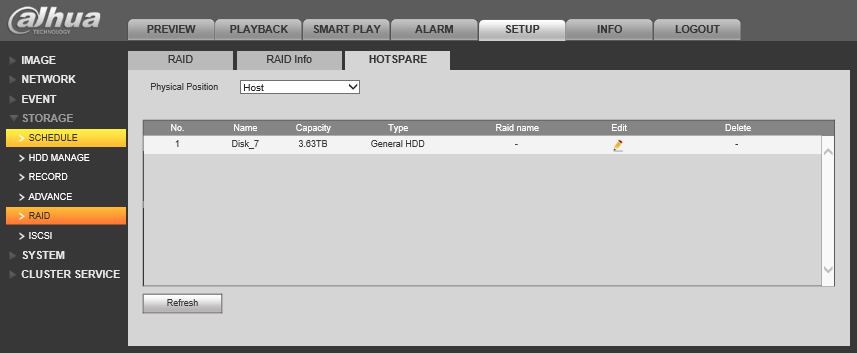
5. Go to Setup->Storage->RAID->Hotspare
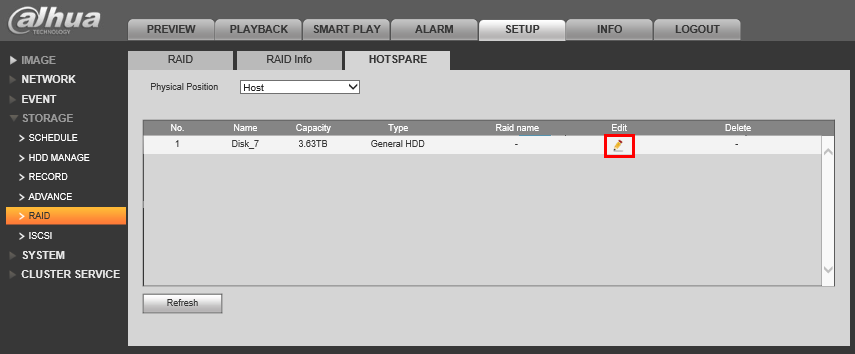
6. Click on the ![]() (pencil) icon.
(pencil) icon.
7. Choose the RAID array you wish to assign the Hotspare drive to, and click, "OK"
8. Click, "OK" again on the confirmation dialogue.
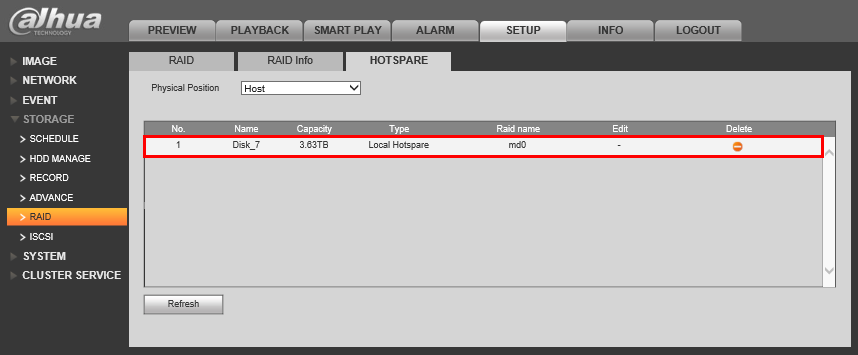
9. Once complete, the drive should be listed under, "Type" as either, "Local Hotspare" or "Remote Hotspare"
