Difference between revisions of "DDNS/NoIP DDNS Setup"
m (JP moved page DDNSNoIP to DDNS/NoIP DDNS Setup) |
|||
| Line 1: | Line 1: | ||
==DDNS Setup No-IP== | ==DDNS Setup No-IP== | ||
| + | ===Pre-Requisites=== | ||
| + | (Placeholder) | ||
| + | ===Video Instructions=== | ||
| + | <embedvideo service="youtube">https://youtu.be/aHg7pz34awo</embedvideo> | ||
| + | ===Step by Step Instructions=== | ||
'''Step 1.''' Go to https://www.noip.com/ | '''Step 1.''' Go to https://www.noip.com/ | ||
Revision as of 21:38, 6 July 2016
DDNS Setup No-IP
Pre-Requisites
(Placeholder)
Video Instructions
Step by Step Instructions
Step 1. Go to https://www.noip.com/
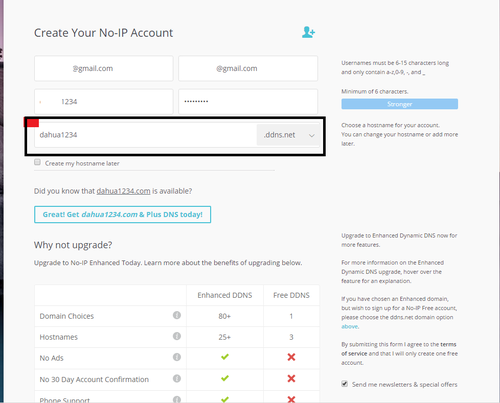
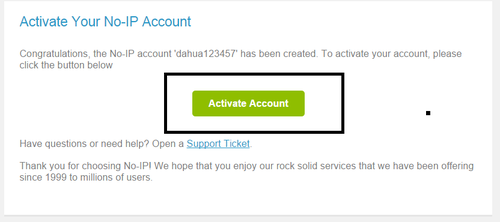
Step 2. Create an account -> Go to your email registered with noip.com. An email activation will be sent to your registered email to activate noip.com account.
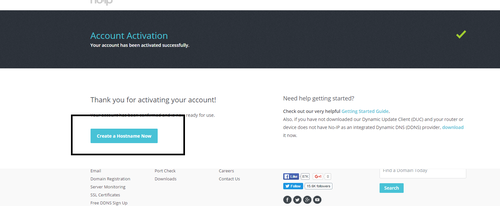
Step 3. Once account is activated select "Create Host Name Now"
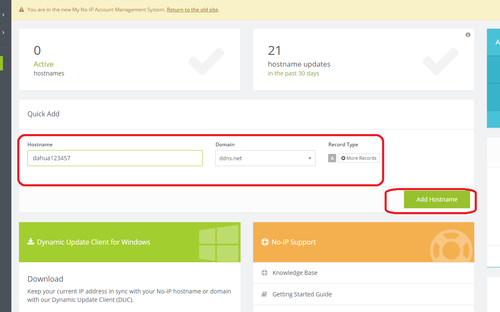
Step 4. Input a host name of your choice > Select Add "Host Name"
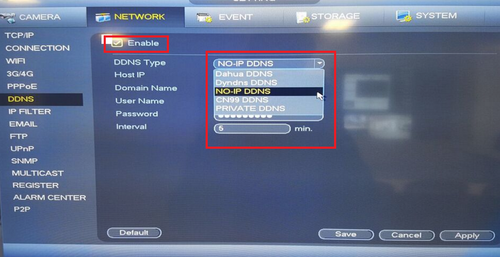
Step 5. Login into Recorder via Web Service or Physical recorder. From the Main Menu select the network tab > Select DDNS on the left hand side. Check off "Enable" > Click on Drop down to select "No-IP"
Step 6. Input host IP > Domain Name > User Name > Password > Do not forget to click "APPLY" to save settings.

