Difference between revisions of "IPC/How To Enable H264"
(→Description) |
|||
| Line 1: | Line 1: | ||
==How To Enable H.264== | ==How To Enable H.264== | ||
===Description=== | ===Description=== | ||
| − | If you have a H.265 Camera and a | + | If you have a H.265 Camera and a H.264 recorder, you won't be able to view your feed! To resolve this issue please follow the steps below to set your IP Camera to the H.264 codec. |
| + | |||
===Prerequisites=== | ===Prerequisites=== | ||
* H.265 IP Camera powered and accessible | * H.265 IP Camera powered and accessible | ||
Revision as of 19:53, 5 January 2017
Contents
How To Enable H.264
Description
If you have a H.265 Camera and a H.264 recorder, you won't be able to view your feed! To resolve this issue please follow the steps below to set your IP Camera to the H.264 codec.
Prerequisites
- H.265 IP Camera powered and accessible
- Laptop or NVR able to access the IP Camera
Video Instructions
Step by Step Instructions
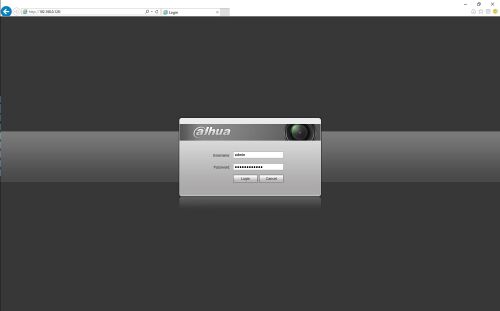
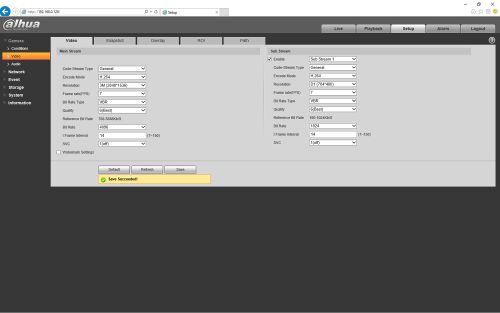
1. Log into the Camera using Internet Explorer and the camera's IP address. If you are on a NVR/HCVR system then use the Main Menu->Cameras->Encode area and skip to step 4.
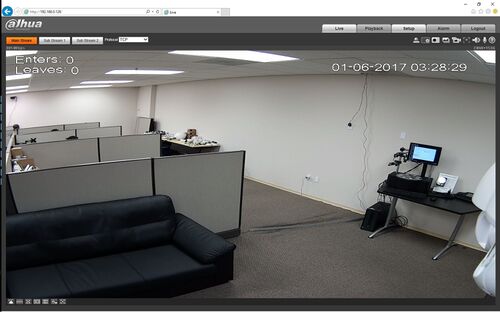
2. Select Setup.
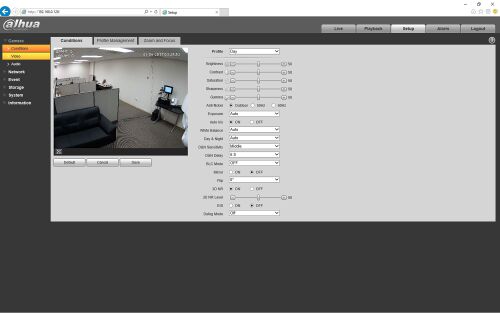
3. Select Video.
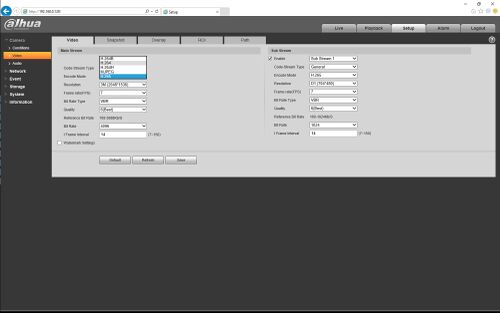
4.On the Encode mode pull-down menu select H.264, and do the same for substream 1 and 2.
5. Select save and make sure you get the message "Save Succeeded!"
