Difference between revisions of "NVR/Recording Setup/Alarm Recording Setup SmartPSS 1.6"
(→Step by Step Instructions) |
(→Description) |
||
| Line 1: | Line 1: | ||
| − | == | + | ==How to set up alarm recording for physical alarm via SmartPSS 1.16== |
| − | SmartPSS 1. | ||
===Prerequisites=== | ===Prerequisites=== | ||
| Line 56: | Line 55: | ||
[[file:alarmsmartpss1_16_3.png|600px]] | [[file:alarmsmartpss1_16_3.png|600px]] | ||
| − | 11. From the left hand side select recorder -> select + button to show cameras -> select the camera alarm was set for -> under storage you will select | + | 11. From the left hand side select recorder -> select + button to show cameras -> select the camera alarm was set for -> under storage you will select |
record. | record. | ||
Revision as of 23:35, 12 October 2017
Contents
How to set up alarm recording for physical alarm via SmartPSS 1.16
Prerequisites
- A NVR or IP Camera with an Alarm Out
- SmartPSS 1.16 or 1.161
Video Instructions
Step by Step Instructions
1. Identify which alarm out block you wish to use to connect your physical alarm. For this example we are going to use, "Alarm Out Channel 1"
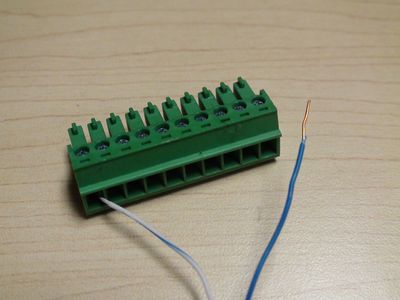
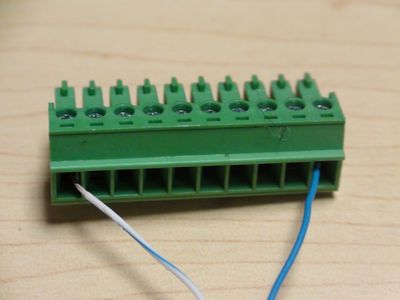
2. Connect the cable to your physical alarm.
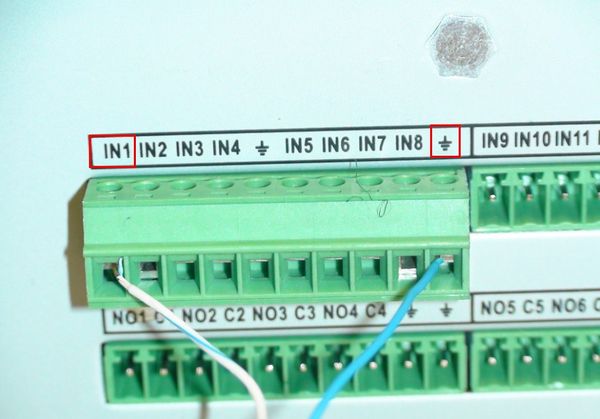
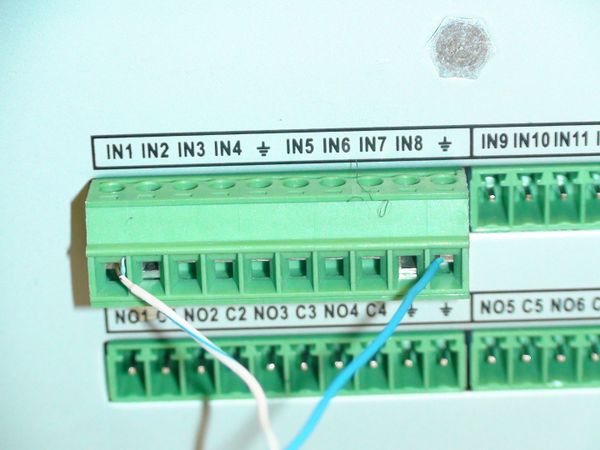
3. Connect the cable to the alarm block on the ports labeled, "IN1" and "Ground"
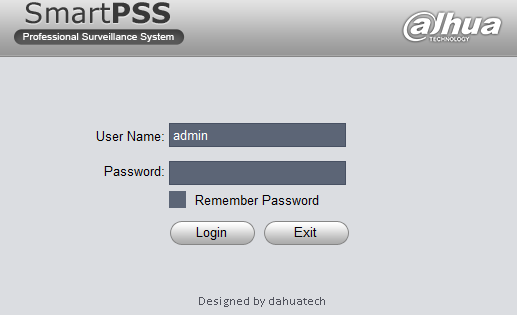
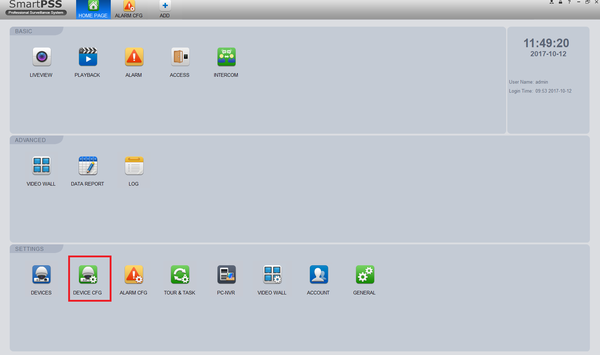
4. Log into SmartPSS -> Device CFG.
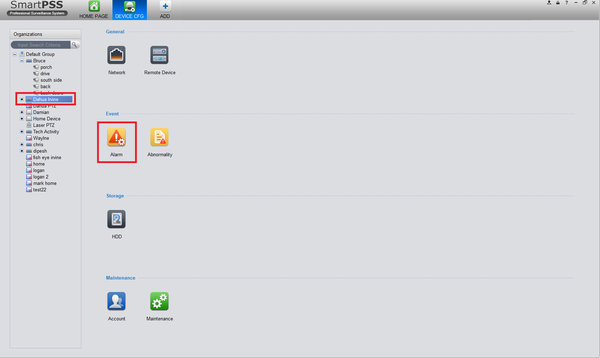
5. From left hand side select recorder -> Under event select alarm.
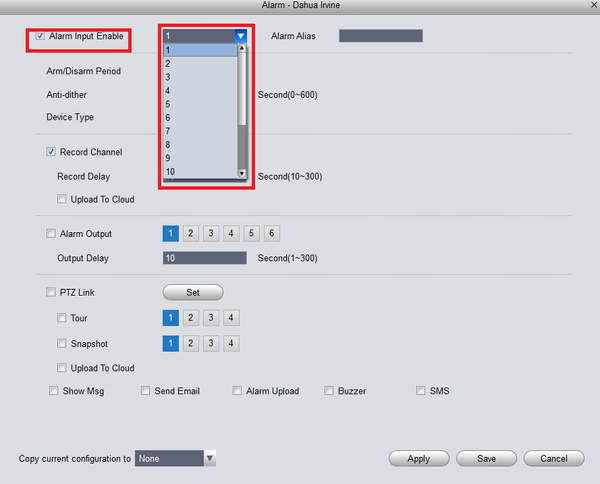
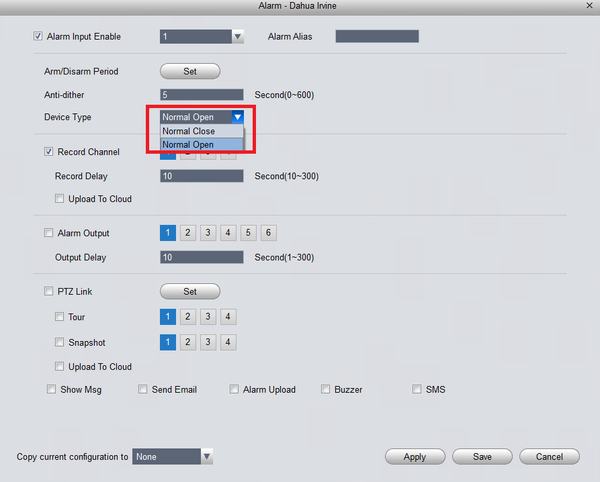
6. Check mark Alarm Input Enable -> Select channel.
7. Select either, "NO" or "NC"
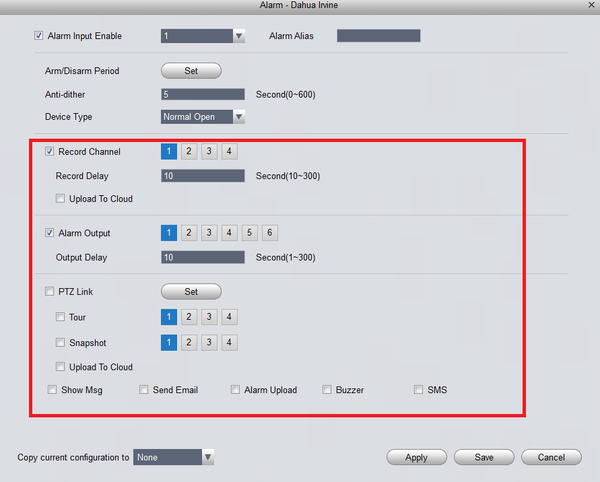
8. Next select what actions you want the system to perform, when the alarm is activated. To record the alarm event you will need to check mark "record channel".
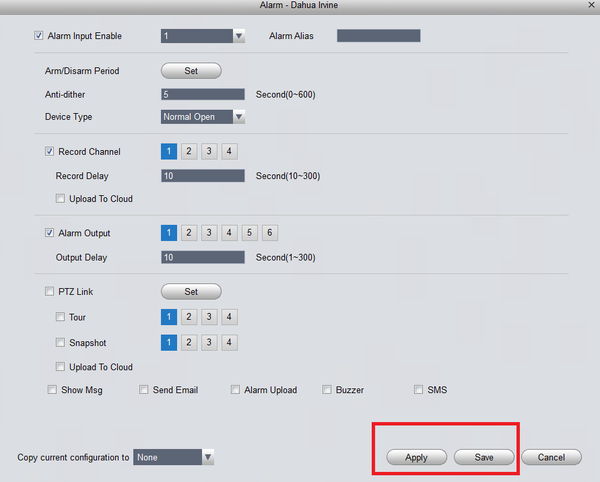
9. Select Apply and Save to save settings.
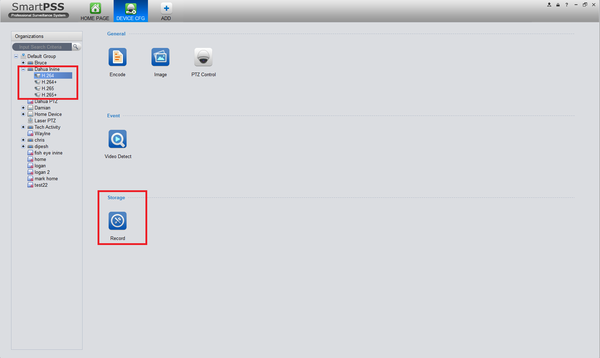
10. Next you will need to set the schedule to record the alarm event. From the home page and select "Device CFG"
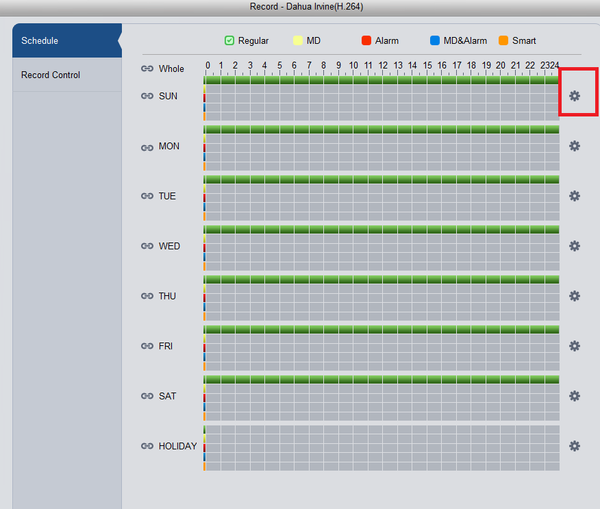
11. From the left hand side select recorder -> select + button to show cameras -> select the camera alarm was set for -> under storage you will select record.
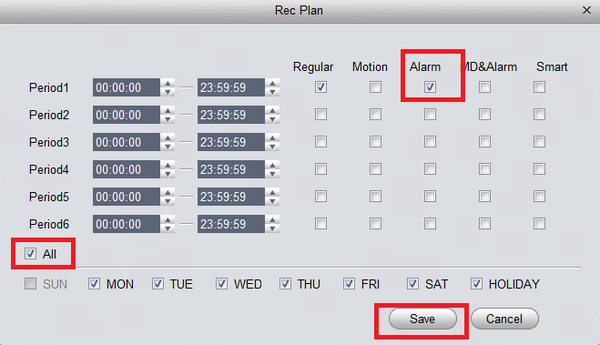
12. Select the gear icon -> Here you will see Period 1 (By default it will be set 0-24 hours. For this tutorial we are setting 1 Period -> Check mark "Alarm" -> Check mark "all" to record everyday of the week.
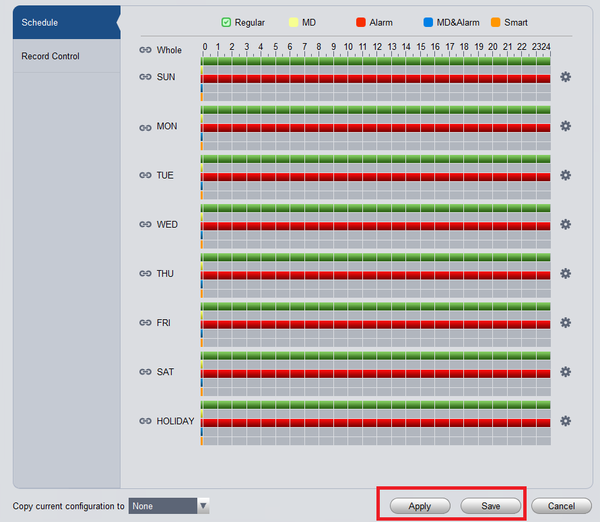
13. Here on the schedule you should see red for each day of the week as pictured below. Select apply and save to save settings.
