Difference between revisions of "SmartPSS/How To Use Two Way Audio"
(→How To Use Two Way Audio In SmartPSS) |
(→How To Use Two Way Audio In SmartPSS) |
||
| Line 40: | Line 40: | ||
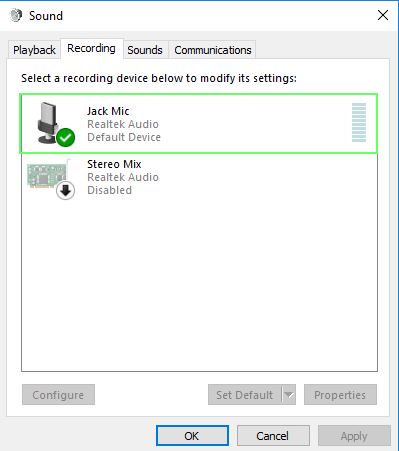
You can confirm this by going to Windows Control Panel>Sound>Recording | You can confirm this by going to Windows Control Panel>Sound>Recording | ||
| + | |||
| + | [[File:How_To_Use_Two_Way_Audio_SmartPSS_-_windows_audio_settings.jpg]] | ||
Make sure the microphone is enabled and connected, then relaunch SmartPSS.'' | Make sure the microphone is enabled and connected, then relaunch SmartPSS.'' | ||
Revision as of 21:24, 2 April 2019
Contents
How To Use Two Way Audio In SmartPSS
Description
This article will show you how to setup and use Two Way Audio in SmartPSS 2.0
Prerequisites
- SmartPSS
- Device (IPC,DVR,NVR) with audio capabilities
- Microphone added to device (if not built-in)
- Microphone added to computer running SmartPSS
- Device with audio capabilities added to SmartPSS Device List - How To Add Device to SmartPSS
Video Instructions
Step by Step Instructions
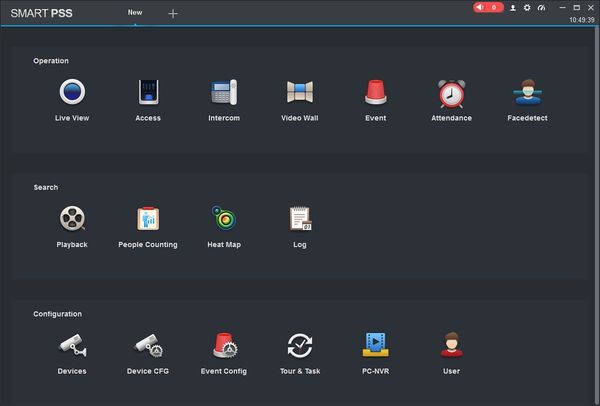
1. Launch SmartPSS.
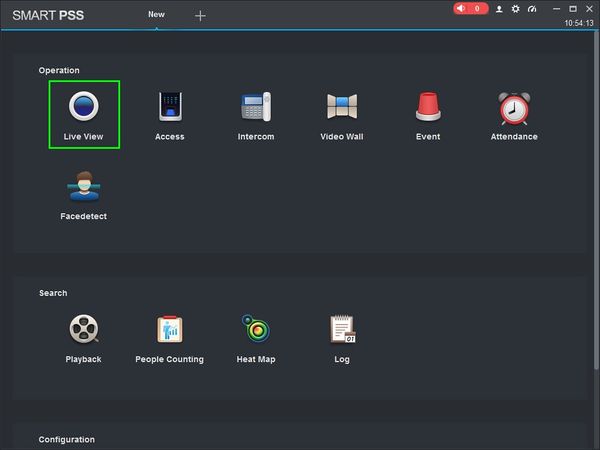
2. Click 'Live View'
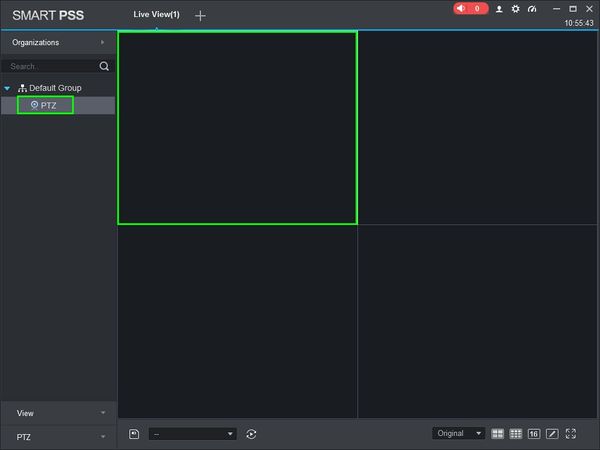
3. Double Click the Device on the device list on the left side of the screen, then double click the video pane to bring the feed up in full screen
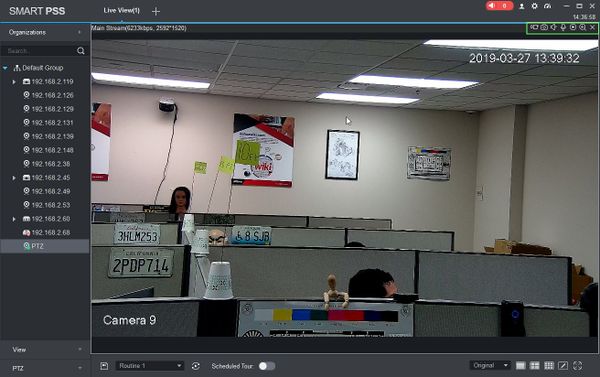
4. Hover the mouse over the window to show the menu
5. To listen to begin two way audio from this stream, click the Audio Talk icon ![]()
To stop, click the icon again.
Note: If you receive the error "Failed to open audio talk. The audio from the local-end to the device is disabled!" make sure the microphone connected to the computer is recognized by Windows.
You can confirm this by going to Windows Control Panel>Sound>Recording
Make sure the microphone is enabled and connected, then relaunch SmartPSS.
