Difference between revisions of "PTZ Pattern Setup"
| Line 36: | Line 36: | ||
[[File:expandptzmenu.png|500px]] | [[File:expandptzmenu.png|500px]] | ||
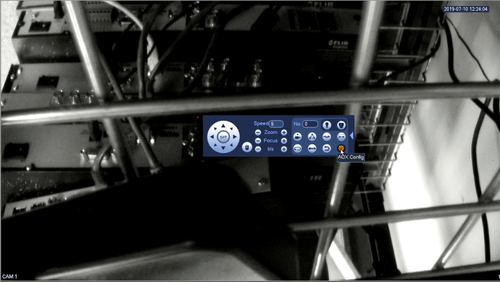
| − | 4.Click | + | 4.Click more from the icon shown below |
| − | [[File: | + | [[File:selectmore.png|500px]] 1 |
| − | 5. | + | 5.Select Pattern |
| − | 6.Select pattern | + | [[File:selectpattern1.png|500px]] |
| + | |||
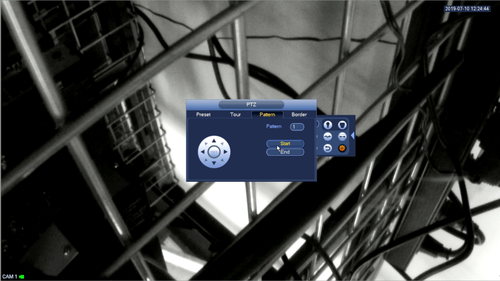
| + | 6.Select start and use the arrows to create the desired pattern | ||
| + | |||
| + | [[File:selectstart.png|500px]] | ||
| + | |||
| + | 7.Select End to complete your pattern | ||
[[Category:Camera]] | [[Category:Camera]] | ||
Revision as of 17:39, 9 July 2019
Contents
HDCVI Pattern Tutorial
Description
How To Dewarp set up a pattern for your PTZ
Step by step instructions From Web Browser
1.Log into your device from its IP address in your web browser
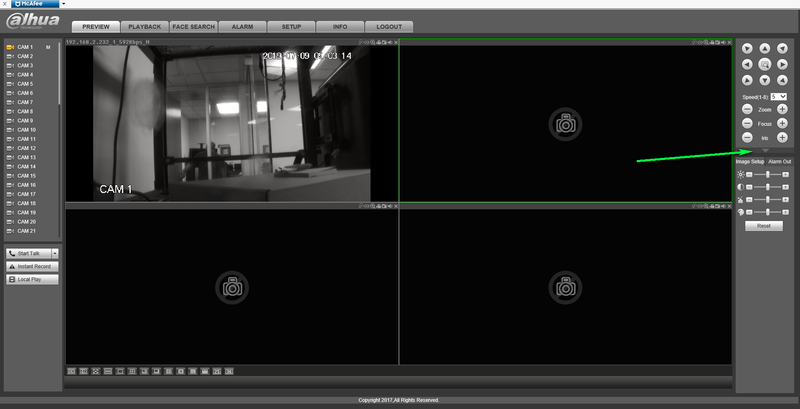
2.Select the down arrow to expand your PTZ Control Menu
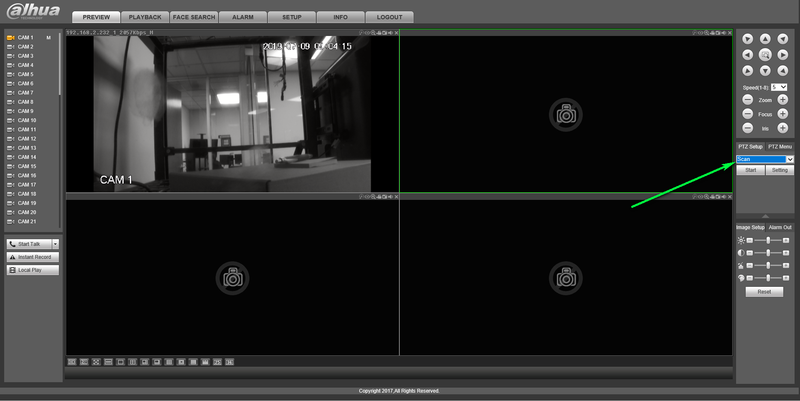
3.Select Pattern from the drop down menu
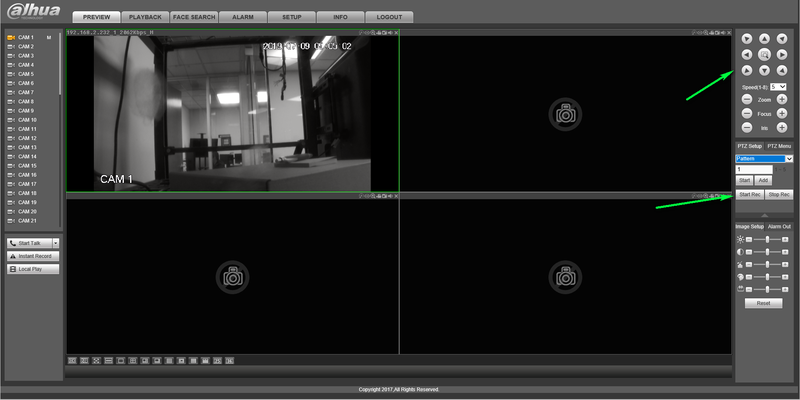
4.Select Start Record
5.Using the Arrows on the PTZ menu Draw the pattern you wish your PTZ to follow
6.Select Stop Record
Your pattern should now be applied to the Pattern number selected.
Step By Step Instructions From local Monitor
1.Log into your DVR
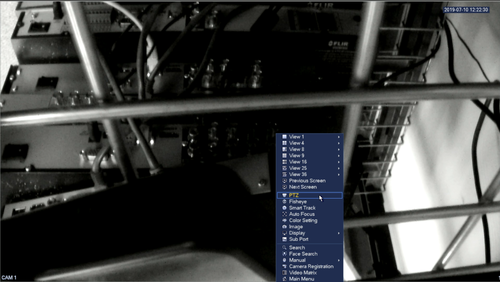
2.Right click and select PTZ from the drop down menu
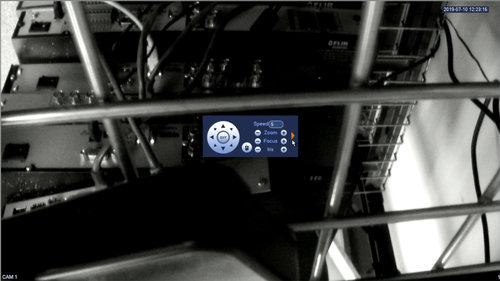
3.Click the arrow on the right hand side to expand the menu
4.Click more from the icon shown below
5.Select Pattern
6.Select start and use the arrows to create the desired pattern
7.Select End to complete your pattern
