Difference between revisions of "SmartPSS/How To Export Device Picture"
| Line 86: | Line 86: | ||
Click the Folder icon to open the directory the picture was exported to | Click the Folder icon to open the directory the picture was exported to | ||
| + | |||
[[Category:UI/SmartPSS_2.0]] | [[Category:UI/SmartPSS_2.0]] | ||
[[Category:SmartPSS_2.0]] | [[Category:SmartPSS_2.0]] | ||
| + | [[Category:How_To]] | ||
Revision as of 21:28, 8 August 2019
Contents
How To Export Device Picture In SmartPSS
Description
This article will show you how to export recorded pictures from a device in SmartPSS 2.0
Prerequisites
- SmartPSS
- Supported device with recorded pictures
- Device with recorded pictures added to SmartPSS Device List - How To Add Device to SmartPSS
Video Instructions
Step by Step Instructions
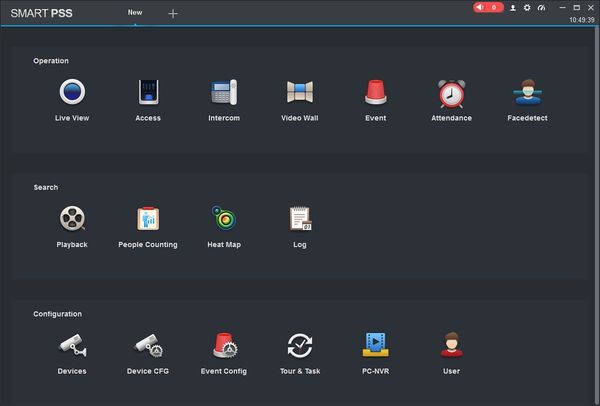
1. Launch SmartPSS.
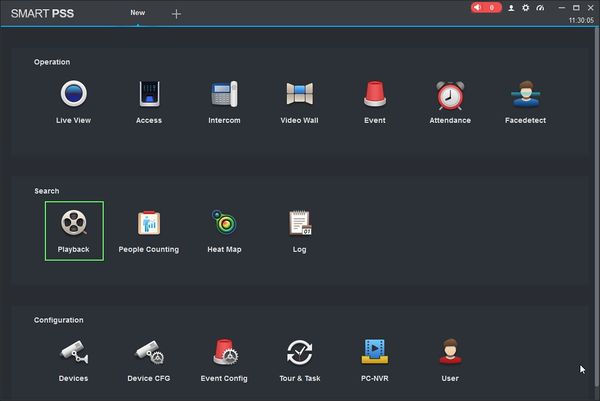
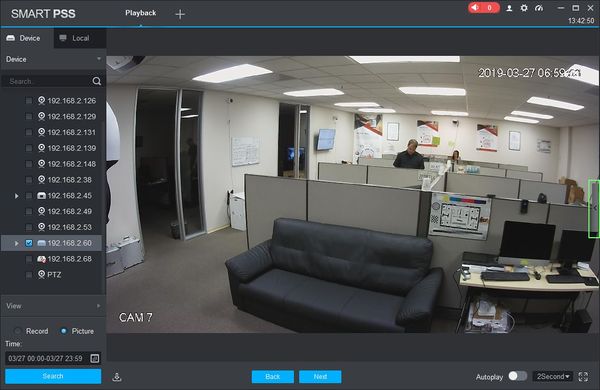
2. Click 'Playback'
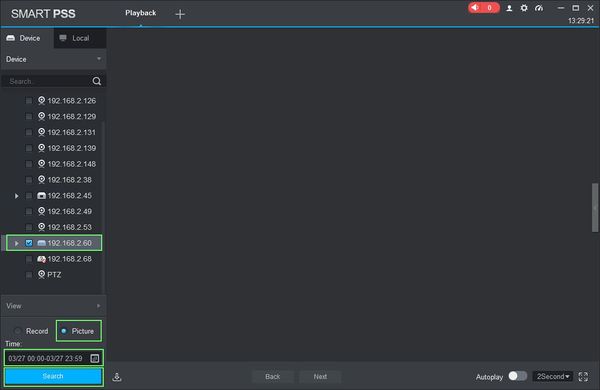
3. The Playback window will open
Use the Device Tree on the left to select the device you wish to export from.
Select 'Picture' to search Picture records
Click in the Time field to select a date range to search. Please note the maximum is 24 hour range.
Click 'Search' to begin a search based on the parameters.
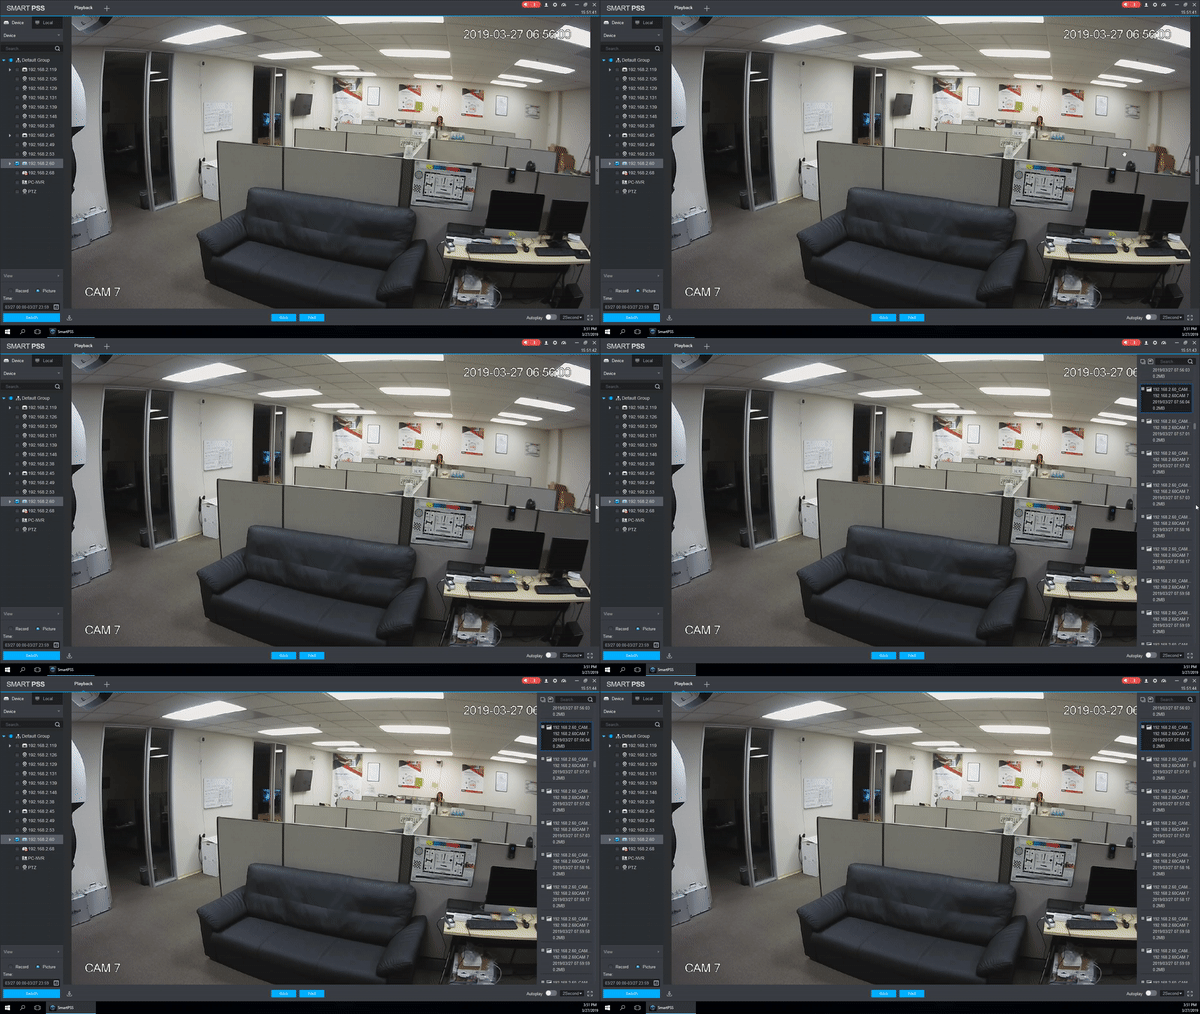
4. Once the search is complete the first image will be loaded in the center screen.
- Use the buttons labeled "Back" and "Next" to navigate through the recorded images.
- Autoplay - Toggle Autoplay to begin an automatic slideshow of all images. You can adjust the sequence delay using the drop down box (1-3 seconds).
- Click the Full Screen icon to make SmartPSS full screen
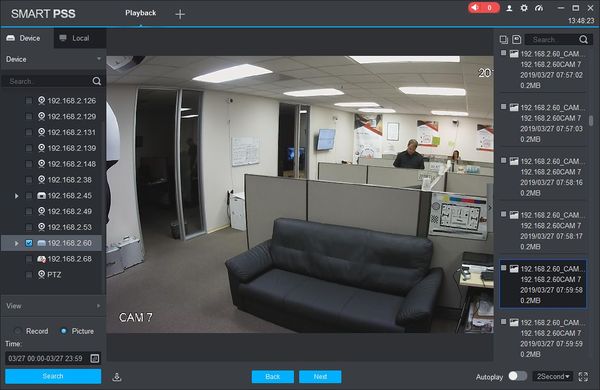
5. Click the Floating Bar on the right hand side of the screen to open the Picture Export menu
This menu shows all recorded images from the requested time period/device in a list.
Click an entry in the list to load the image in the center window.
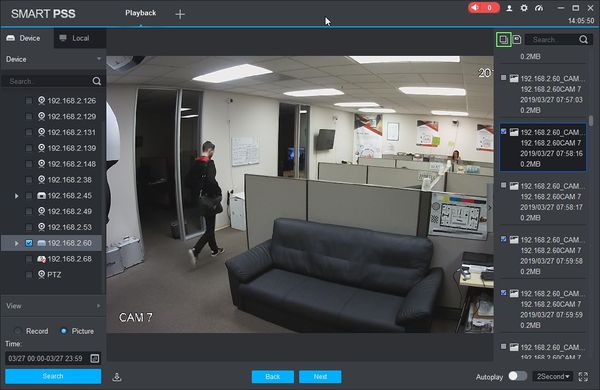
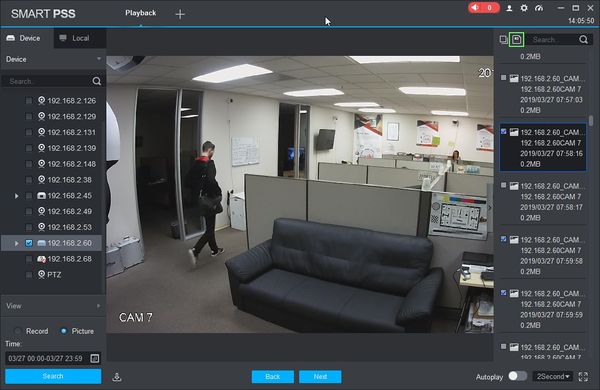
6. Use the checkbox next to the picture to select it for export. You can also click the Checkbox icon above the list to select all pictures in the list at once.
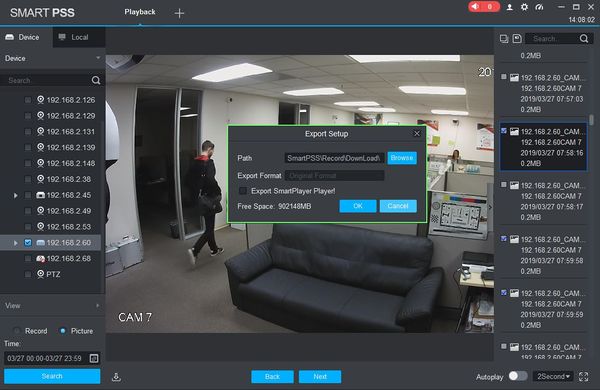
7. Once the pictures for export have been selected, click the Export icon to open the Export Menu
8. Use the Export Menu to define the parameters of the picture export
- Path: Directory to save exported picture
- Export Format: -
- Export SmartPlayer Player: -
Click OK to begin Export
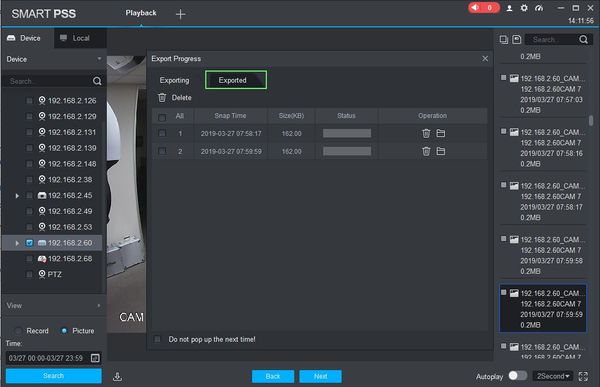
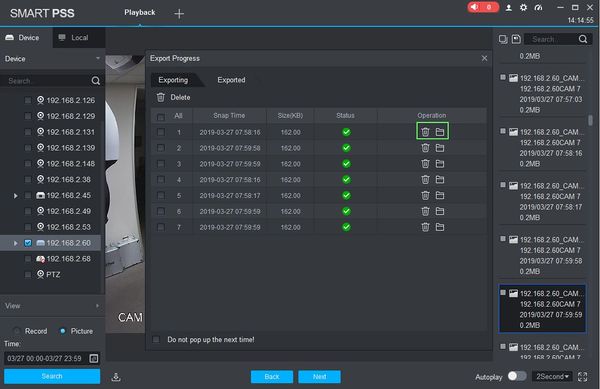
9. The Export Progress menu will appear. This menu will give you live progress for the export process.
Completed exports will appear under the 'Exported' tab
Click the Trash icon to delete the picture
Click the Folder icon to open the directory the picture was exported to
