Difference between revisions of "DSS Windows/Express/Client Install"
(→How To Auto Update Client) |
|||
| Line 42: | Line 42: | ||
Note: When there is new version available, you will see prompt for uploading new version. It is recommended to update Client software version to the latest. | Note: When there is new version available, you will see prompt for uploading new version. It is recommended to update Client software version to the latest. | ||
| − | ==How To | + | ==How To Update Client== |
1. Open DSS Express Client, enter the username and password for the server and click Login | 1. Open DSS Express Client, enter the username and password for the server and click Login | ||
Latest revision as of 23:23, 30 September 2019
Contents
How to Install DSS Express Client
Description
This article will show you how to install DSS Express Client software to a computer.
Prerequisites
DSS server installed into a local or remote computer.
Video Instructions
Step by Step Instructions
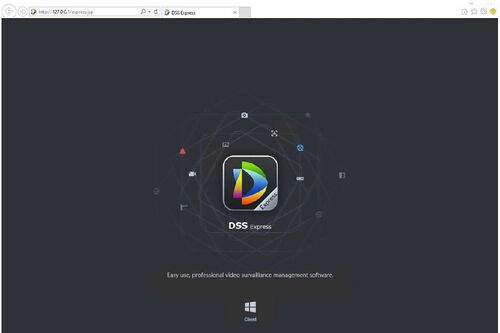
1. Locate the DSS Express Server IP address using Internet Explorer web browser.
2. Click on the Windows icon labeled as Client to download the installation file.
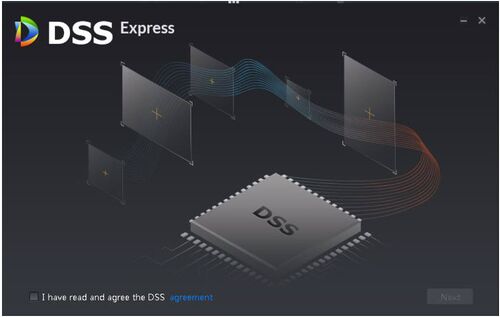
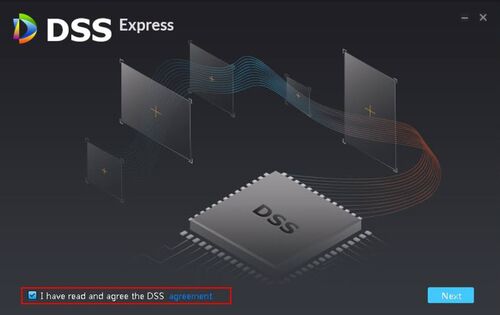
3. Check the box to the left of, "I have read and agree the DSS agreement"
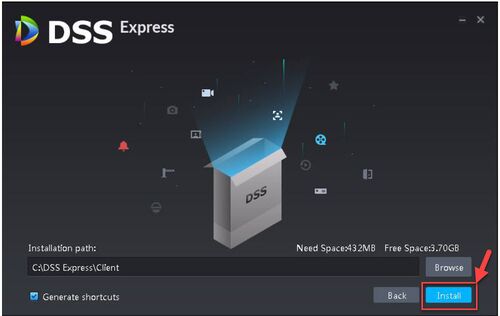
4. From this page you can change the install path by clicking, Browse
5. Click Install. Note: If Install button is grayed out, please check if installation directory is correct, or if free space in the directory is enough for system.
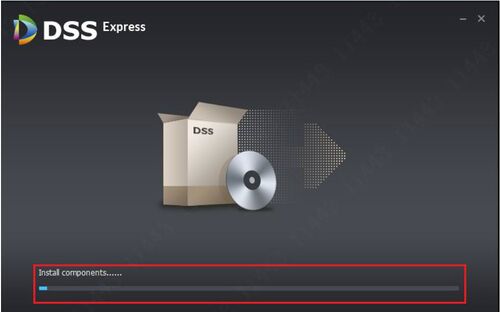
6. The Client software will now being to install.
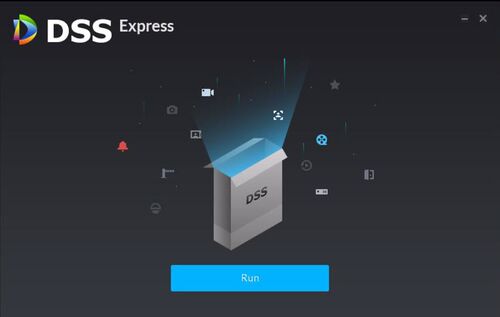
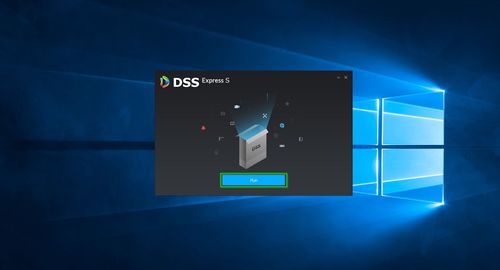
7. Once the installation is complete, the window will change to the image below. Click Run
Note: When there is new version available, you will see prompt for uploading new version. It is recommended to update Client software version to the latest.
How To Update Client
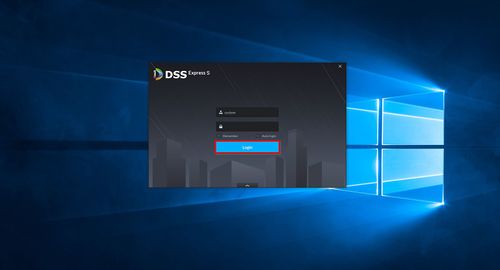
1. Open DSS Express Client, enter the username and password for the server and click Login
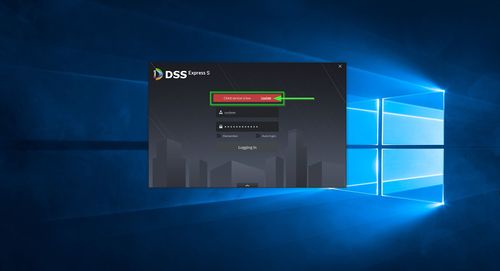
2. If an update is available for the client, a message will be displayed above the log in.
Click 'Update' to begin the update
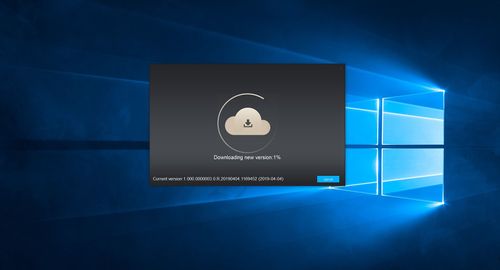
3. The software will first download, progress will be displayed on screen
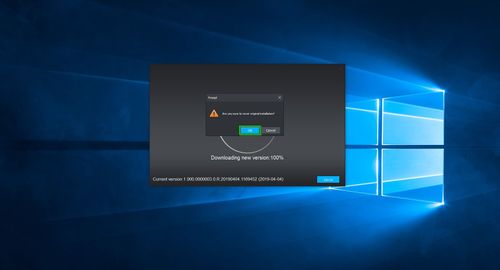
4. You will receive a prompt asking whether to overwrite the original installation, click OK
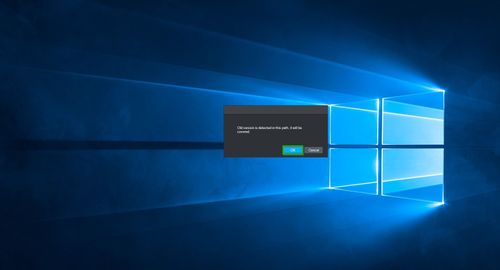
5. You will receive another prompt asking whether to overwrite the original installation, click OK
6. Check the box next to the Software Agreement then click Next
7. Confirm the Installation path
Then click Install
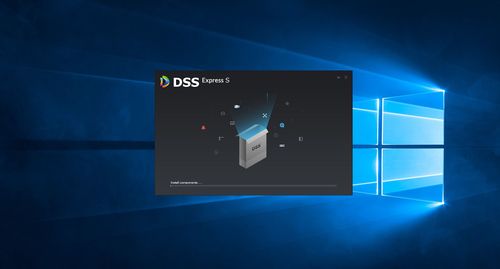
8. The installation will begin
9. Click Run to start the program
