Difference between revisions of "DSS Windows/Express/Set Server IP Address"
(→Step by Step Instructions) |
|||
| Line 36: | Line 36: | ||
File:changeIP1.jpg|Right click on the Windows icon, and click on '''Network Connection''' | File:changeIP1.jpg|Right click on the Windows icon, and click on '''Network Connection''' | ||
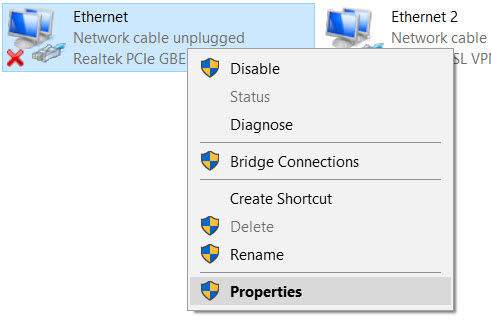
File:changeIP2.jpg|Right click on Ethernet interface, and click on '''Properties''' | File:changeIP2.jpg|Right click on Ethernet interface, and click on '''Properties''' | ||
| − | File:changeIP3.jpg|Click on '''Internet Protocol Version 4''' | + | File:changeIP3-1.jpg|Click on '''Internet Protocol Version 4''' |
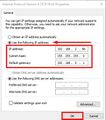
| − | File:changeIP4.jpg|Click on Use the following IP address, and set the desired IP address. Then click OK | + | File:changeIP4-1.jpg|Click on Use the following IP address, and set the desired IP address. Then click OK |
</gallery> | </gallery> | ||
| − | |||
Revision as of 20:43, 9 October 2019
Contents
How to Set DSS Express IP Address
Description
This article is to provide instruction of changing the IP address in DSS Express Server.
Prerequisites
Windows computer with DSS Express Server
Video Instructions
Step by Step Instructions
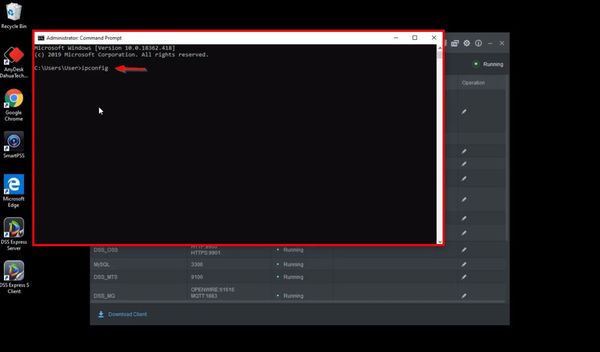
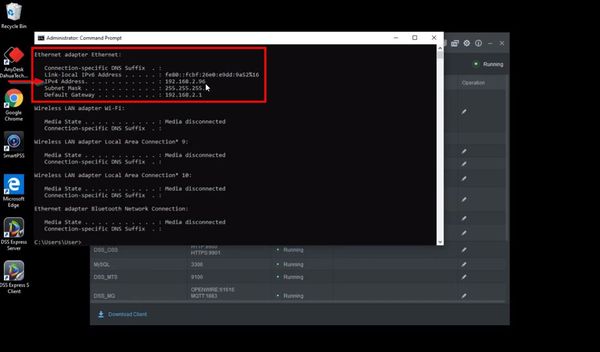
Prior the installation, set the computer IP address from Windows adapter setting menu.
1. Right click on the Windows icon, and click on Network Connection.
2. Right click on Ethernet interface, and click on Properties
3. Click on Internet Protocol Version 4
4. Click on Use the following IP address, and set the desired IP address.
5. Click OK.
- ChangeIP1.jpg
Right click on the Windows icon, and click on Network Connection
