Difference between revisions of "PTZ/Instructions/Electronic Image Stabilization EIS"
(→New Template) |
(→Instructions) |
||
| Line 12: | Line 12: | ||
[[File:Icon_for_type_SmartPSS.png|250px]]<span style="font-size:180%;">'''SmartPSS'''</span> | [[File:Icon_for_type_SmartPSS.png|250px]]<span style="font-size:180%;">'''SmartPSS'''</span> | ||
<div class="mw-collapsible-content">{{Template:EIS_SmartPSS}}</div> | <div class="mw-collapsible-content">{{Template:EIS_SmartPSS}}</div> | ||
| + | </div> | ||
| + | |||
| + | <div class="toccolours mw-collapsible mw-collapsed"> | ||
| + | [[File:Icon_for_type_DSS_Express_S.png|250px]]<span style="font-size:180%;">'''DSS Express S'''</span> | ||
| + | <div class="mw-collapsible-content">{{Template:EIS_DSS_Express}}</div> | ||
</div> | </div> | ||
Revision as of 19:46, 20 January 2020
Contents
Electronic Image Stabilization-EIS
Description
Prerequisites
Instructions
How to Setup EIS via SmartPSS
Prerequisites
- SmartPSS
Video Instructions
Step by Step Instructions
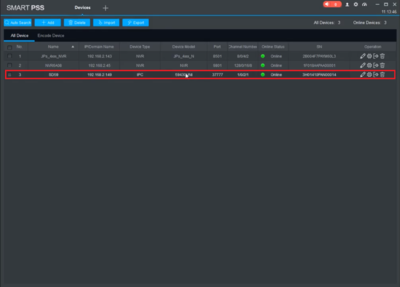
1. Select "Device" to add the PTZ camera.
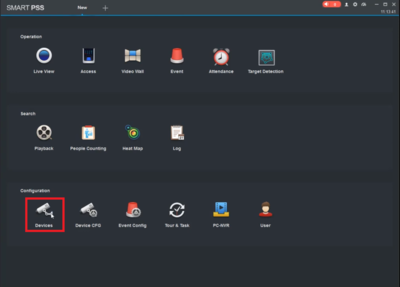
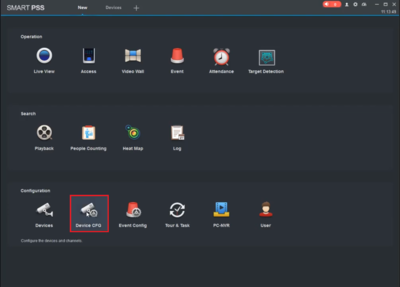
3. Go back to main menu and select "Device CFG".
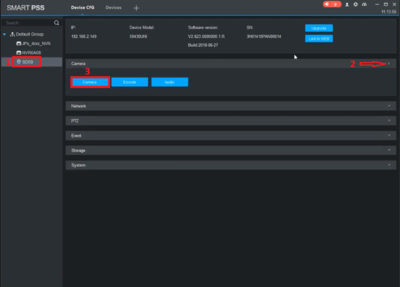
4. Choose the camera to be configured, expand the right arrow, and select "Camera".
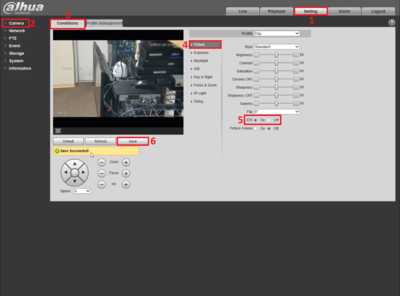
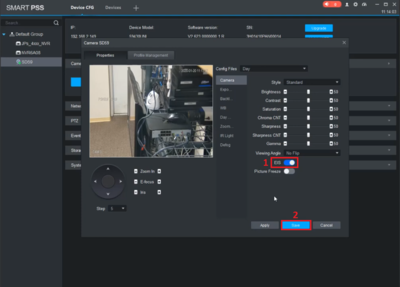
5. A pop-up window will appear. Under "Properties" => Camera => Enable "EIS" => Click "Save" to confirm the changes.
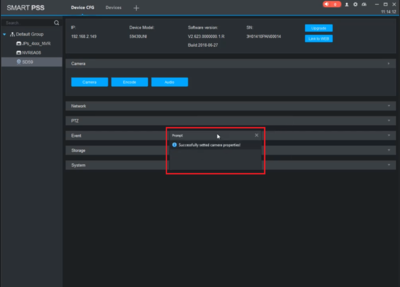
6. A pop-up window will appear stating the changes are saved.
How to Setup EIS via DSS Express S
Prerequisites
- DSS Express S
Video Instructions
Step by Step Instructions
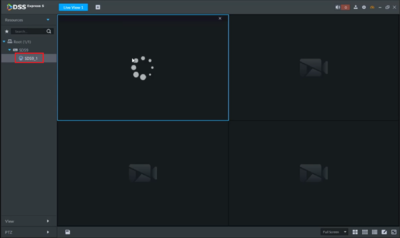
1. After a camera is added, open "Live View" and select the camera.
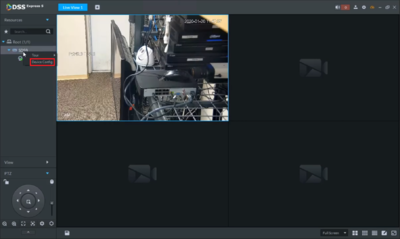
2. Right click on the camera and select "Device Config".
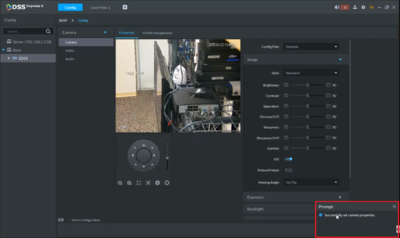
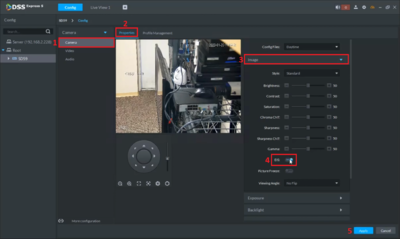
3. Select "Camera" => Properties => Expand "Image" => Enable EIS => Click "Apply"
4. A pop-up window will appear for the changes.
