Difference between revisions of "Mobile/gDMSS HD Backup Tablet"
(→Backup via Tablet using gDMSS) |
(→Backup via Tablet using gDMSS) |
||
| Line 8: | Line 8: | ||
2. Click on the plus sign to add a camera. | 2. Click on the plus sign to add a camera. | ||
| − | [[File:TabletBackup2.jpg| | + | [[File:TabletBackup2.jpg|250px]] |
3. Go to an NVR and add a camera. | 3. Go to an NVR and add a camera. | ||
| Line 16: | Line 16: | ||
4. Select the date. | 4. Select the date. | ||
| − | [[File:TabletBackup4.jpg| | + | [[File:TabletBackup4.jpg|250px]] |
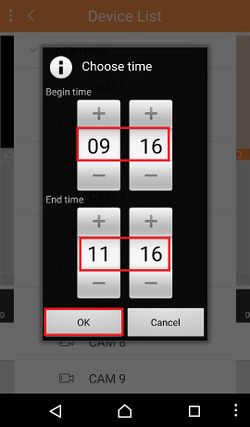
5. Select the time frame. | 5. Select the time frame. | ||
| − | [[File:TabletBackup5.jpg| | + | [[File:TabletBackup5.jpg|250px]] |
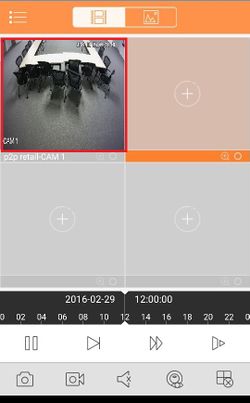
6. Select the ones that you wish to back up. | 6. Select the ones that you wish to back up. | ||
| − | [[File:TabletBackup6.jpg| | + | [[File:TabletBackup6.jpg|250px]] |
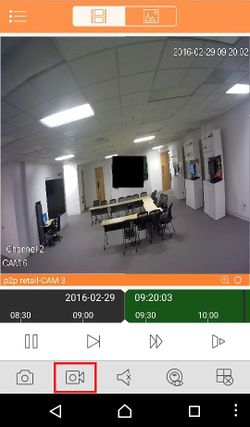
7. Select the record icon. | 7. Select the record icon. | ||
| − | [[File:TabletBackup8.jpg| | + | [[File:TabletBackup8.jpg|250px]] |
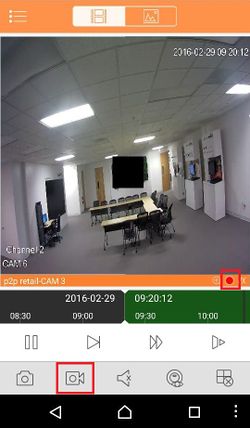
8. You should see the record sign lit and then press it again to unrecord the backup. | 8. You should see the record sign lit and then press it again to unrecord the backup. | ||
| − | [[File:TabletBackup9.jpg| | + | [[File:TabletBackup9.jpg|250px]] |
| − | [[Category:Backup]] | + | [[Category:Backup]] [[Category:Mobile]] |
Revision as of 15:00, 2 March 2016
Backup via Tablet using gDMSS
To backup your camera's recording on your tablet:
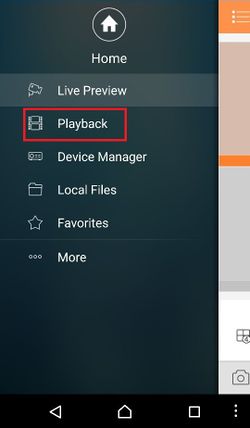
1. Go to the main menu and select playback.
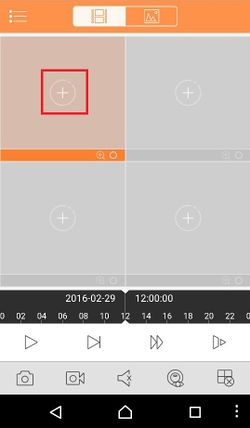
2. Click on the plus sign to add a camera.
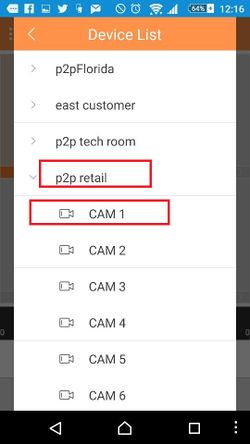
3. Go to an NVR and add a camera.
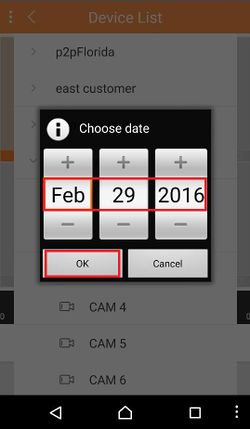
4. Select the date.
5. Select the time frame.
6. Select the ones that you wish to back up.
7. Select the record icon.
8. You should see the record sign lit and then press it again to unrecord the backup.
