Difference between revisions of "Template:DMSS/Instructions/LincX2PRO PIR Setup"
(→Step by Step Instructions) |
|||
| Line 1: | Line 1: | ||
==Step by Step Instructions== | ==Step by Step Instructions== | ||
| − | 1. | + | 1. Launch DMSS Mobile App. |
| + | |||
| + | 2. Tap on [[File:DMSS_Icon_Live_Home.png|30px]] '''Home''' to access your added device list. | ||
| + | |||
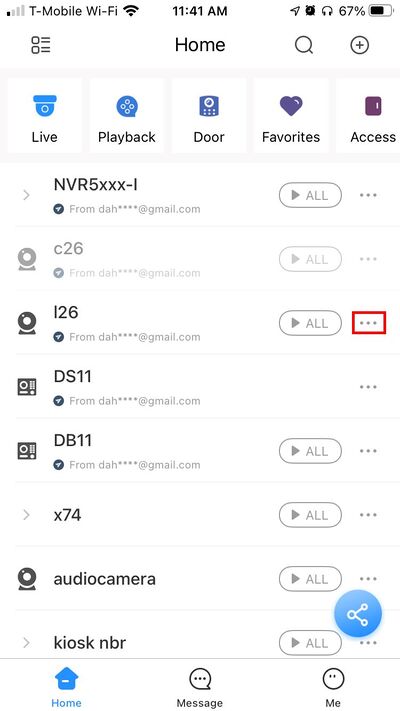
| + | 3. Select one of your added device that you wish to setup/modify PIR Settings for. Tap on '''...''' icon. | ||
[[File:L26 C26 - Modify PIR Detection Zone - DMSS - 1.jpg|400px]] | [[File:L26 C26 - Modify PIR Detection Zone - DMSS - 1.jpg|400px]] | ||
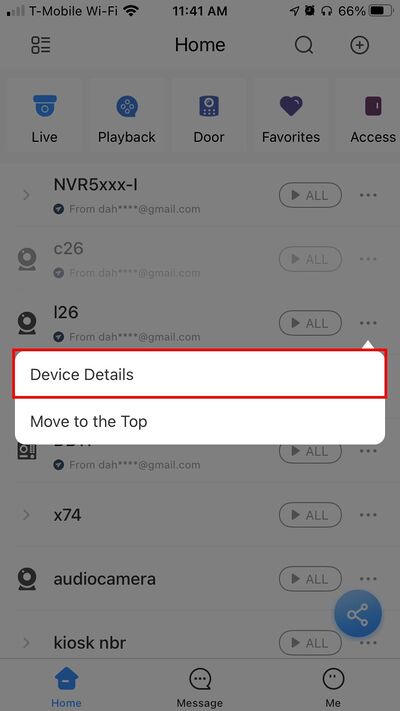
| − | 2. Select | + | 2. Select '''Device Details''' |
[[File:L26 C26 - Modify PIR Detection Zone - DMSS - 2.jpg|400px]] | [[File:L26 C26 - Modify PIR Detection Zone - DMSS - 2.jpg|400px]] | ||
Revision as of 21:47, 30 November 2020
Step by Step Instructions
1. Launch DMSS Mobile App.
2. Tap on ![]() Home to access your added device list.
Home to access your added device list.
3. Select one of your added device that you wish to setup/modify PIR Settings for. Tap on ... icon.
2. Select Device Details
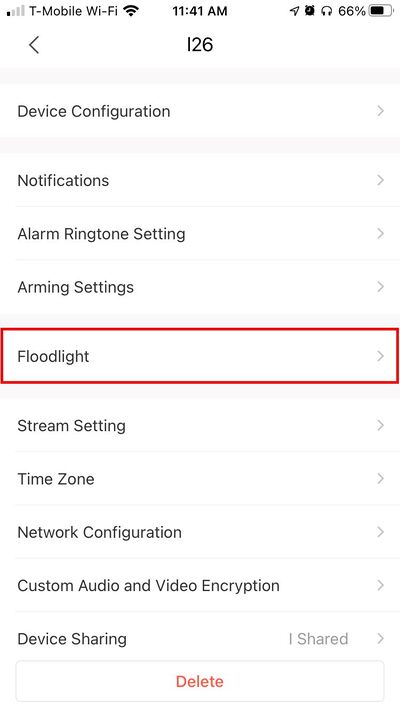
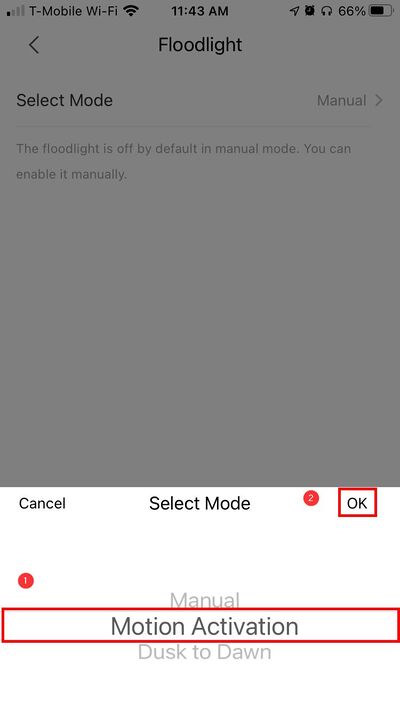
3. Select Floodlight
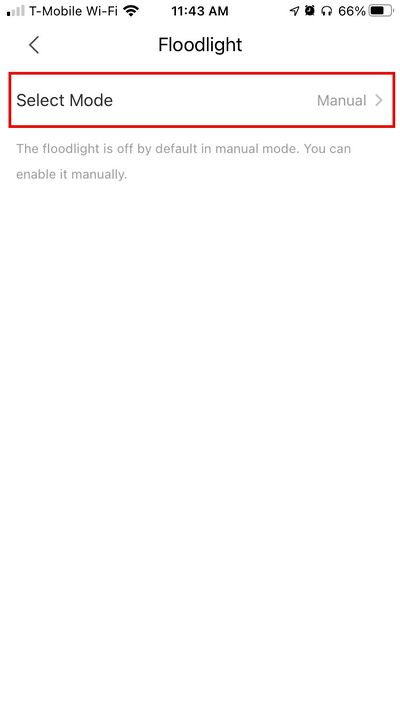
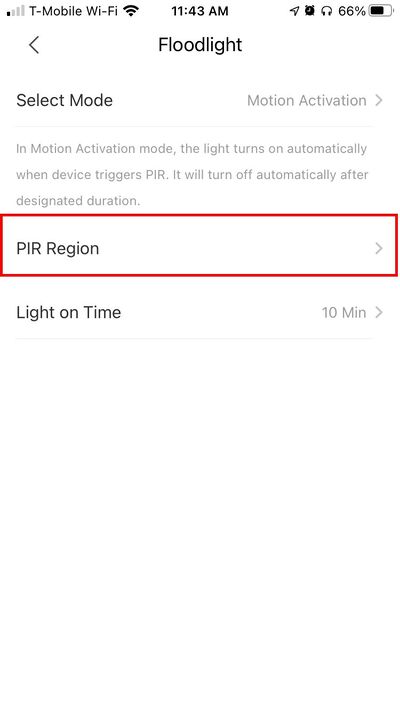
4. Select PIR Region
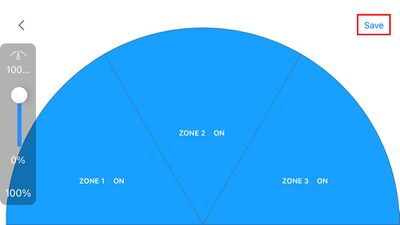
5. Tap a Zone to disable/enable
6. Use the slide to adjust the range of the Zones
7. Press the Save icon in the top right to save settings
