Difference between revisions of "Template:Smart Search IVS Export WebUI New"
(→Step by Step Instructions) |
(→Step by Step Instructions) |
||
| Line 17: | Line 17: | ||
| − | [[IVS_Export_- | + | [[File:IVS_Export_-_Face_Detection_-_WebUI_-_1.jpg|400px]] |
| − | [[ | + | [[File:IVS_Export_-_Face_Detection_-_WebUI_-_2.jpg|400px]] |
| − | [[ | + | [[File:IVS_Export_-_Face_Detection_-_WebUI_-_3.jpg|400px]] |
| − | [[ | + | [[File:IVS_Export_-_Face_Detection_-_WebUI_-_4.jpg|400px]] |
| − | [[ | + | [[File:IVS_Export_-_Face_Detection_-_WebUI_-_5.jpg|400px]] |
Revision as of 19:01, 10 December 2020
Step by Step Instructions
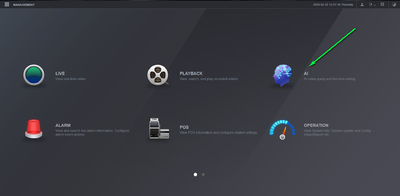
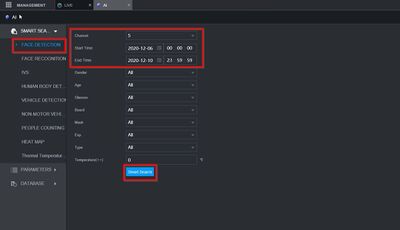
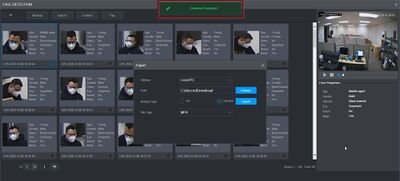
1. Log into your recorder and select AI
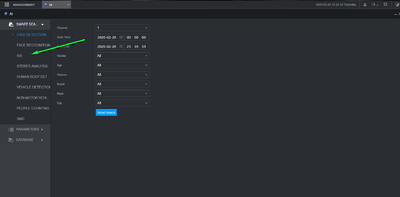
2. Select IVS from the Smart search menu
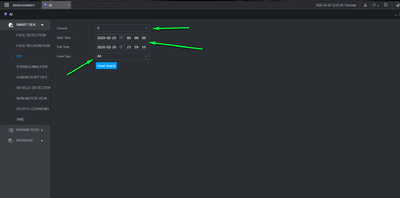
3. Select the channel, time, Event then select smart search
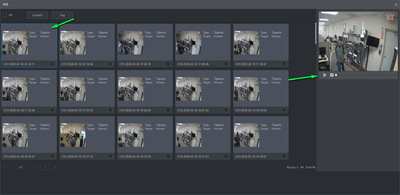
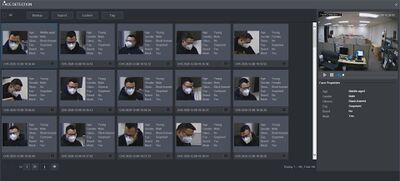
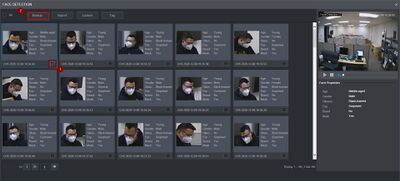
4. You should now have a list of items matching your smart search with thumbnails available. To view the video left click the event and select play on the right hand side.
