Video Intercom/Adding IP Camera to VTH
Contents
How to Add an IP Camera to a VTH
Description
This article will cover how add an IP Camera to be monitored on a VTH Video Intercom Monitor
Prerequisites
- Video Intercom VTH Monitor
- Dahua IP Camera or 3rd Party Onvif Camera
Video Instructions
Step by Step Instructions
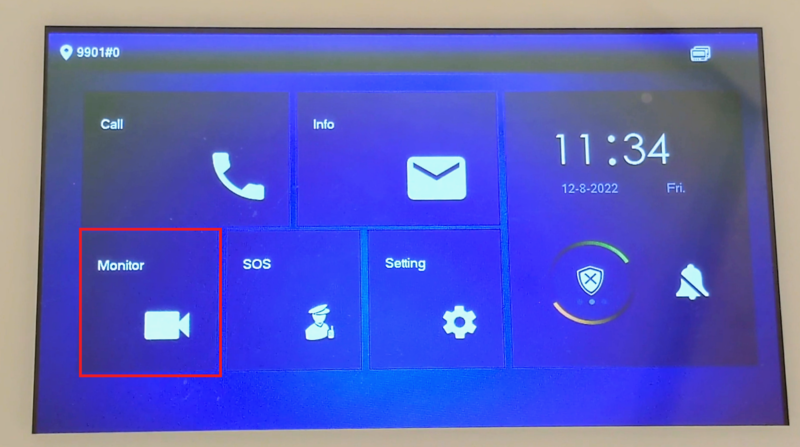
1. On the home screen of the VTH monitor select Monitor
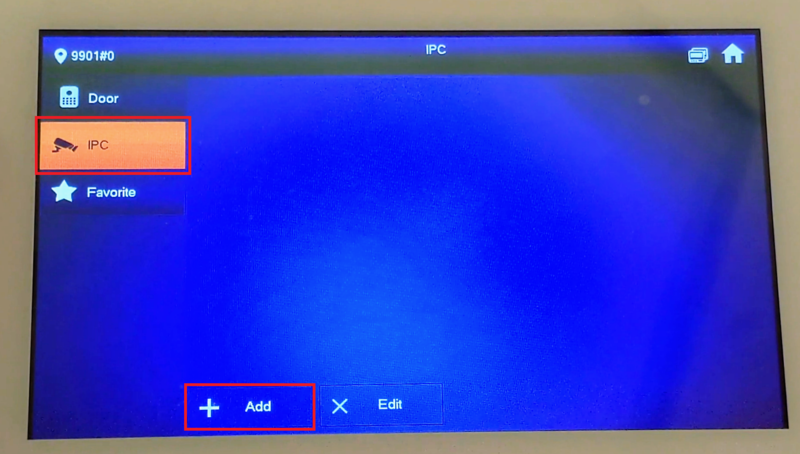
2. Select IPC from the list on the left.
Then select Add at the bottom
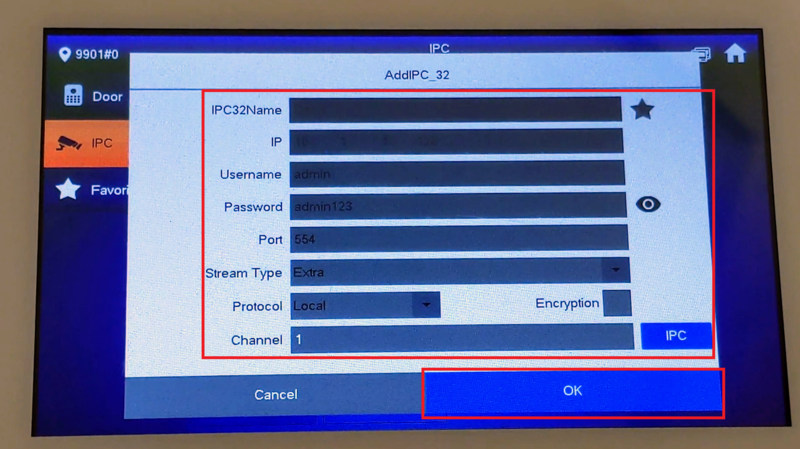
3. Fill in the following information:
- IPCName - The name you want to use to identify this camera on the VTH
- IP - The local IP address of the camera on the same network
- Username - The username used to log into the camera
- Password - The password used to log into the camera
- Port - Leave this as 554 (the default RTSP port)
- Stream Type - Leave this as Extra (substream) because the VTH can handle the substream of the camera better than the mainstream
- Protocol - If using a Dahua IP camera leave this as Local. If using a 3rd party Onvif camera select Onvif from the drop-down
- Encryption - Leave this unchecked
- IPC - Leave this as IPC if you are connecting directly to an IP camera. Change this to NVR if you are connecting to an IP camera that is added to an NVR
- Channel - Leave this as 1 if you are connecting directly to an IP camera. Change this to the appropriate channel number on the NVR if you are connecting to an IP camera that is added to an NVR
Then select OK at the bottom
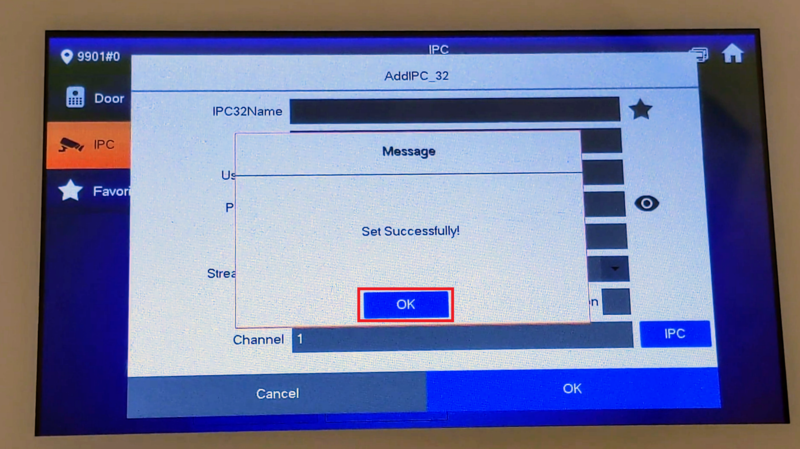
4. It will say "Set Successfully!".
Select OK at the bottom
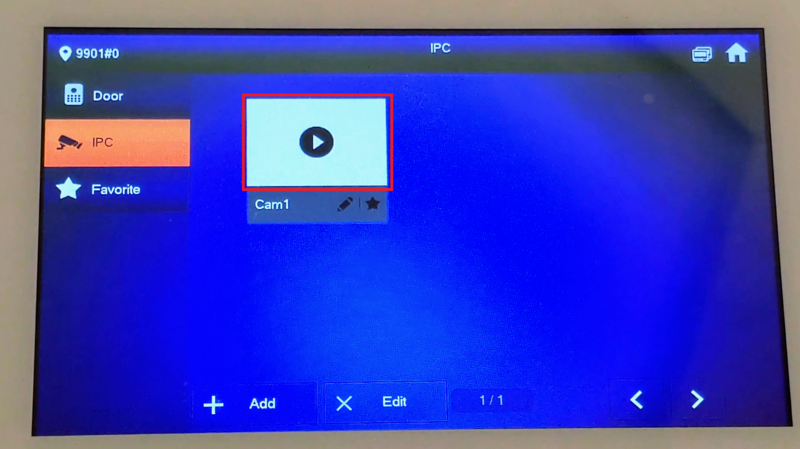
5. You will see the camera in the list.
Tap on the Play button to pull up the live view of the camera
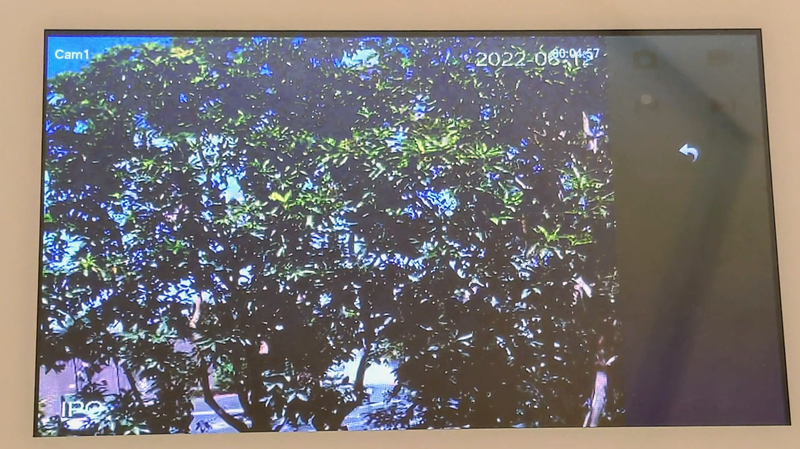
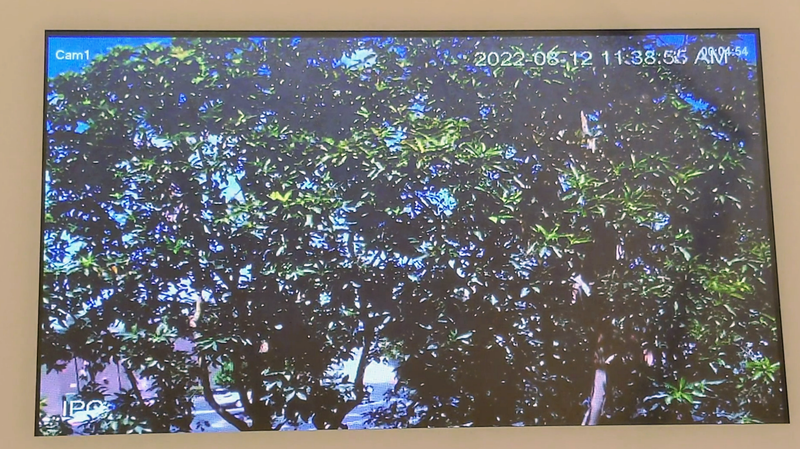
6. You should see the live view from the IP camera
7. Tap anywhere on the left side of the screen to see the full screen live view of the camera
