Basic Setup/How to Terminate BNC
How to Terminate RG59
Description
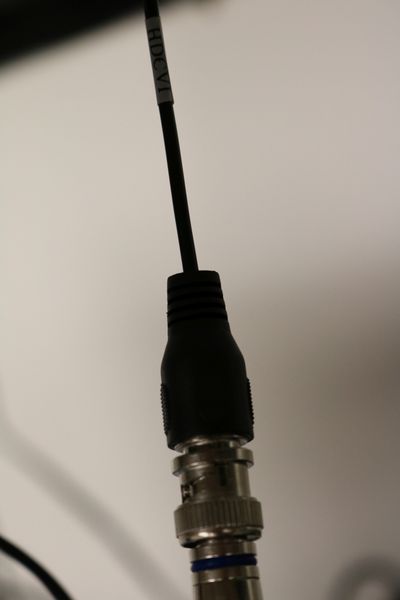
These instructions will show you how to properly terminate a RG-6 cable with a BNC coaxial compression connector, and verify that the cable is working properly.
Prerequisites
- RG-6 cable
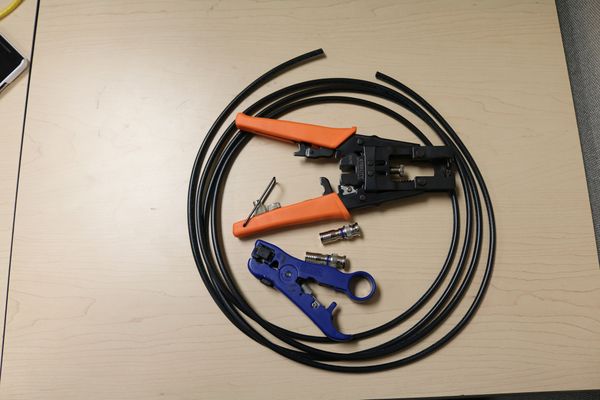
- BNC compression connector tool
- BNC coaxial compression connectors
- Coaxial cable strippers
Step by Step Instructions
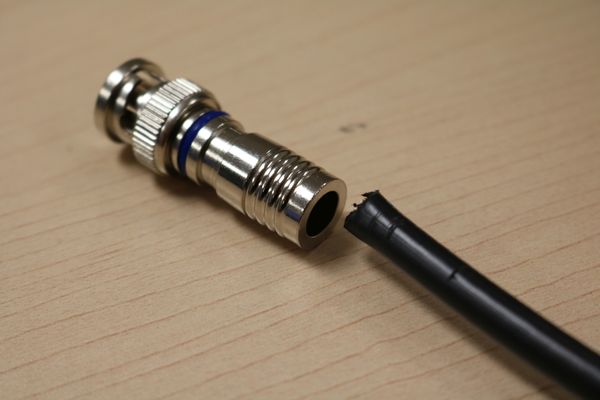
1. Cut the RG-6 cable at a 90° angle on both ends to the desired length. Now stick one of the ends into the BNC coaxial compression connectors.
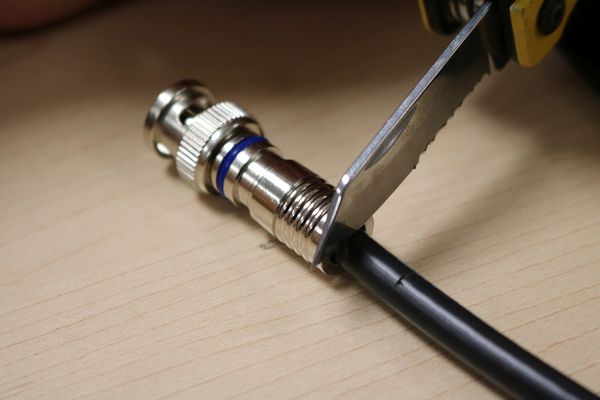
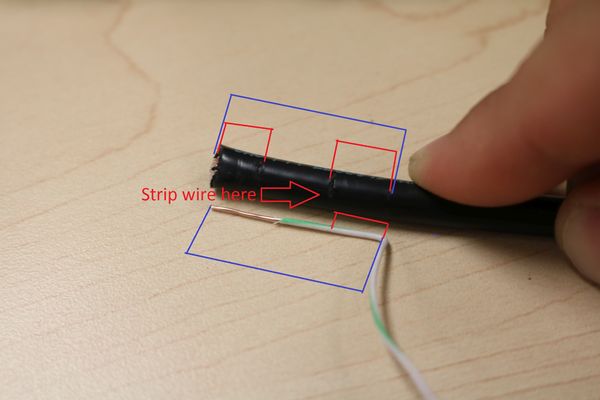
2. Once the cable has stopped, mark the outside of the cable with a pen or knife. This measurement represents the amount of space the uncut cable will take up.
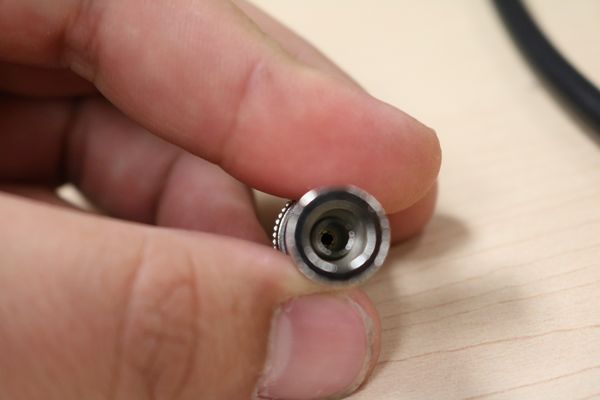
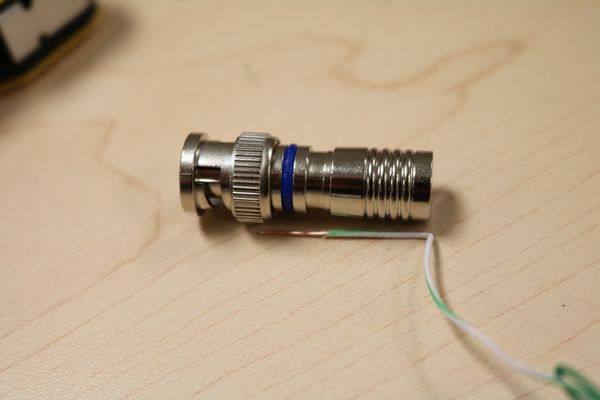
3. Now use a piece of wire to measure how long the middle portion of the cable should be. Make sure the wire reaches all the way down into the middle of the BNC coaxial compression connector.
4. Bend or mark this wire to assist with getting a rough measurement.
5. Now measure the two marks made on both the wire and RG-6 cable. Take the mark on the RG-6 cable, and make a new mark on the RG-6 Cable using measuring from the bend in the wire. This new mark is where the wire needs to be stripped.
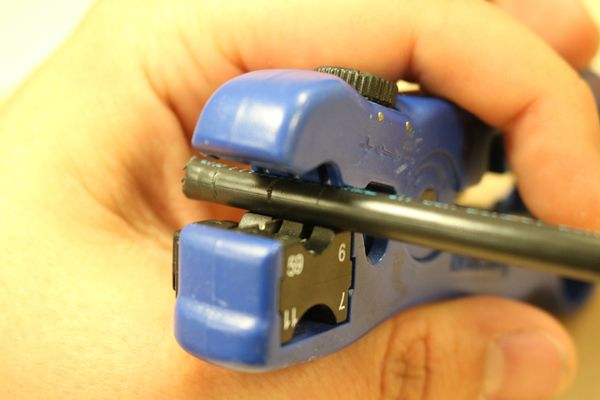
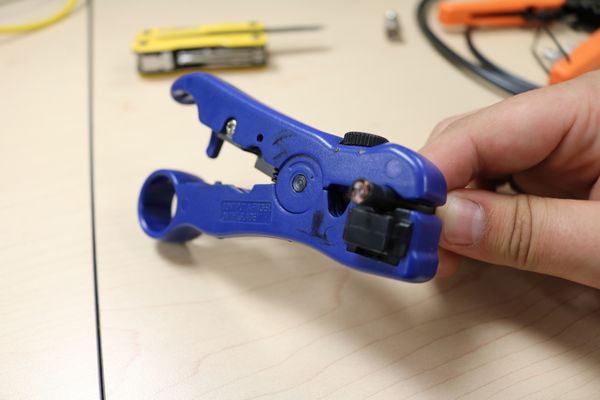
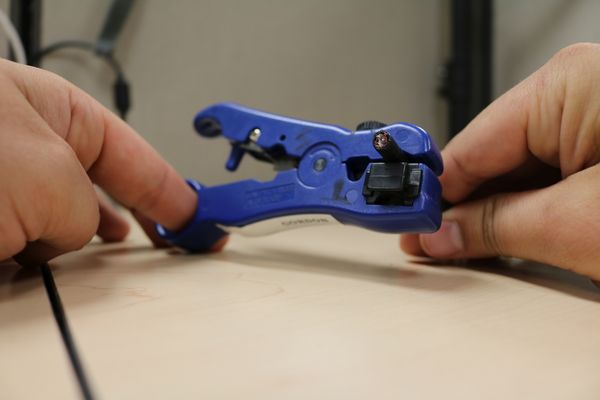
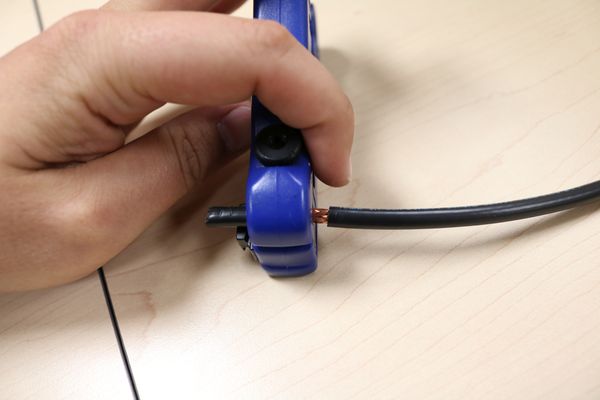
6. Use the coaxial cable strippers on the new mark made on the RG-6 cable. Hold the RG-6 cable in one hand, and use the finger grip on the end of the coaxial cable stripper. Use your finger to spin the coaxial cable stripper, once you feel the tool has made its way through the smaller external copper strands, grip the head of the tool and pull the cable out.
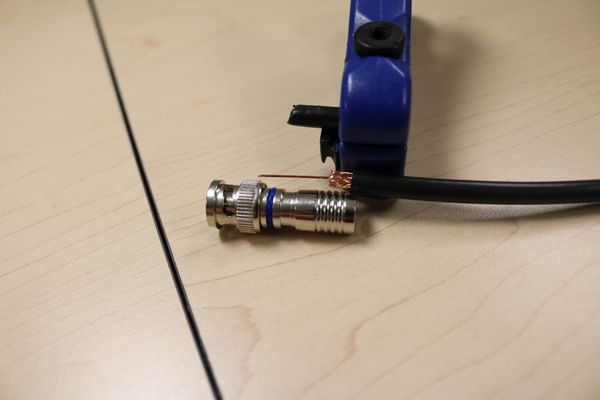
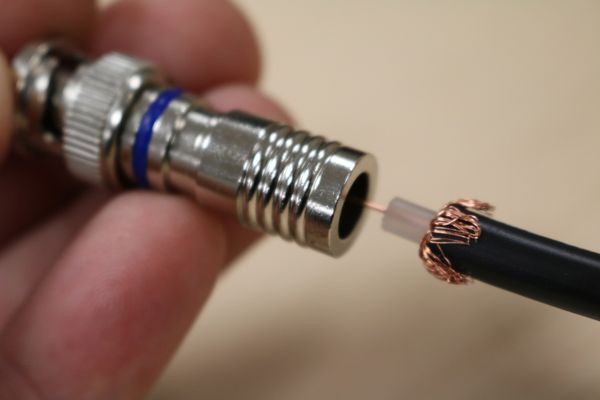
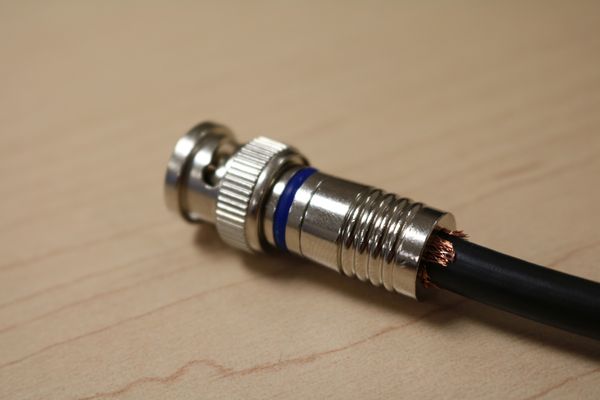
7. Check that the stripping made to the RG-6 cable looks congruent with your rough measurements. Then peel back the outer copper threads and bend them over the RG-6 outer sheath.
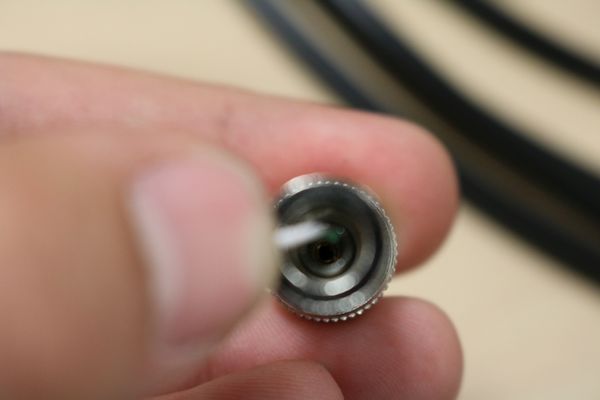
8. Now carefully thread the middle wire from the stripped RG-6 cable into the BNC coaxial compression connector.
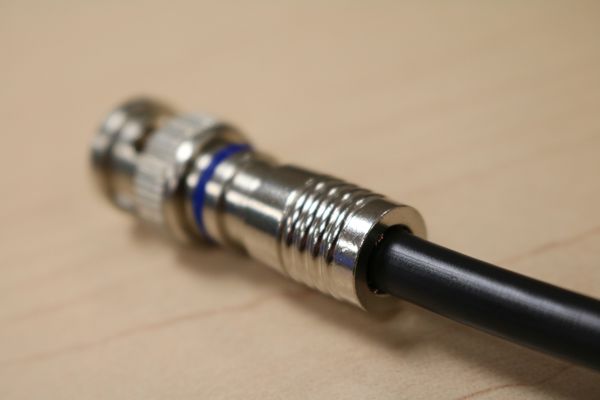
9. You might need to apply a small amount of pressure to get the back end of the RG-6 cable into the BNC coaxial compression connector.
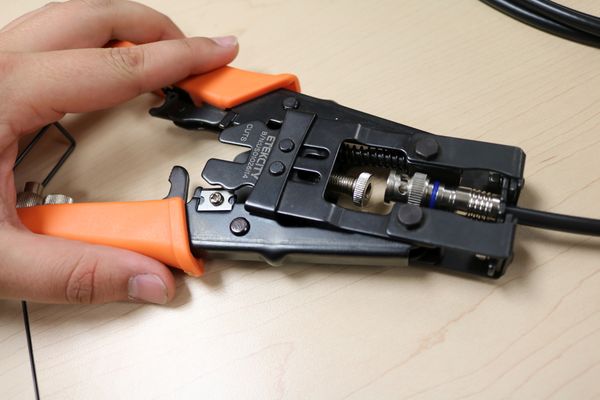
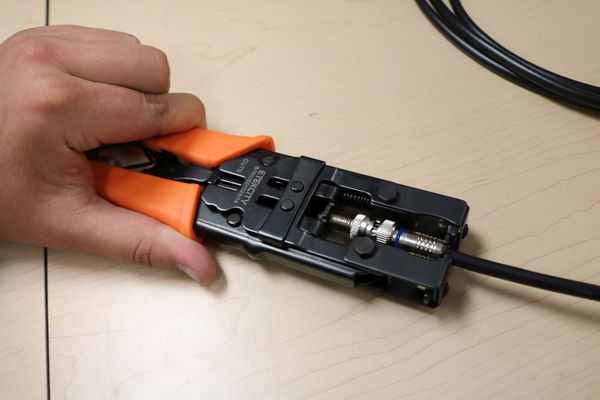
10. Place the RG-6 cable with the BNC coaxial compression connector into the cradle of the BNC compression connector tool.
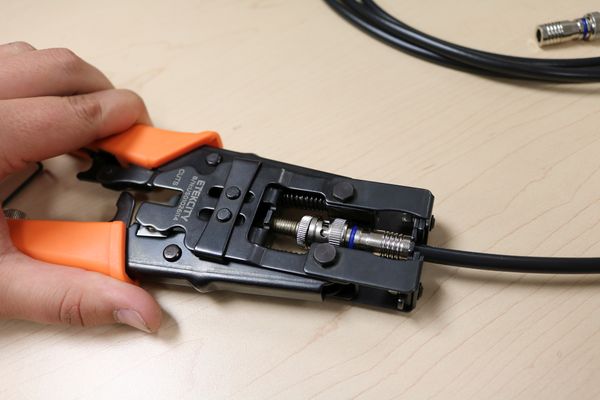
11. Apply a small amount of pressure to the RG-6 cable against the BNC compression connector tool. Now slowly squeeze the grips of the BNC compression connector tool to crimp the BNC coaxial compression connector. Once the compression collar on the BNC coaxial compression connector stops, do not use additional force, as this will warp the head of the BNC connector and might even damage your tool.
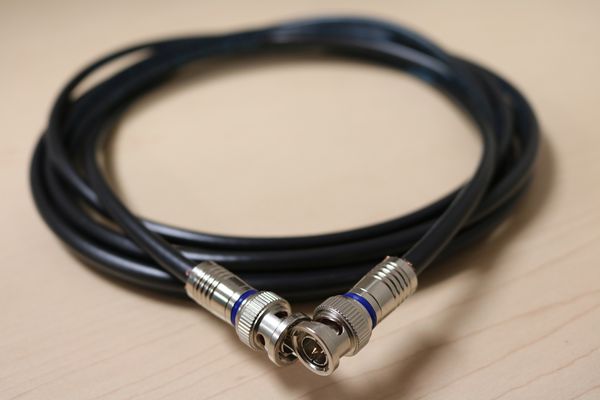
12. You have now successfully finished one end of the connector. Feel free to cut the frayed copper wires at the back of the BNC coaxial compression connector. Now repeat steps 5-11 to complete the other end.
13. There are a few ways to test this cable.
a. Using a Volt Ohm Meter to check continuity. The middle pin on the BNC connector should not ground out with the outer shielding, and should have continuity to the other middle pin on the BNC connector. Also, the outer shielding on one end should have continuity on the other end.
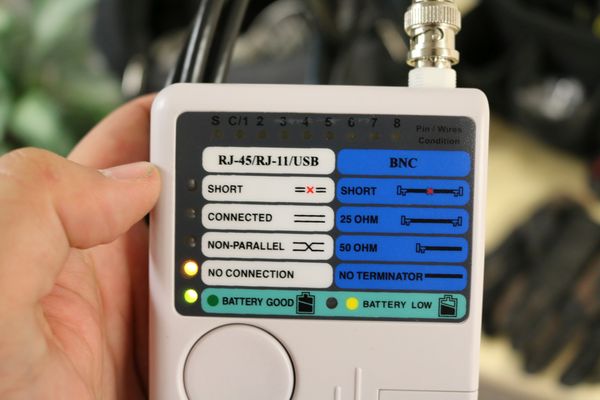
b. Using a BNC cable tester to check continuity. See the picture below for an example of testing if the middle pin and the outer shielding are crossing.
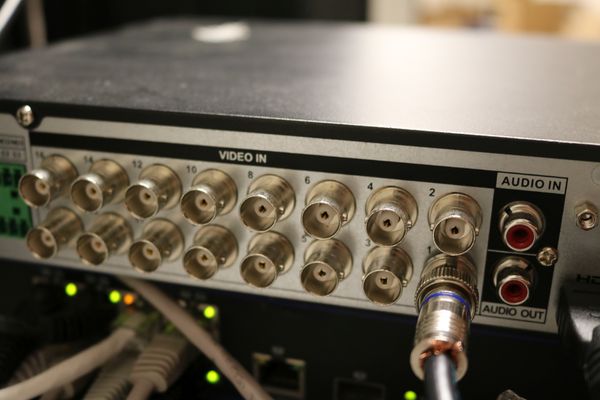
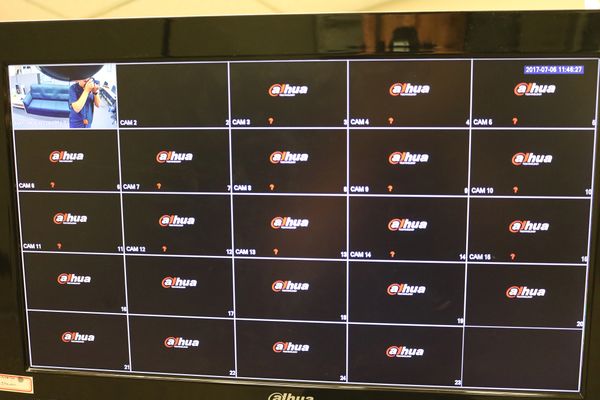
c. Using a DVR and connecting a camera.
