Template:Schedule Record DSS S2
Contents
Setup Local Recording in DSS4004-S2
Description
This article will cover how to setup local recording into DSS4004-S2.
Prerequisites
- DSS4004-S2
- DSS Client - How To Download and Install
- Dahua device added to DSS.
Video Instruction
Coming Soon....
Step by step instruction
Configuring local HDD
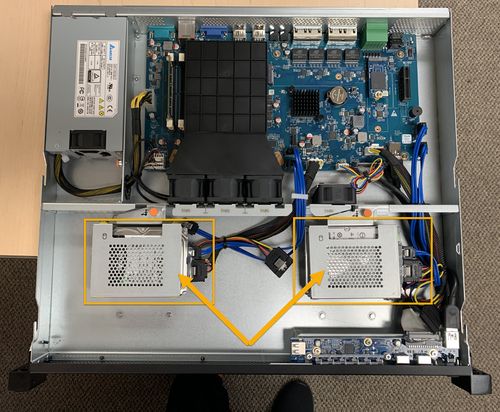
1. Install additional HDD to the DSS4004-S2 device.
NOTES: DSS4004-S2 comes with 1 built-in HDD for Operating System. You can add up to 3 additional 2.5" HDD to DSS4004-S2.
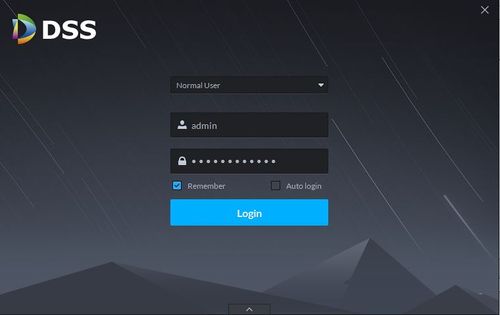
2. Launch DSS Client software.
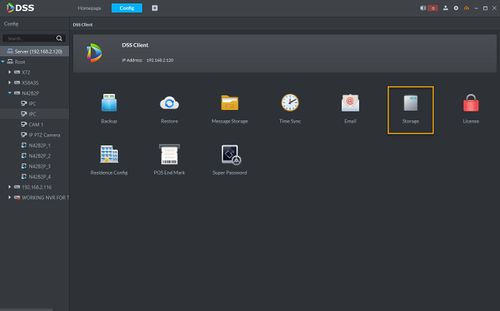
3. Go to Config.
4. Click on Storage.
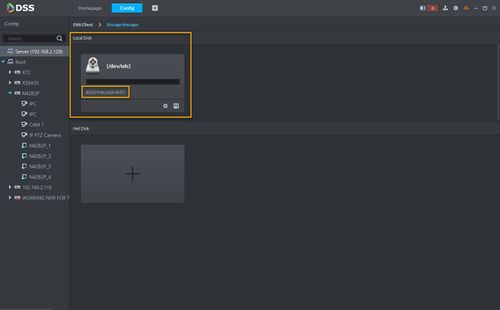
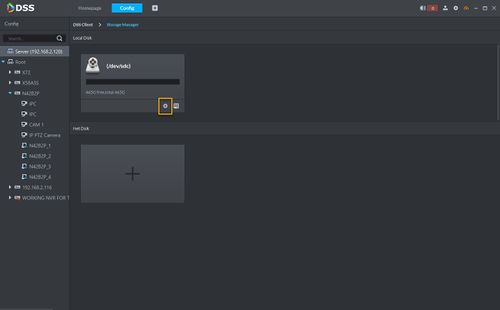
5. Your installed HDD information will shown under Local Disk.
6. Click on the gear icon to set the record type.
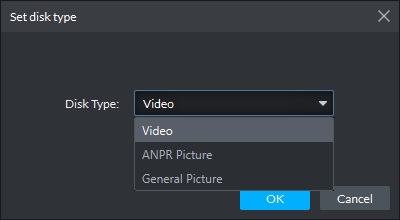
7. With the latest version, you will have option to select Video, ANPR Picture (License Plate Capture), or a Picture (Snapshot). To allocate HDD to record videos, please select Video and click OK.
Setup record schedule
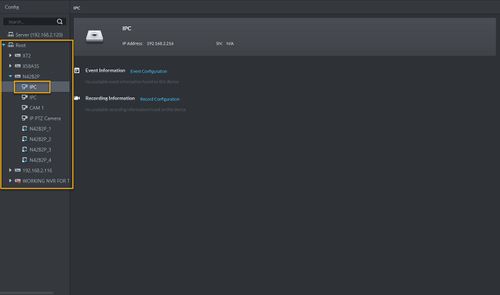
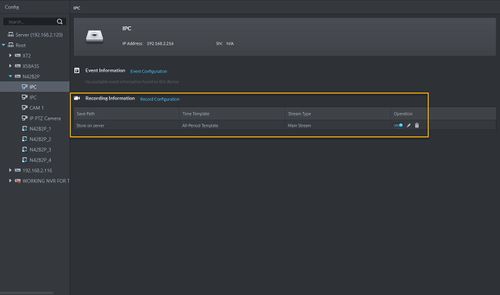
1. Select Cameras that you want to record under root.
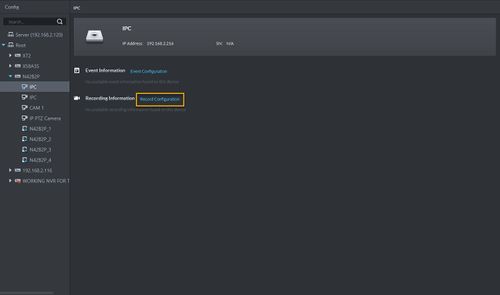
2. Click on Recording Configuration.
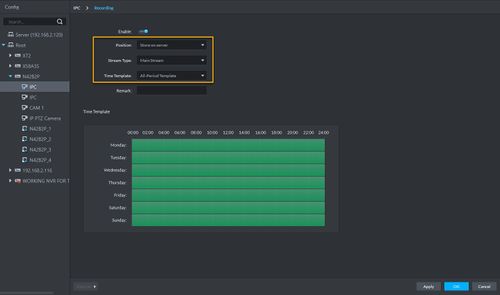
3. Select the Position to Store on Server.
4. Select the Stream type you want to record.
5. Create or select the Time Template for recording.
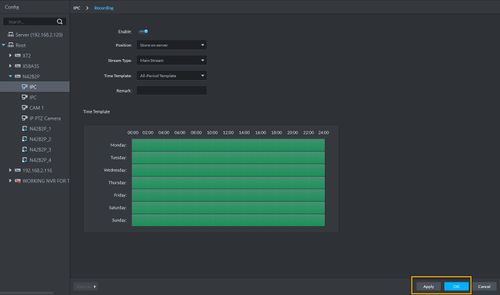
6. Click Apply and OK.
7. The camera you selected is now recording to Local Disk in DSS4004-S2.
