Backup/Backup Snapshot
Contents
Backup Snapshot via USB
Description
Backup snapshots on USB allows you to backup the snapshots for later use.
Prerequisites
- Flash drive or other backup device.
- NVR/HCVR with HDD
- Camera connected to recorder
Video Instructions
Step by Step Instructions
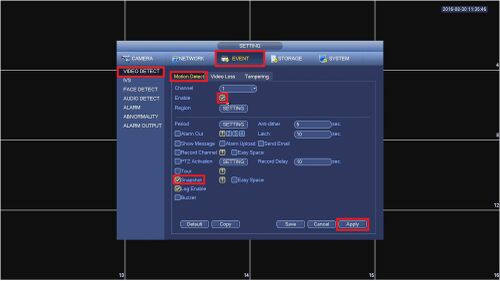
1. In order to get the system to save a snapshot we will setup motion detection. On the NVR go to the MAIN MENU->EVENT->VIDEO DETECT->Motion Detection and Enable motion detection, then the snapshot function, and hit Apply.
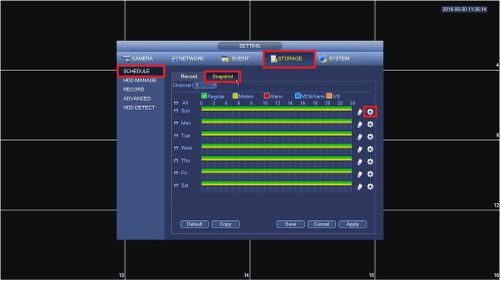
2. Now we will setup the terms of recording by going to MAIN MENU->STORAGE->SCHEDULE->Snapshot and selecting the gear icon.
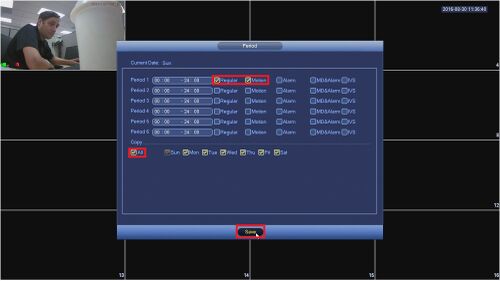
Select Motion and copy to All days of the week in order to trigger a snapshot, then select Save.
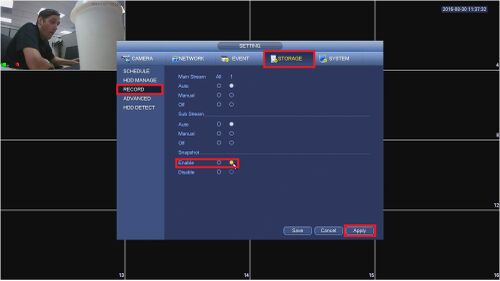
3. Ensure that you have enabled Snapshot Recording by going to MAIN MENU->STORAGE->RECORD and selecting Enable and then Apply.
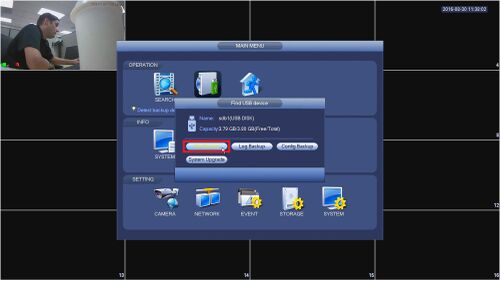
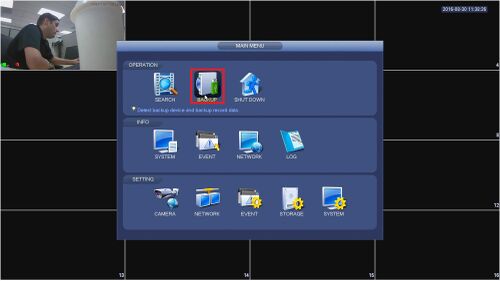
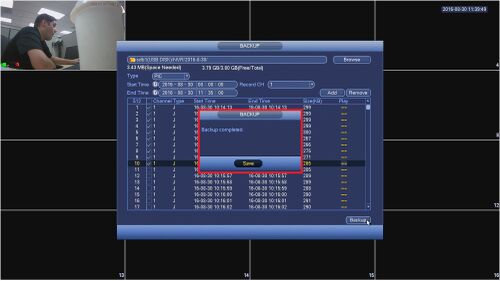
4. Plug in your USB flash drive into the recorder, and select File Backup on the prompt OR go into the MAIN MENU->BACKUP
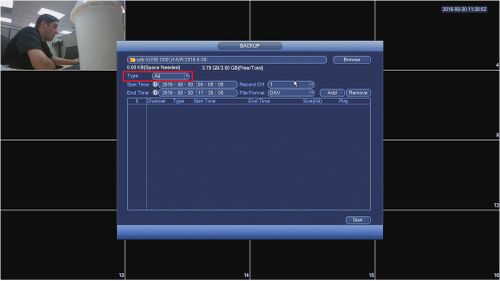
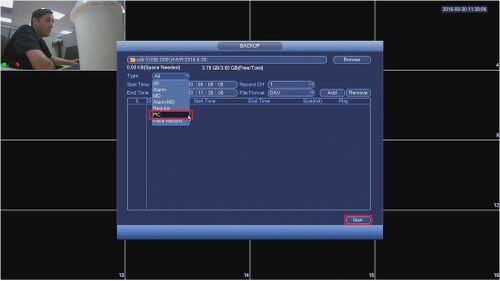
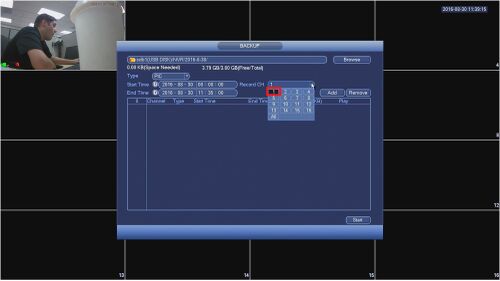
5. Under the Type pull-down menu select PIC for pictures
6. Under Record CH select the channel or all channels that you would like to find a screen shot on.
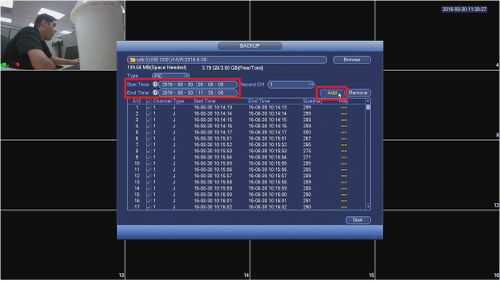
7. Define a time frame within 24 hours that you would like to search for the Snapshots and select Add
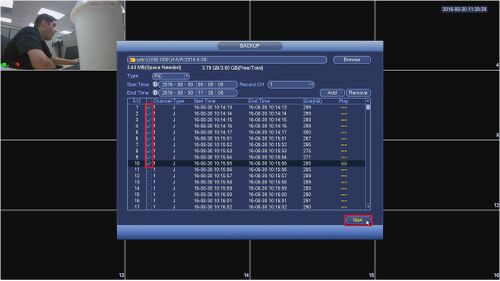
8. Once a list populates select the Snapshots that you would like to backup and select Start to begin the backup.
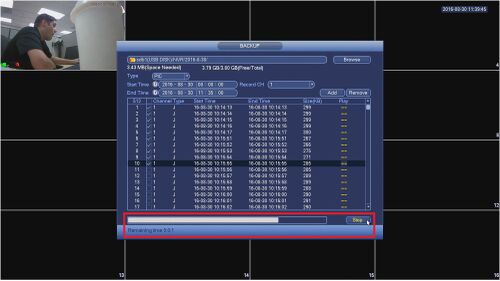
9. A progress bar at the bottom of the window will give you an estimate of when it will complete. You can cancel this operation by selecting Stop.
10. A prompt will appear on the screen once the process has finished, select okay and remove the USB flash drive with your backup.
Links
| Related Articles in Category:Record | ||
|---|---|---|
|
<DynamicPageList> category = Record count=5 </DynamicPageList> |
<DynamicPageList> category = Record offset = 5 count= 5 </DynamicPageList> |
<DynamicPageList> category = Record offset = 10 count=5 </DynamicPageList> |
