Template:Product Point to Point
Contents
- 1 Wireless Point to Point
- 1.1 NOTE
- 1.2 Networking Mode
- 1.3 Information
- 1.4 How to reset the DH-PFWB5-10n and DH-PFWB5-90n
- 1.5 Video Instructions for Wireless Transmission Device DH-PFWB5-90n
- 1.6 Step by Step Instruction for Wireless Transmission Device DH-PFWB5-90n
- 1.7 Video Instructions for Wireless Transmission Device DH-PFWB5-10n
- 1.8 Step by Step Instruction for Wireless Transmission Device DH-PFWB5-10n
- 1.9 Instructions
Wireless Point to Point
NOTE
- DO NOT MIX GENERATION 1 and GENERATION 2 DEVICES!
- Access point broadcasts the SSID, and the base station(s) connect to the access point.
Networking Mode
| Point to Point | 
|
| Point to Multipoint | 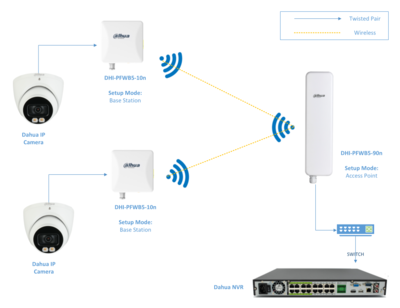
|
Information
- 192.168.1.36 is default IP
- Default User Name = admin
- Default Password = admin
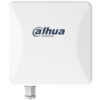
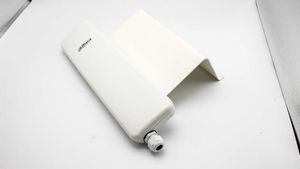
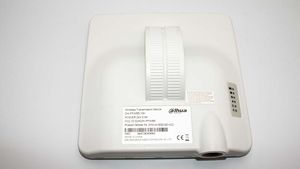
- DHI-PFWB5-10n, Station, square unit, satellite
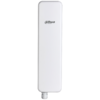
- DHI-PFWB5-90n, Access Point, long skinny unit, Home Base
Operating Modes
802.11n:
- Access Point (autoWDS),
- Access Point (TDMA 2)
- Access Point (TDMA 3)
- Station (WDS/TDMA 2/TDMA 3)
- Station (ARPNAT)
802.11ac:
- Access Point (autoWDS)
- Access Point (TDMA3)
- Station (WDS/TDMA 3)
How to reset the DH-PFWB5-10n and DH-PFWB5-90n
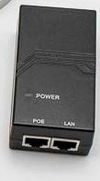
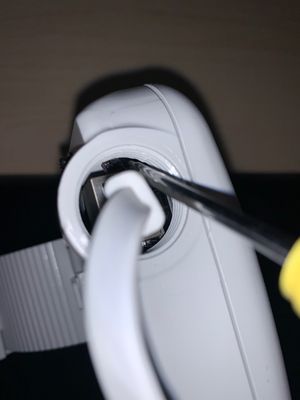
- Make sure the unit is connected to the POE unit that is included in the package.
- Press the reset button for 15 seconds. You will see the LED on the side of the device flash.
Video Instructions for Wireless Transmission Device DH-PFWB5-90n
Step by Step Instruction for Wireless Transmission Device DH-PFWB5-90n
- It is best to setup these devices on a bench before installing them.
- Power on and Configure one device at a time, they all have the same default IP address.
- Always use the included POE injector on all configurations.
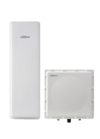
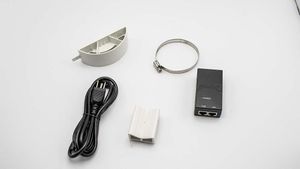
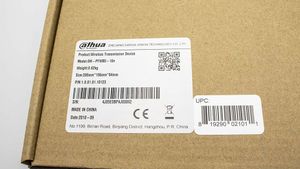
- What is in the BOX - DH-PFWB5-90n.
- 1. Give your PC a IP address of 192.168.1.200
- 2. Connect to the DH-PFWB5-90n to your PC using a patch cable.
- 3. ping the IP address of the DH-PFWB5-90n (192.168.1.36) to make sure it is alive.
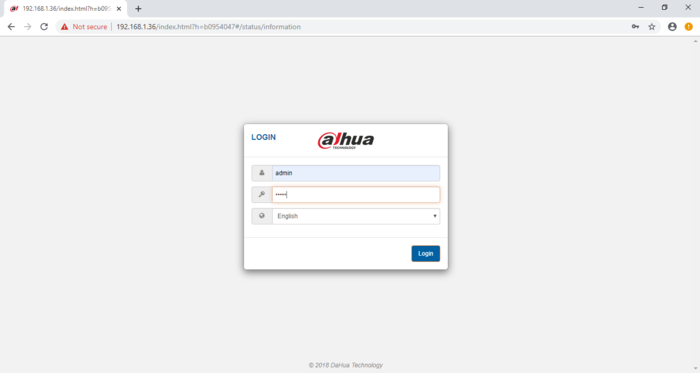
- 4. Using IE or Chrome type the IP address on a browser.
- 5. Login screen.
- 6 Main Menu
- Setup, Wireless Configuration.
- 7. Enable the radio button.
- 8. Operation Mode "Access Point (WDS/TDMA 2/TDMA 3)"
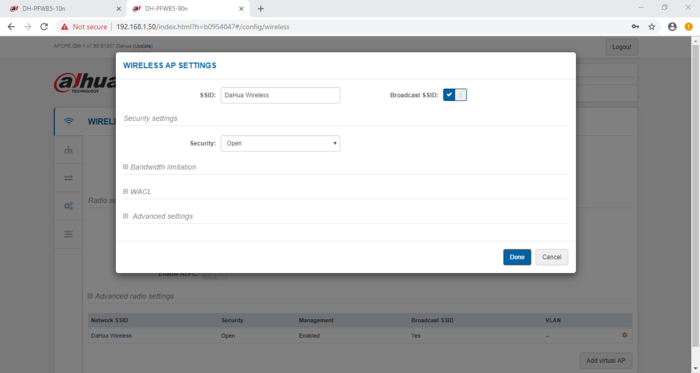
- 9. Wireless Station Settings, SSID and Security.
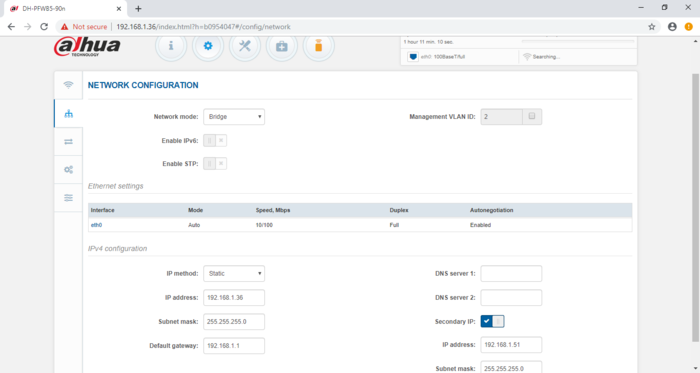
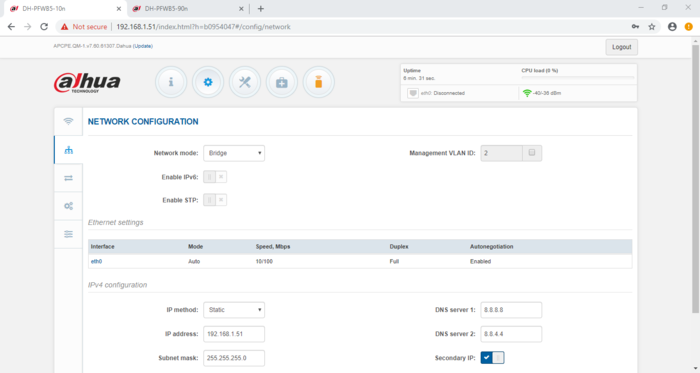
- 10. Network Configuration, Bridge mode
- 11. Assigned a static IP, DNS and Subnet mask.
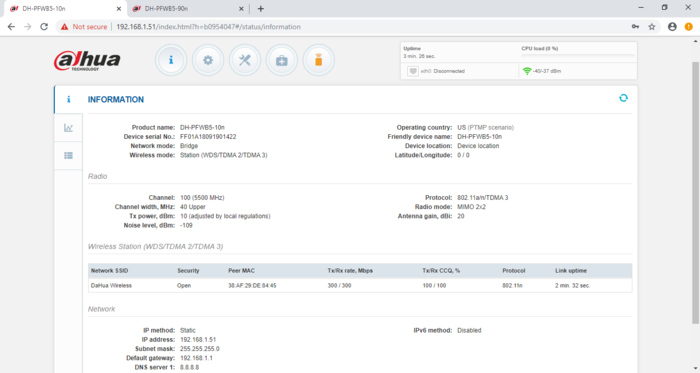
- 12. Information Screen.
- 13. Here you can see that the device is online, SSID, IP.
- Congratulation your device is online.
Video Instructions for Wireless Transmission Device DH-PFWB5-10n
Step by Step Instruction for Wireless Transmission Device DH-PFWB5-10n
- It is best to setup these devices on a bench before installing them.
- Power on and Configure one device at a time, they all have the same default IP address.
- Always use the included POE injector on all configurations.
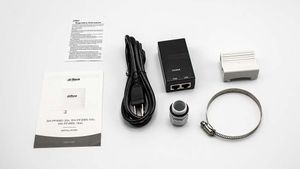
- What is in the BOX - DH-PFWB5-10n.
- 1. Give your PC a IP address of 192.168.1.200
- 2. Connect to the DH-PFWB5-10n to your PC using a patch cable.
- 3. ping the IP address of the DH-PFWB5-10n (192.168.1.36) to make sure it is alive.
- 4. Using IE or Chrome type the IP address on a browser.
- 5. Login screen.
- 6 Main Menu
- Setup, Wireless Configuration.
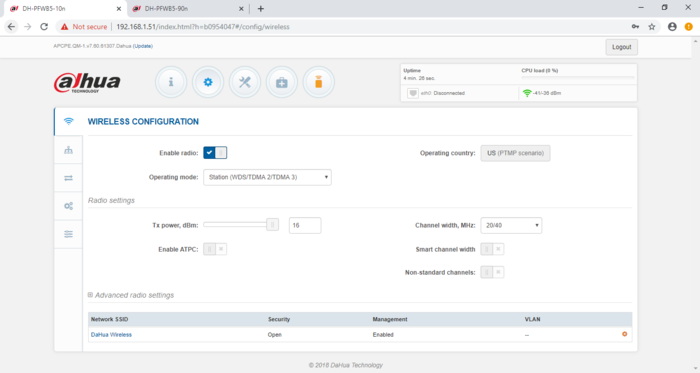
- 7. Enable the radio button.
- 8. Operation Mode "Station (WDS/TDMA 2/TDMA 3)"
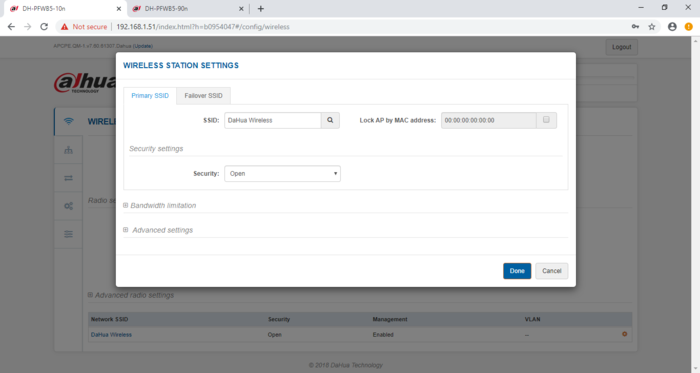
- 9. Wireless Station Settings, SSID and Security.
- 10. Network Configuration, Bridge mode
- 11. Assigned a static IP, DNS and Subnet mask.
- 12. Information Screen.
- 13. Here you can see that the device is online, SSID, IP.
- Congratulation your device is online.
