NVRiSettingCamera
Contents
NVR Interface-Setting-Camera
Remote
Remote Device
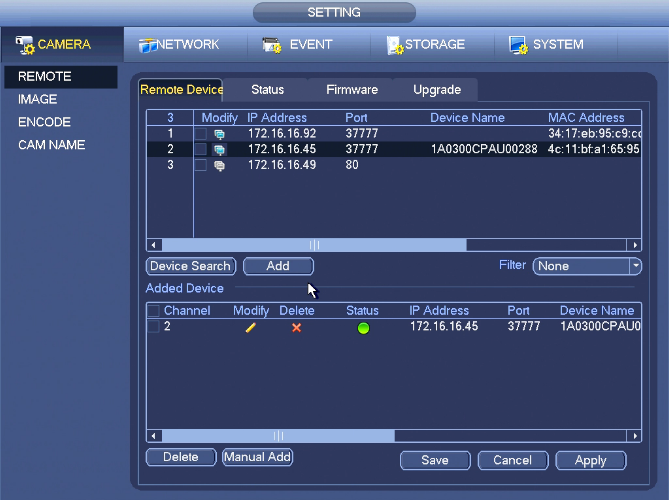
From Main Menu->Setting->Remote Device or right click mouse on the preview interface and then select remote device item, you can see the following interface.
Click Device search button, you can view the searched IP addresses at the top pane of the interface. Double click an IP address or check one IP address and then click Add button, you can add current device to the bottom pane of the interface. System supports batch add function.
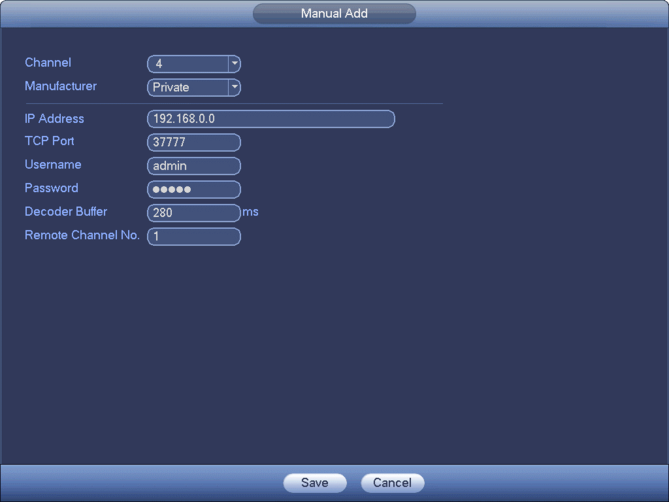
Click Manual Add button, you can add a device directly. Here you can set TCP/UPD/auto connection mode. The default setup is TCP.
Important: Please note the manual add function is for Private, Panasonic, Sony, Dynacolor, Samsung, AXIS, SANYO, Pelco, Arecont, ONVIF, LG, Watchnet, Canon, PSIA, IVC, XUNMEI, and Custom. When the type is the custom, you can just input URL address, user name and password connect to the network camera without considering network camera manufacture. Please contact your network camera manufacturer for the URL address.
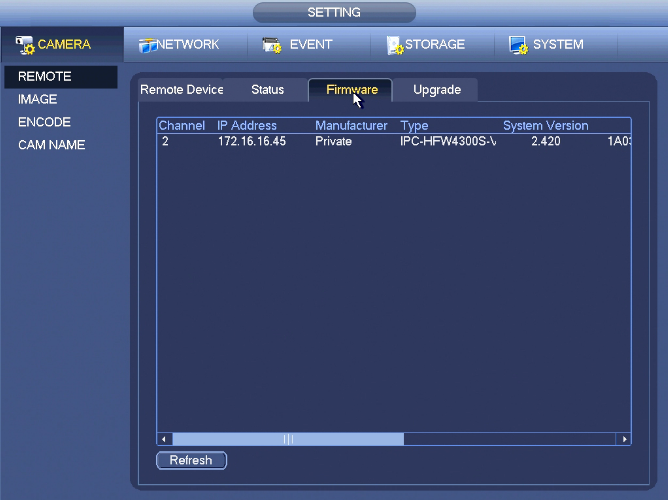
Status
Firmware
Upgrade
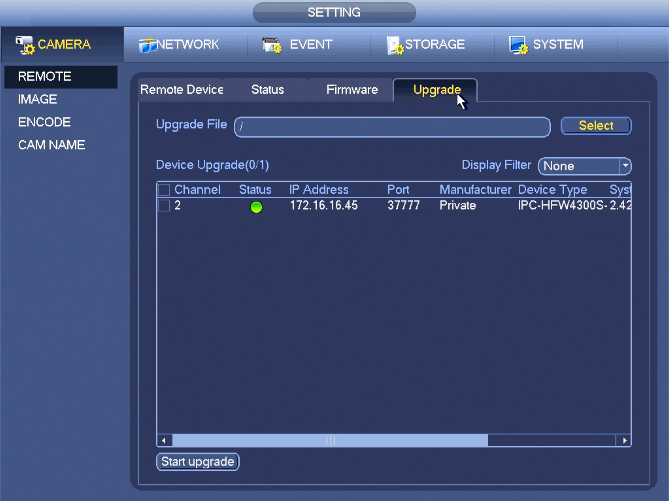
From Main Menu->Setting->Camera->Remote->Upgrade
This section is to update the firmware of your IP Cameras through the NVR interface.
Click Browse button and then select the upgrade file. Then select a channel (or you can select device type filter to select several devices at the same time.) Click Begin button to upgrade. You can see the corresponding dialogue once the upgrade is finish.
Note: Right now, the NVR can upgrade the IPC via the USB device or WEB. You can upgrade 8 network cameras of the same model (or the NVR supported) at the same time.
Image
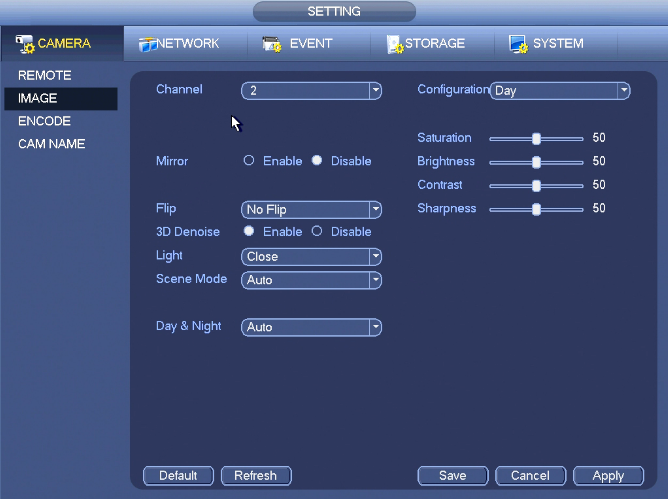
From main menu->setting->camera->image, you can see the image interface is shown as below.
- Channel: Select a channel from the dropdown list.
- Saturation: It is to adjust monitor window saturation. The value ranges from 0 to 100. The default value is 50. The larger the number, the strong the color is. This value has no effect on the general brightness of the whole video. The video color may become too strong if the value is too high. For the grey part of the video, the distortion may occur if the white balance is not accurate. Please note the video may not be attractive if the value is too low. The recommended value ranges from 40 to 60.
- Brightness: It is to adjust monitor window bright. The value ranges from 0 to 100. The default value is 50. The larger the number is, the bright the video is. When you input the value here, the bright section and the dark section of the video will be adjusted accordingly. You can use this function when the whole video is too dark or too bright. Please note the video may become hazy if the value is too high. The recommended value ranges from 40 to 60.
- Contrast: It is to adjust monitor window contrast. The value ranges from 0 to 100. The default value is 50. The larger the number is, the higher the contrast is. You can use this function when the whole video bright is OK but the contrast is not proper. Please note the video may become hazy if the value is too low. If this value is too high, the dark section may lack brightness while the bright section may over exposure .The recommended value ranges from 40 to 60.
- Auto Iris: It is for the device of the auto lens. You can check the box before ON to enable this function. The auto iris may change if the light becomes different. When you disable this function, the iris is at the max. System does not add the auto iris function in the exposure control. This function is on by default.
- Mirror: It is to switch video up and bottom limit. This function is disabled by default.
- Flip: It is to switch video left and right limit. This function is disabled by default.
- BLC:It includes several options: BLC/WDR/HLC/OFF.
- BLC: The device auto exposures according to the environments situation so that the darkest area of the video is cleared
- WDR: For the WDR scene, this function can lower the high bright section and enhance the brightness of the low bright section. So that you can view these two sections clearly at the same time. The value ranges from 1 to 100. When you switch the camera from no-WDR mode to the WDR mode, system may lose several seconds record video.
- HLC: After you enabled HLC function, the device can lower the brightness of the brightest section according to the HLC control level. It can reduce the area of the halo and lower the brightness of the whole video.
- OFF: It is to disable the BLC function. Please note this function is disabled by default.
- Profile: It is to set the white balance mode. It has effect on the general hue of the video. This function is on by default. You can select the different scene mode such as auto, sunny, cloudy, home, office, night, disable and etc to adjust the video to the best quality.
- Auto: The auto white balance is on. System can auto compensate the color temperature to make sure the vide color is proper.
- Sunny: The threshold of the white balance is in the sunny mode.
- Night: The threshold of the white balance is in the night mode.
- Customized: You can set the gain of the red/blue channel. The value reneges from 0 to 100.
- Day/night. It is to set device color and the B/W mode switch. The default setup is auto.
- Color: Device outputs the color video.
- Auto: Device auto select to output the color or the B/W video according to the device feature (The general bright of the video or there is IR light or not.)
- B/W: The device outputs the black and white video.
- Sensor: It is to set when there is peripheral connected IR light.
Please note some non-IR series product support sensor input function.
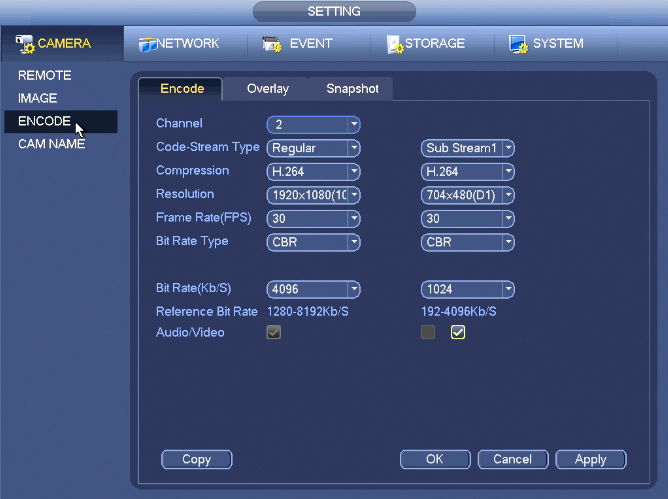
Encode
Encode
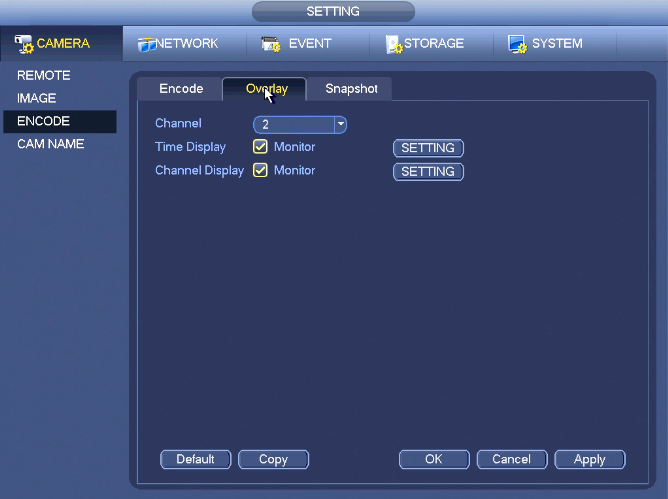
Overlay
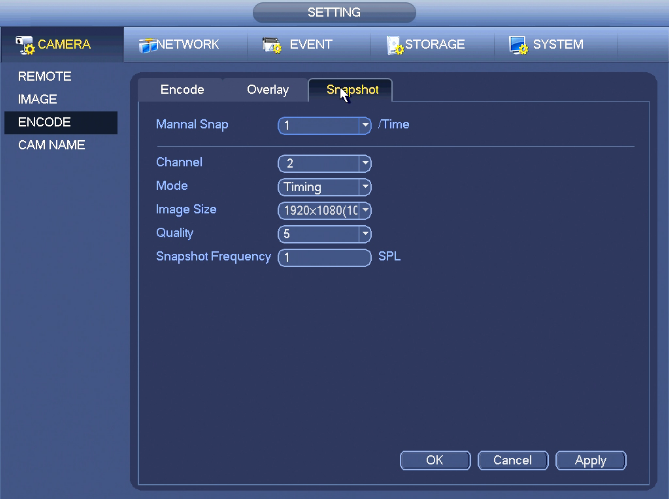
Snapshot
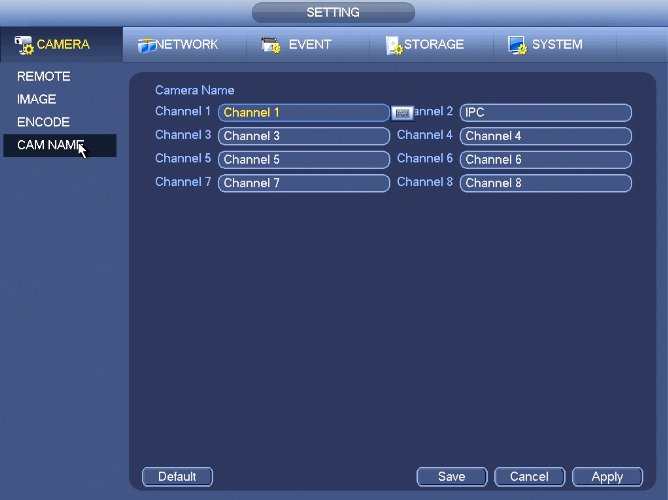
Cam Name
From Main Menu->Setting->Camera->Channel Name
This section is to modify channel name. It max supports 31-character.
Please Note: You can only modify the channel name of the connected network camera.

