Time Attendance/DeviceUI/Add User with Access Card to Device
Contents
Add User with Access Card to Device
Description
This article will run through adding a user with an access card to the DHI-ASA2212A Time Attendance Device
Prerequisites
- A Dahua DHI-ASA2212A with admin credentials configured
- An IC (Mifare) access card
Step by Step Instructions
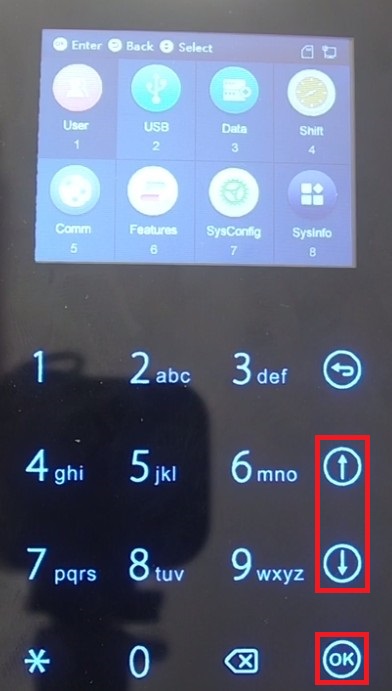
1. From the main screen, select the "OK" button to go into the menu.
2. Using the up and down arrows, highlight "User" on the screen and press the "OK" button to open the User menu.
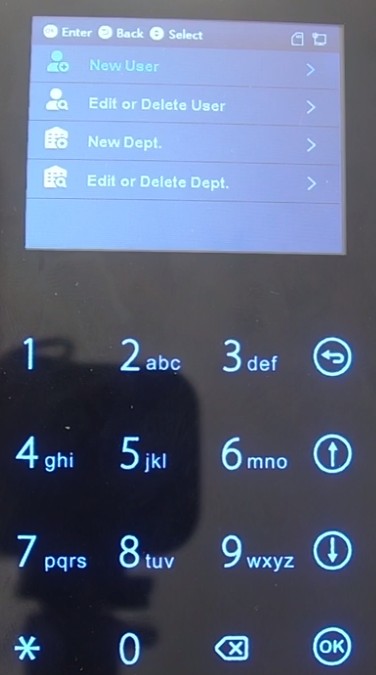
3. Using the up and down arrows, highlight "New User" in the list and press the "OK" button.
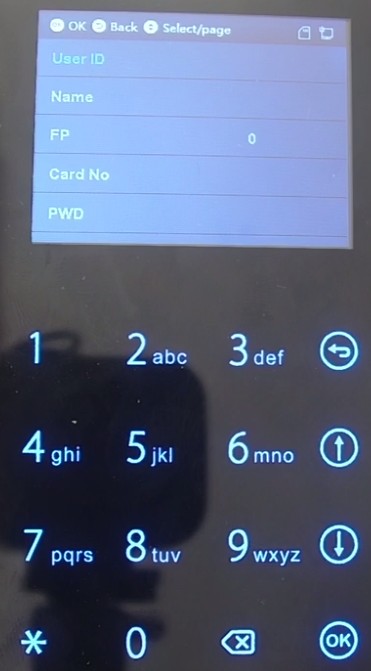
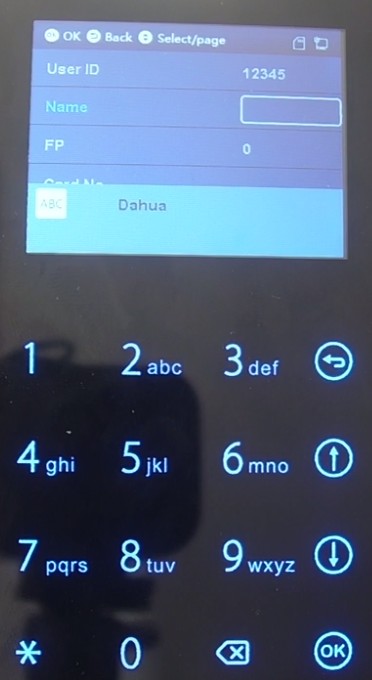
4. Using the up and down arrows, highlight "User ID" and press the "OK" button to select it.
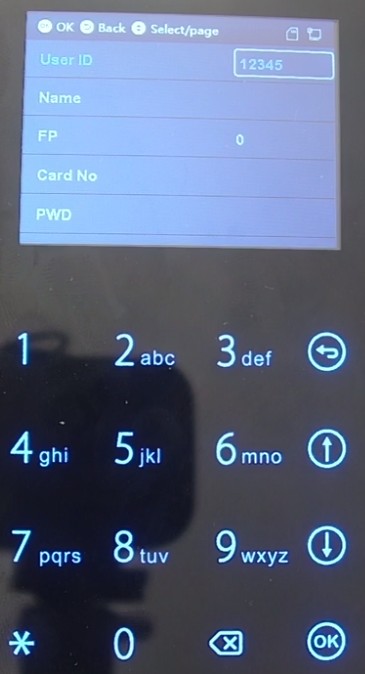
5. Using the 9 digit keypad, enter a numerical user ID and press the "OK" button to save the ID.
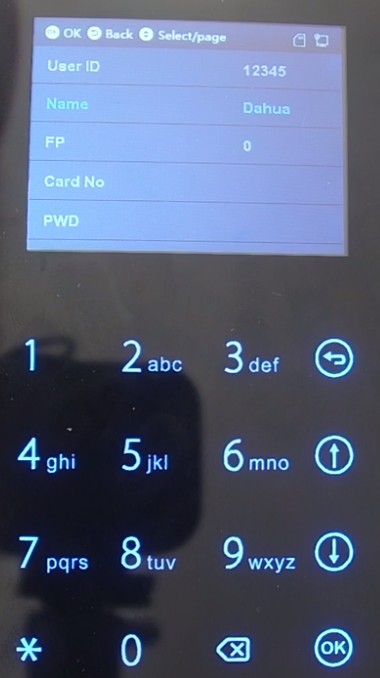
6. Press the down arrow to highlight "Name" and press the "OK" button to select it. Press the "*" button to switch between letters and numbers, then type in your user name using the keypad.
When you are done entering your user name press the "OK" button to save it.
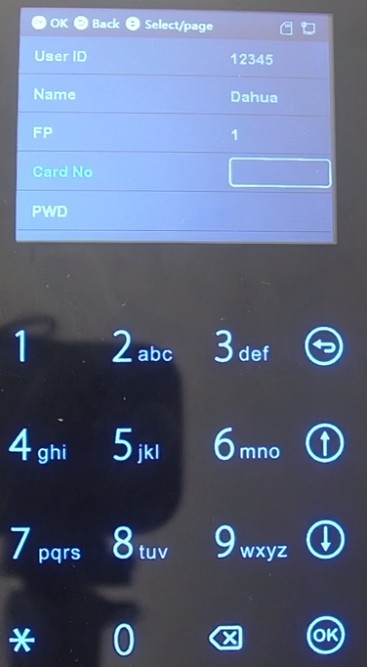
7. Using the up and down arrows, highlight "Card No" and press the "OK" button to select it.
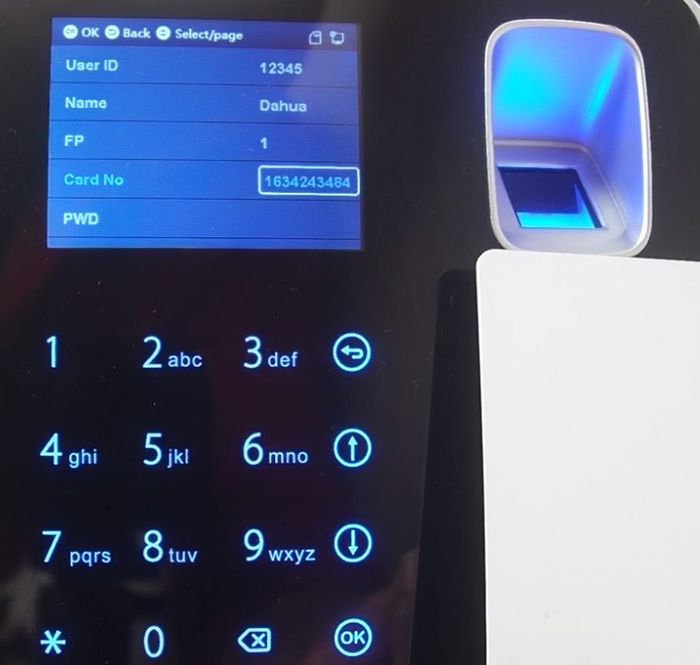
8. While the "Card No" field is highlighted with a white box around it, hold your access card up to the card reader to the right of the keypad. If the card is successfully read you should hear a beep and a string of numbers should populate in the "Card No" field. Press the "OK" button to save the card for that user.
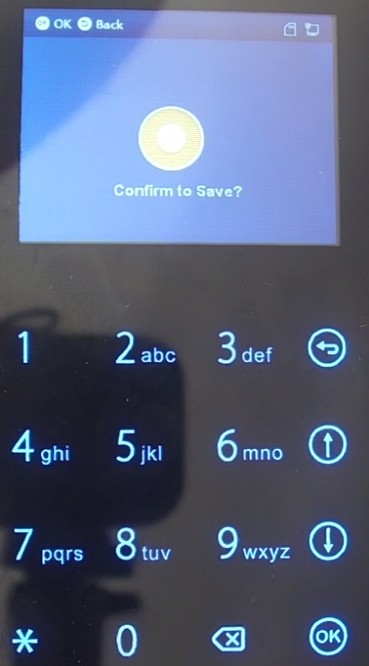
9. When you are done editing all the new user information, press the "OK" button. It will ask if you would like to confirm to save. Press the "OK" button to save the new user.
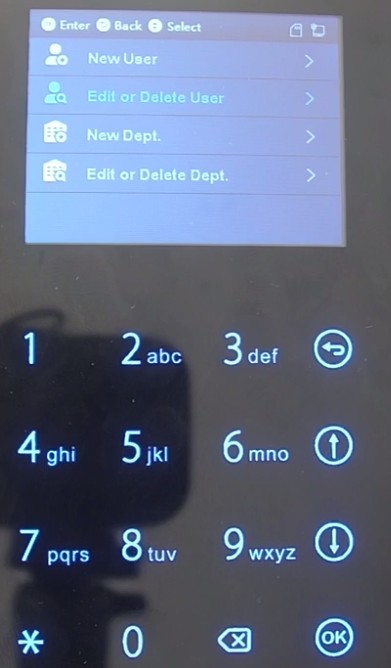
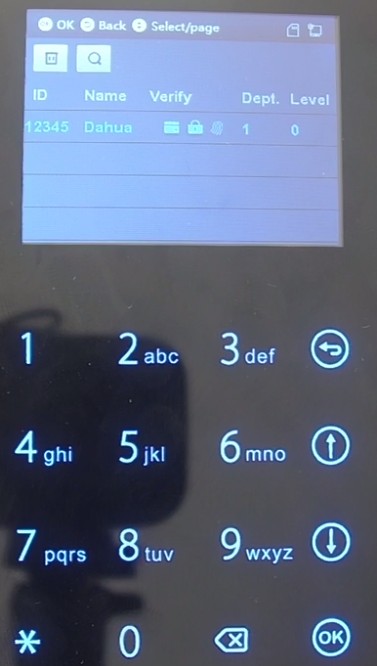
10. To verify the new user account was saved, use the up and down arrows to select "Edit or Delete User" in the list and press the "OK" button.
If the user was successfully saved with an access card, you will see it in the list with an icon of a card in the "Verify" column.

