NVR/eSata Setup and Use
Contents
eSATA Setup and Use
Note:eSATA cannot be used in conjunction with RAID, or as a Hotspare for a RAID configuration.
Prerequisites
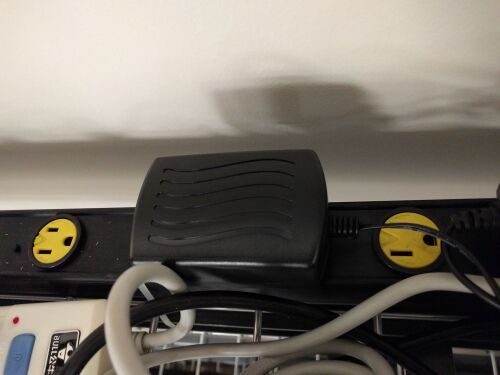
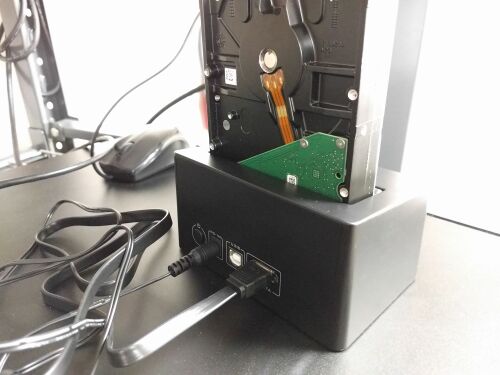
- A SATA to eSATA converter and power supply
- An eSATA ready Dahua recorder
- A SATA hard-drive that can be formatted
Video Instructions
Step by Step Instructions
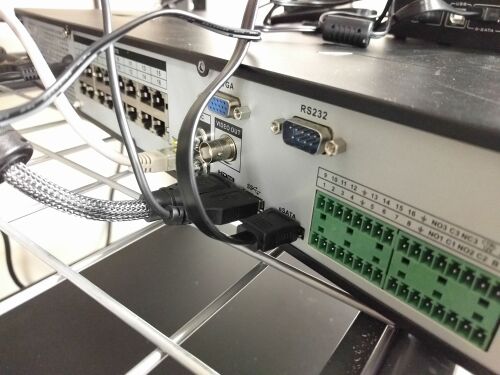
1. With the NVR or HCVR shut down connect your eSATA drive to power and let it power up. Also connect the eSata Cable to the back of the NVR and to your eSATA drive interface.
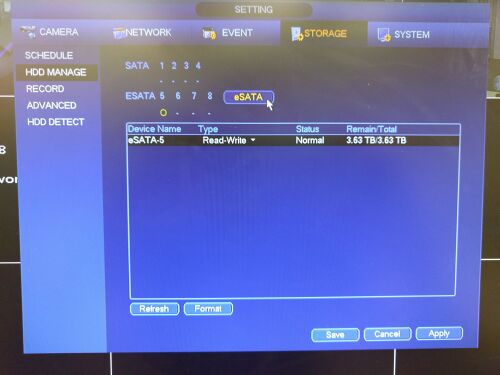
2. Now power up and log into the NVR, then go to the STORAGE menu and then the HDD MANAGE tab. You can also select the type of Read-Write function for the drive (Read-Write, or Read only).
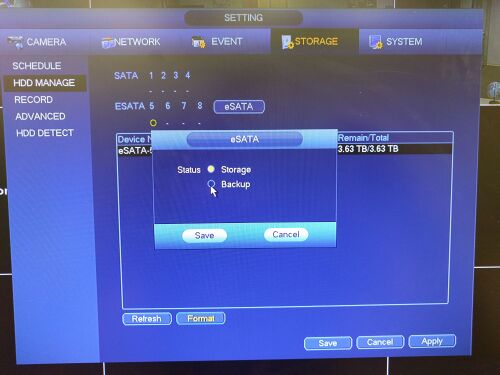
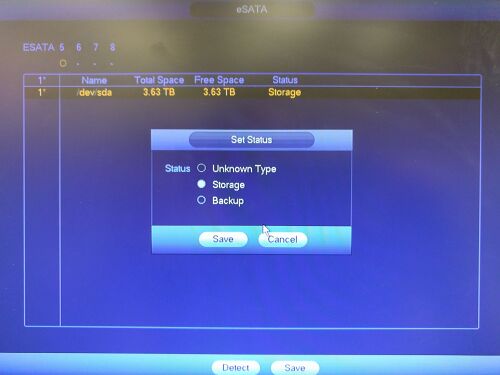
3. If you need to format the drive please select the Format button and then select the format of drive (Storage or Backup) then the system will reboot after this operation. You will also notice eSATA drive occupy 5, 6, 7, and 8 hard drive locations, this drive is on 5.
4. Once back in the SETTINGS -> HDD MANAGE menu click the eSATA button please select Storage or Backup and then click Save.
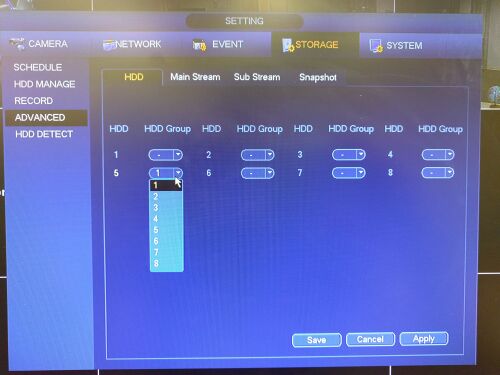
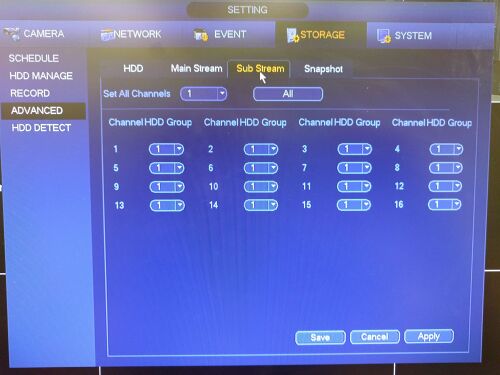
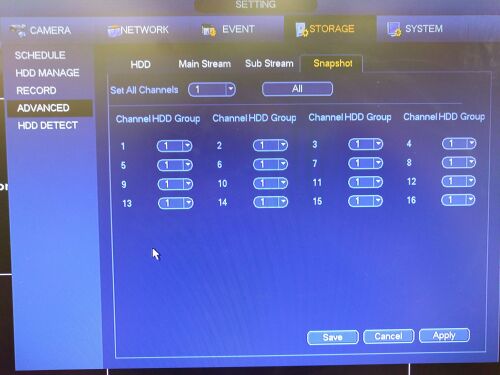
5. Now to setup the drive to for storage please select the ADVANCED TAB and pull down the HDD Group under the eSATA's HDD location and select a group that you want the drive to be on.
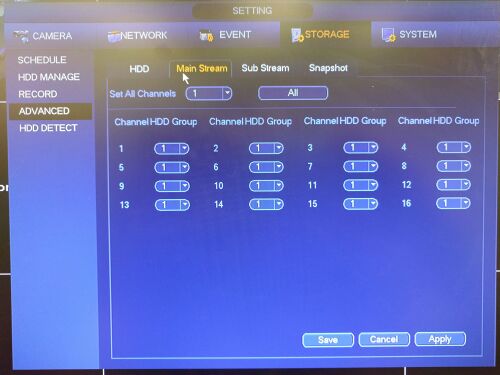
6. In the Main Stream Sub Stream and Snapshot tabs you can now assign each function and channel to a selected HDD group for recording.
